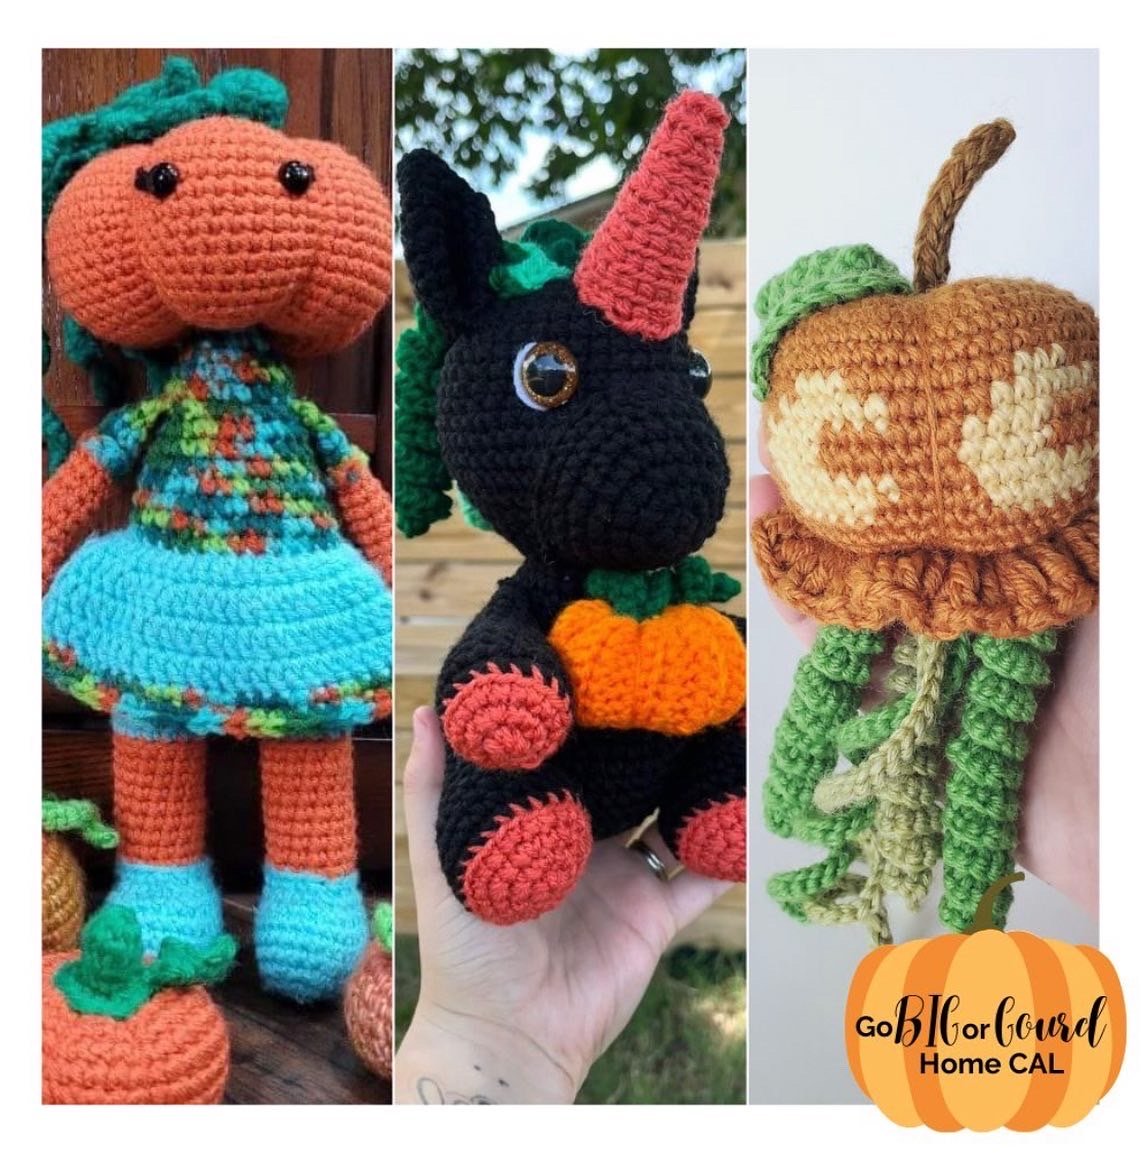
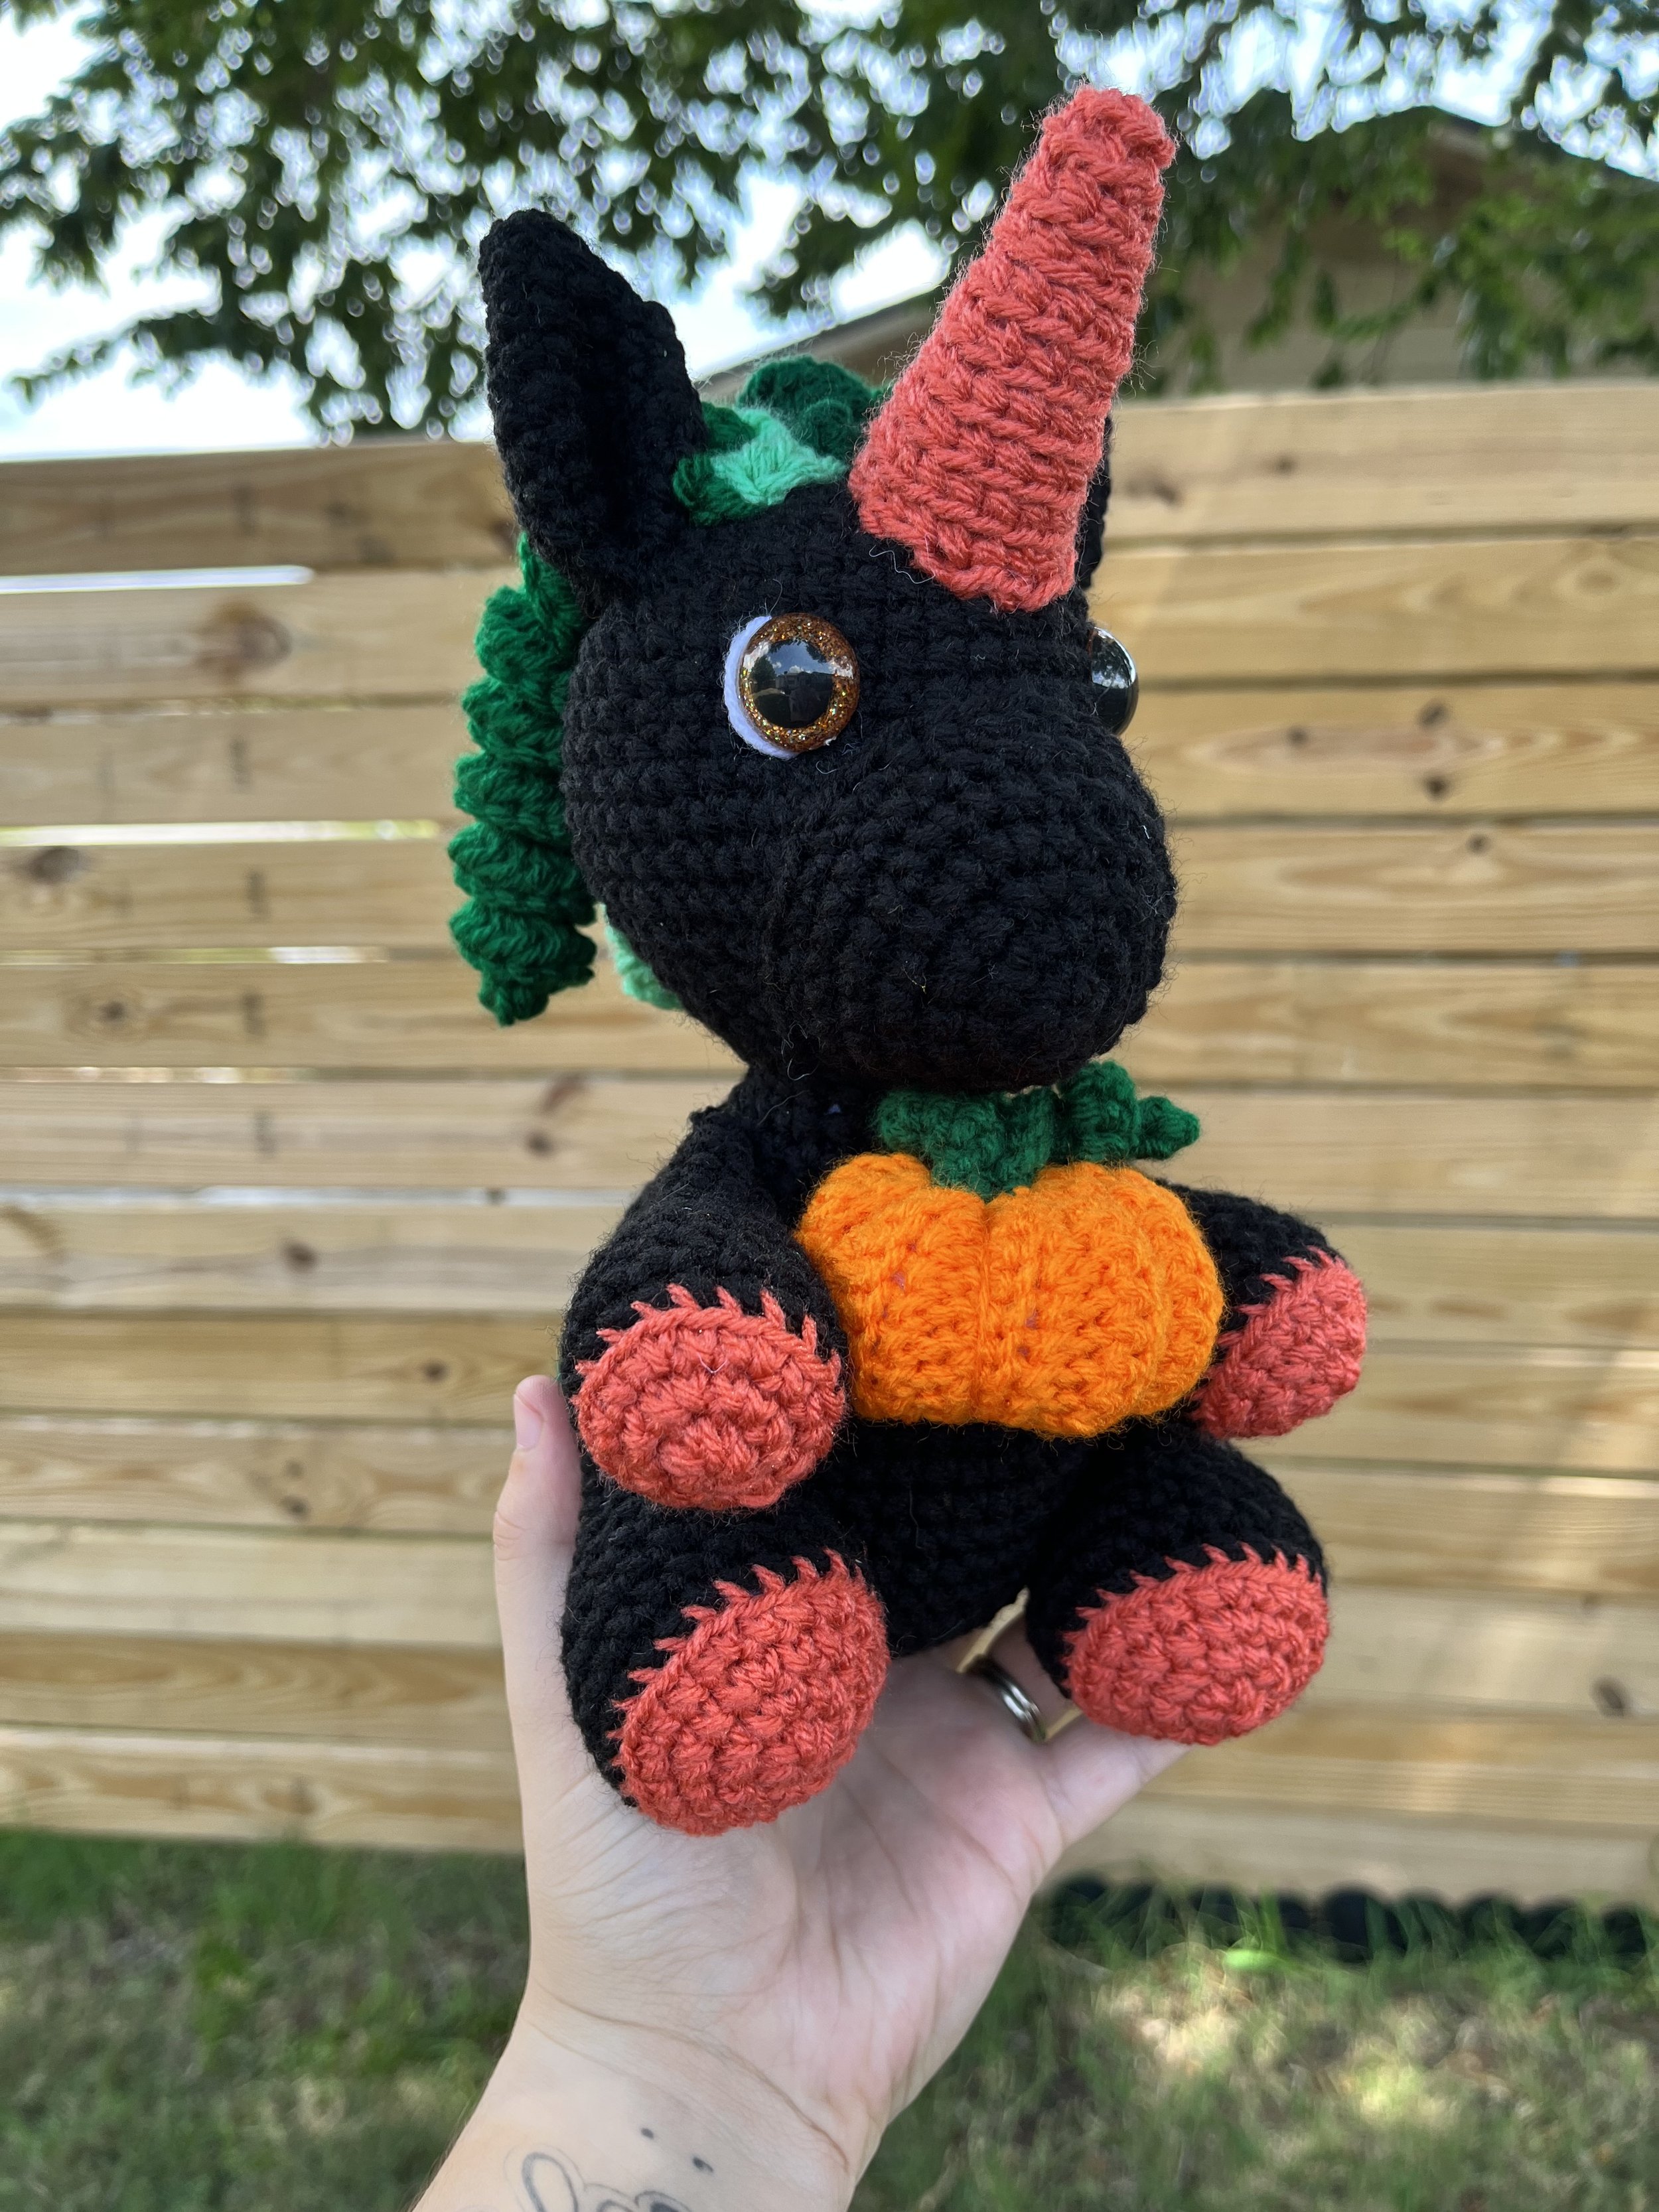
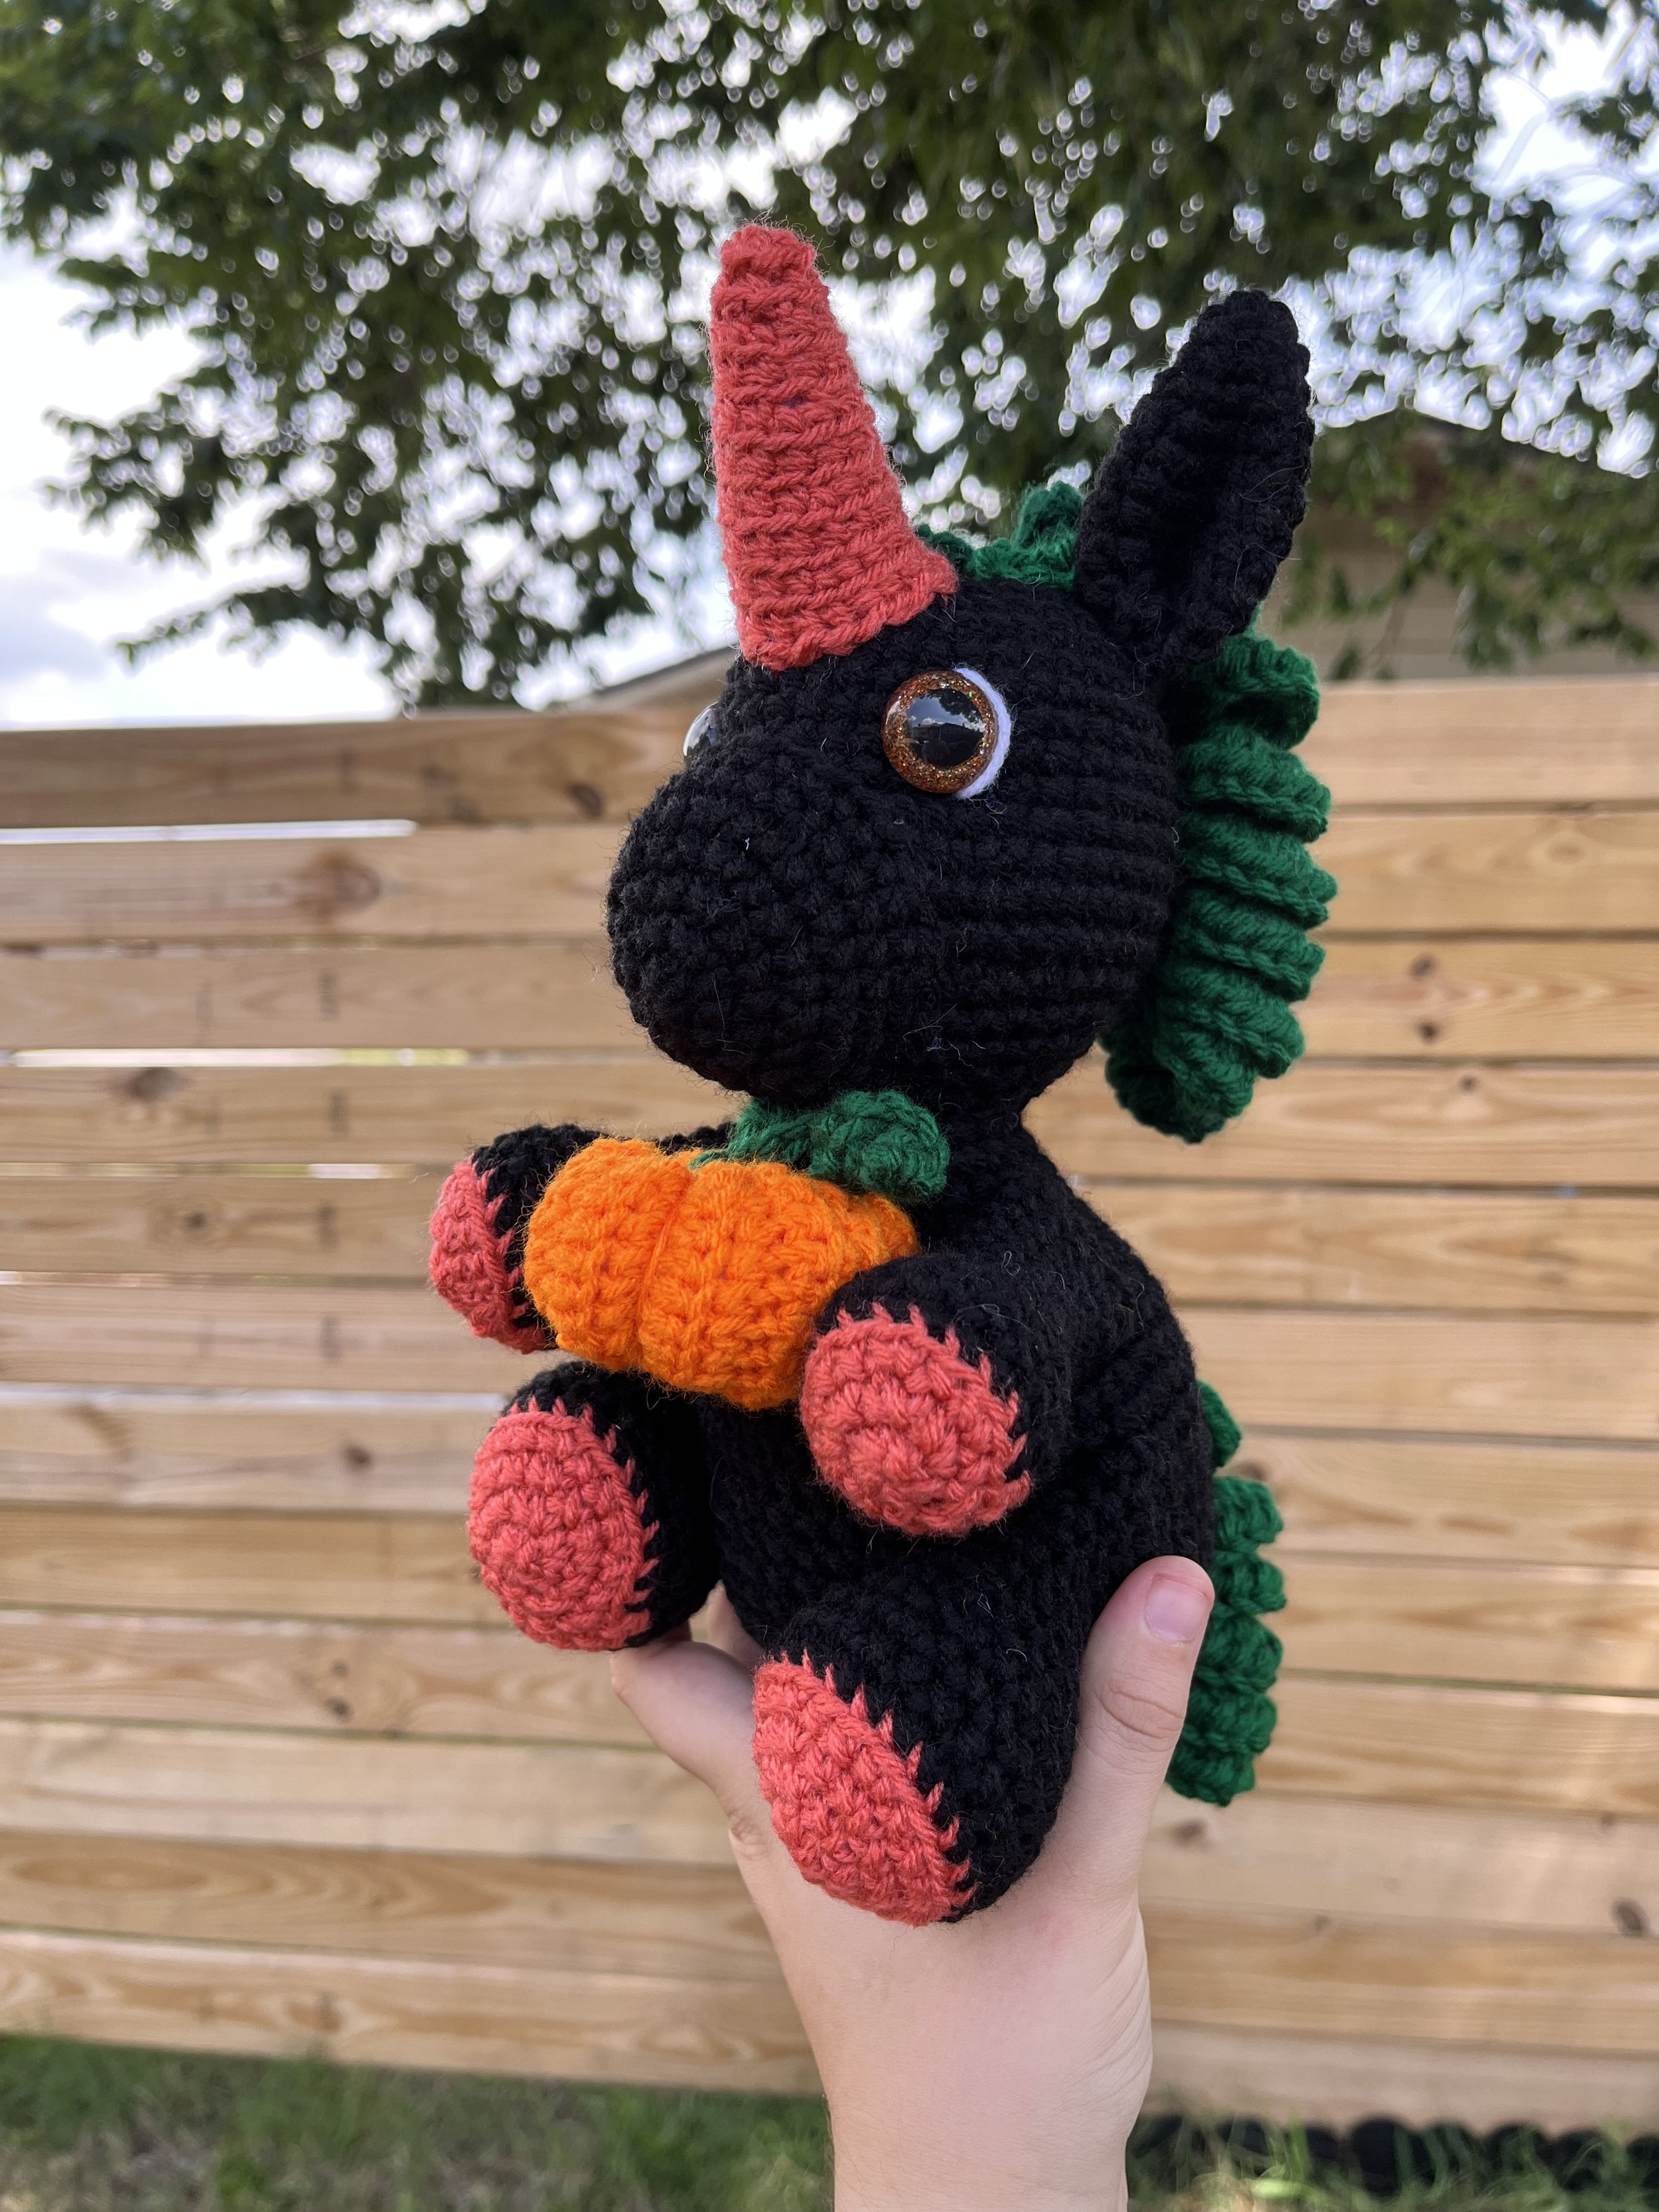
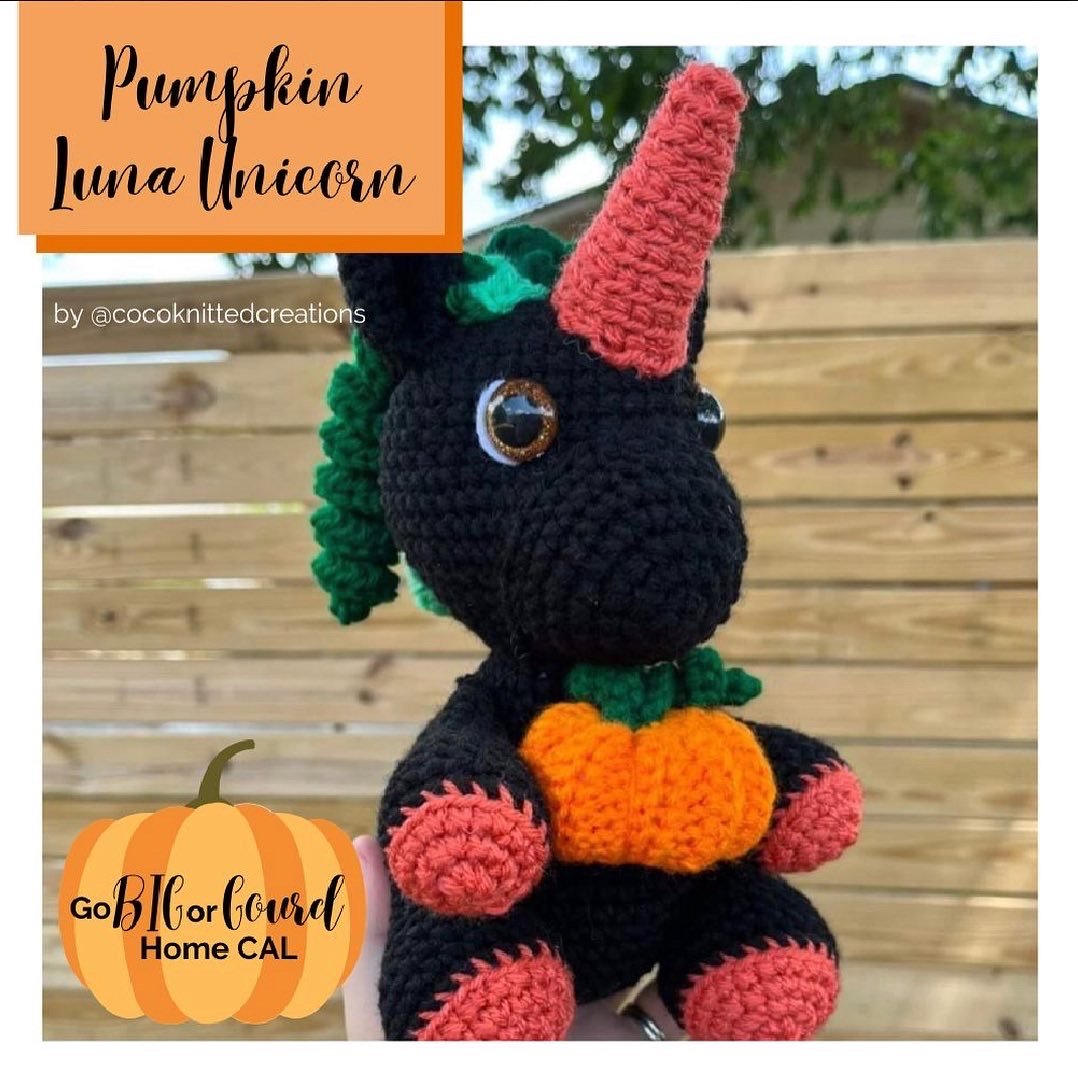
luna the pumpkin unicorn part 3
Go Big Or Gourd Home cal luna the pumpkin unicorn part 3
Welcome to the Go Big Or Gourd Home cal. Today we will start part 3 of the Luna the pumpkin unicorn. This design is separated in 3 parts. Here are the date of this designs is august 10th to august 18 2022. If you wish not to wait for the parts you can purchase the bundle with all 3 designs and you can add the rest of the pumpkin lady’s family. Click on the button below for the link of the bundle.
Materials 3.5 mm crochet hook
Red heart super saver color black
Red Heart Super saver color DK Coral
Red Heart Super saver color pumpkin
Red Heart Super Saver color Hunter Green
Big Twist Value Color Varsity Green
Impeccable color Jade
20mm safety eyes.
White thread
Stuffing
Scissors
Stitch Markers
Tapestry needle
ENG US Terms
Level: Easy
MC: magic circle
SC: single crochet
BLO: back loop only
Inc: increase
Dec: decrease
F/O: fasten off
Arms x2 (orange)
R1: MC 6
R2: Inc x6 (12)
R3: (1sc, inc) x6 (18) change to main color (black) in the last st of this round
R4: BLO 18 sc (18)
R5-R7: sc all around (18)
R8: (1sc, dec) x6 (12)
Stuff Firmly
R9: sc all around (12)
Stop Stuffing
R10-R15: sc all around (12)
Fold in half and sc the opening shut. F/O leave a long tail for sewing
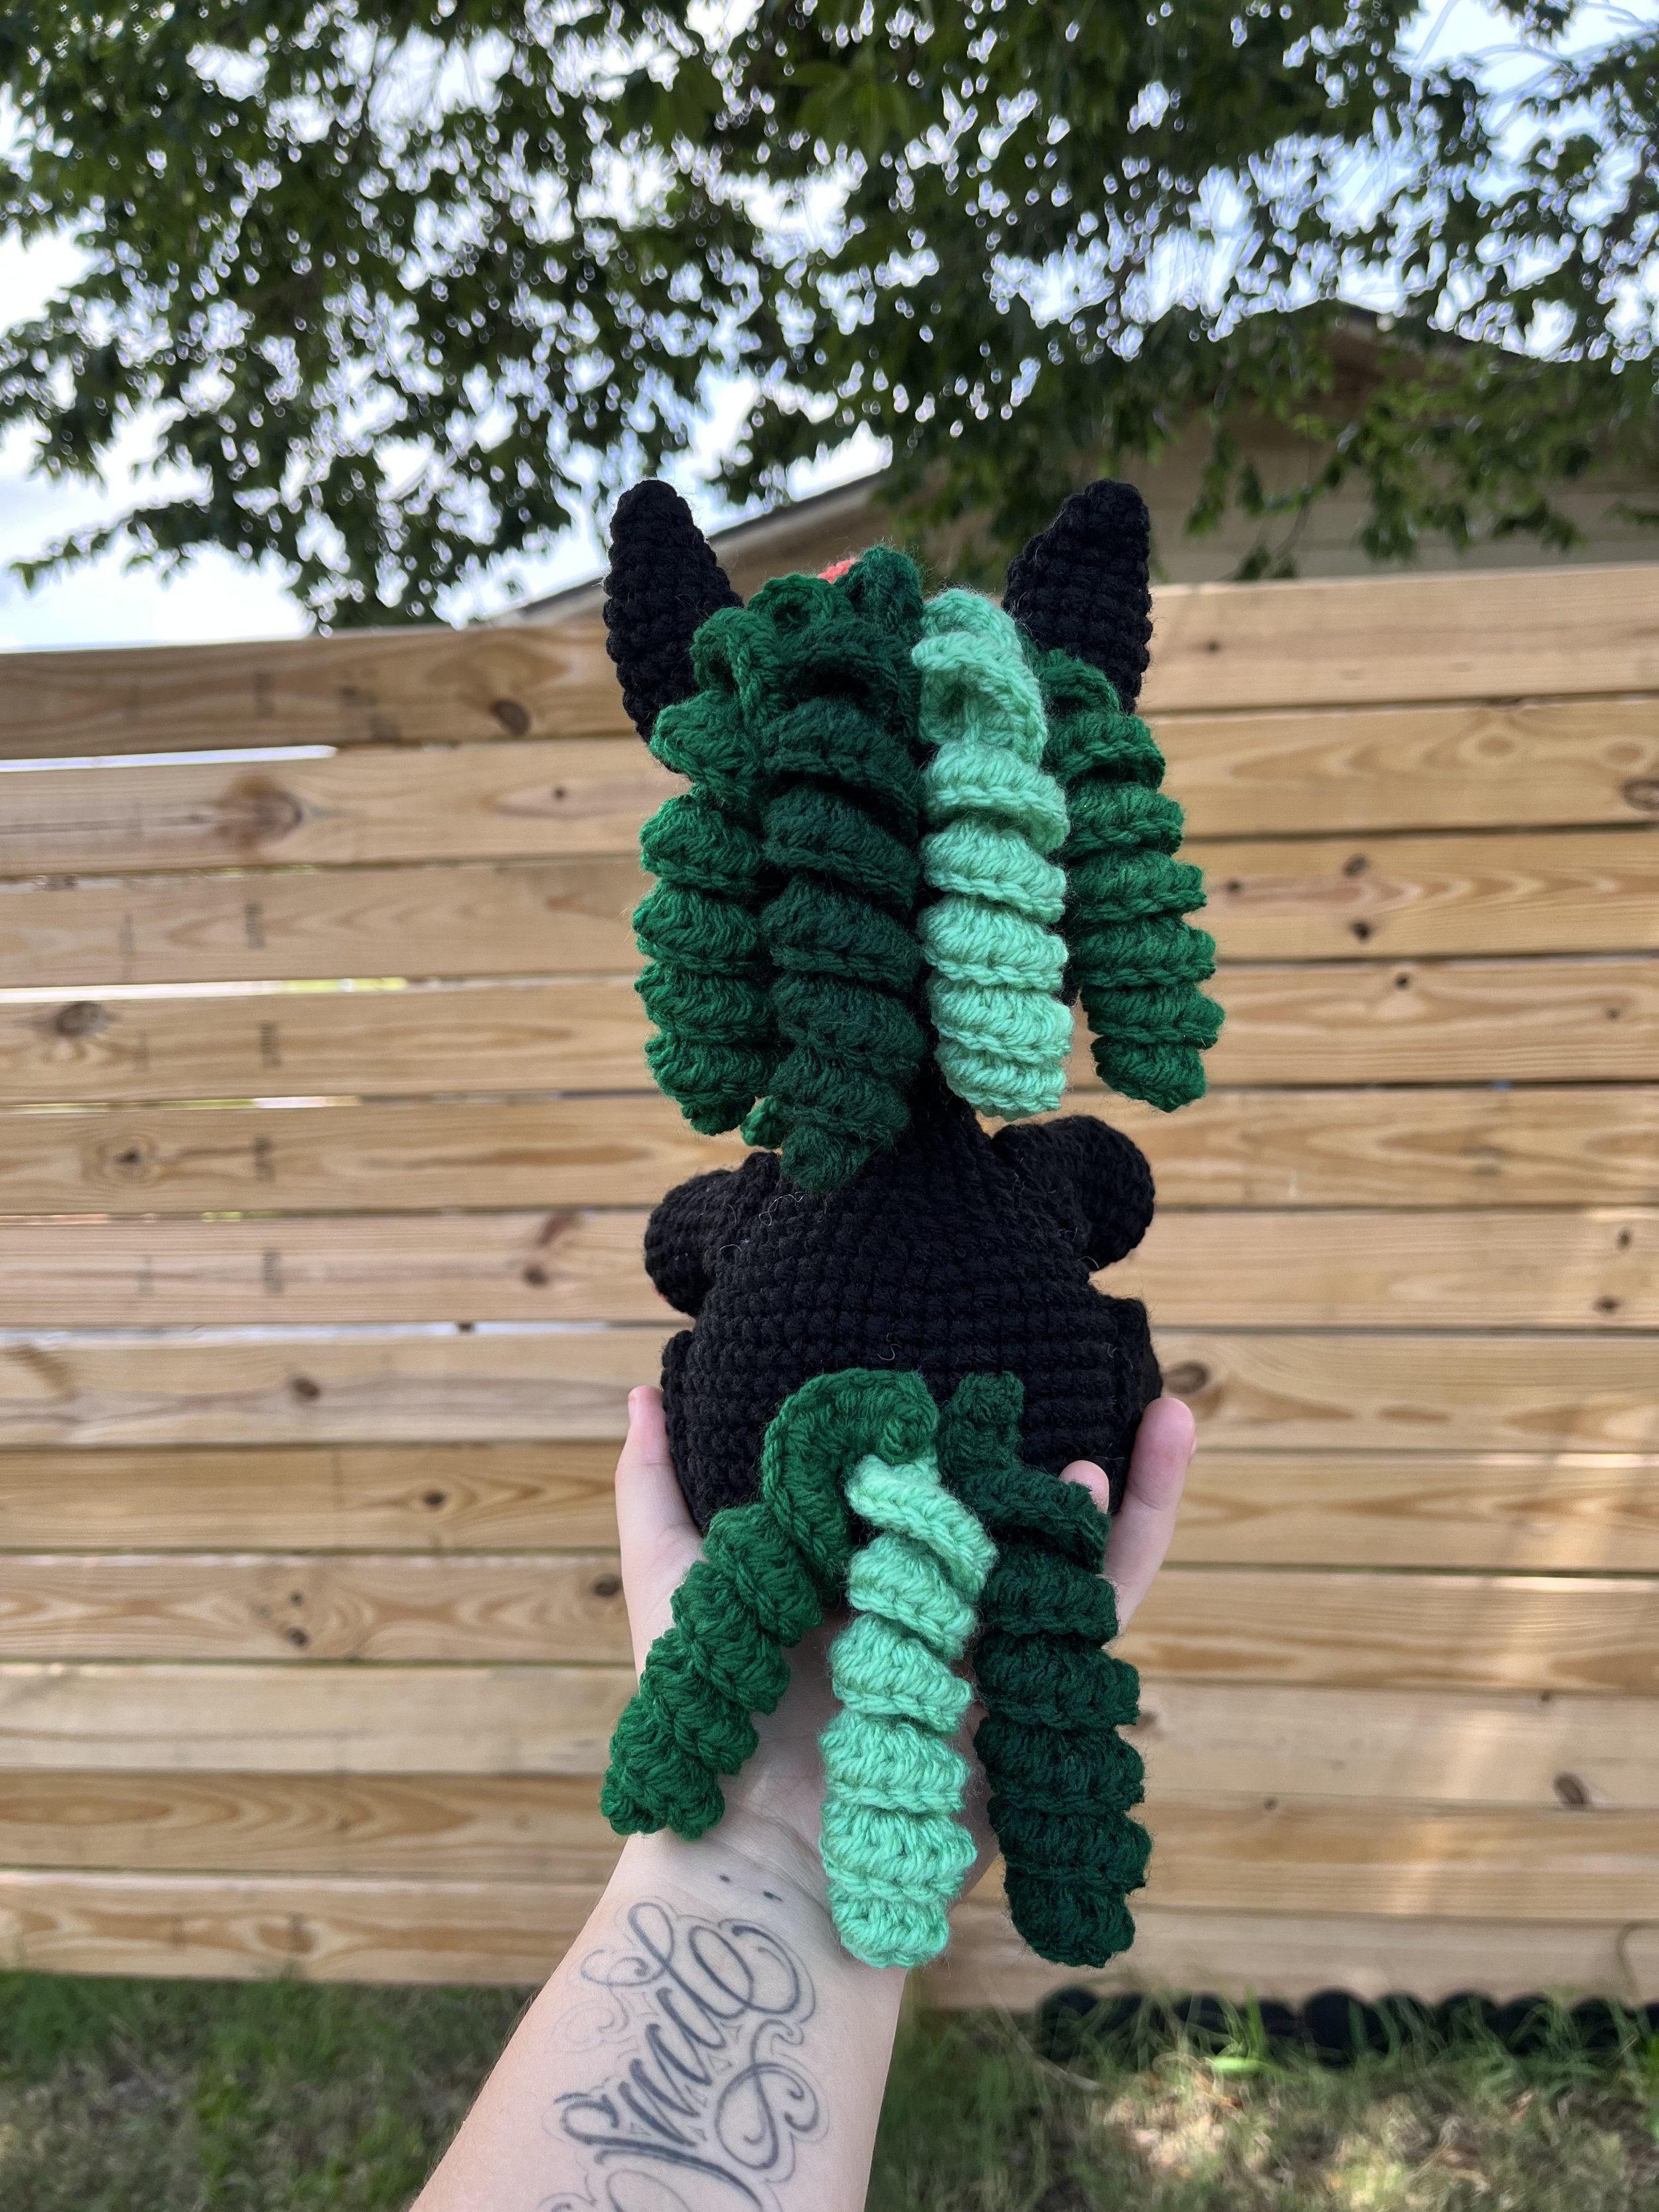
Large Mane x4
R1: CH 35, 3HDC in each ch, slst and F/O. Leave a tail for sewing
Make 1 in Color Jade
Make 2 in color varsity Green
Make 1 in color Hunter Green
Tail Mane x3
R1: CH 25, 3HDC in each ch, slst and F/O. Leave a tail for sewing
Make 1 in color Jade
Make 1 in color varsity Green
Make 1 in color Hunter Green
Pumpkin accessories:
R1: ch 13, sc in the second ch from the hook. Sc in the remaining ch. Ch1 and turn. (12)
R2-R20: 12sc through the blo, ch1 and turn (12)
Leave ab extra long tail for sewing.
Fold the rectangle in half and sew it close. With the tail wave in between of the sts at the top of the pumpkin and pull to close the top. Secure the top by wave in the tail.
Stuff the pumpkin and pass the tail through the middle of the pumpkin to get to the bottom where we will do the same as the top to close it. Pull on the yarn to make a dent into the top when pulling to the other side.
Secure the tail and pass it through the middle again to the top. Do that twice and pull tight and make a knot to secure the yarn. Use the rest of the tail to make the creases in the pumpkin.
With varsity green make 2 vines
R1: ch 10, 2sc in the second ch from the hook, 2sc in the remaining ch.
f/o Sew the vines to the top of the pumpkin
Sew the pumpkin to the arms of the unicorn.
Assembly:
Sew the muzzle 1 Row under the eyes
Sew the ears between row 6 and 7
Sew the large mane in between the ears
Sew the arms between row 25 and row 29 at an angle
Sew the legs between row 32 and row 39 at the same angle as the arms
Sew the tail mane on row 35
Sew the horn between row 4 and row 9, centered between the eyes
luna the pumpkin unicorn part 2
Go Big Or Gourd Home cal Luna the pumpkin unicorn part 2
Welcome to the Go Big Or Gourd Home cal. Today we will start part 2 of the Luna the pumpkin unicorn. This design is separated in 3 parts. Here are the date of this designs is august 10th to august 18 2022. If you wish not to wait for the parts you can purchase the bundle with all 3 designs and you can add the rest of the pumpkin lady’s family. Click on the button below for the link of the bundle.
Materials
3.5 mm crochet hook
Red heart super saver color black
Red Heart Super saver color DK Coral
Red Heart Super saver color pumpkin
Red Heart Super Saver color Hunter Green
Big Twist Value Color Varsity Green
Impeccable color Jade
20mm safety eyes.
White thread
Stuffing
Scissors
Stitch Markers
Tapestry needle
ENG US Terms
Level: Easy
MC: magic circle
SC: single crochet
BLO: back loop only
Inc: increase
Dec: decrease
F/O: fasten off
Muzzle (in black)
R1: MC 6
R2: Inc x6 (12)
R3: (1sc, inc) x6 (18)
R4: (2sc, inc) x6 (24)
R5: (3sc, inc) x6 (30)
R6-R7: sc all around (30)
F/O leave a long tail for sewing
Ears x2 (black)
R1: MC 6
R2: 6sc (6)
R3: (1sc, inc) x3 (9)
R4: (2sc, inc) x3 (12)
R5: (3sc, inc) x3 (15)
R6: (4sc, inc) x3 (18)
R7: (5sc, inc) x3 (21)
R8-R10: sc all around (21)
F/O fold in half and sc the ear shut, leave a long tail, and fold the ear in two again and sew the fold ear.
Horn (orange). You will be working through the blo
R1: MC 6
R2: BLO 6sc (6)
R3: BLO (1sc, inc) x3 (9)
R4: BLO sc all around (9)
R5: BLO (2sc, inc) x3 (12)
R6: BLO sc all around (12)
R7: BLO (3sc, inc) x3 (15)
R8: BLO sc all around (15)
R9: BLO (4sc, inc) x3 (18)
R10: BLO sc all around (18)
F/O leave a tail for sewing and stuff the horn
Legs x2 With orange
R1: MC 6
R2: Inc x6 (12)
R3: (1sc, inc) x6 (18)
R4: (2sc, inc) x6 (24) change to main color (black) on the last st of this round
R5: 24sc through the BLO (24)
R6-R8: sc all around (24)
R9: (2sc, dec) x6 (18)
Stuff firmly
R10: sc all around (18)
Stop stuffing the leg
R11-R16: sc all around (18)
Fold in half and sc the opening shut. F/O leave a long tail for sewing
luna the pumpkin unicorn part 1
Go Big Or Gourd Home cal Luna the pumpkin unicorn part 1
Welcome to the Go Big Or Gourd Home cal. Today we will start part 1 of the Luna the pumpkin unicorn. This design is separated in 3 parts. Here are the date of this designs is august 10th to august 18 2022. If you wish not to wait for the parts you can purchase the bundle with all 3 designs and you can add the rest of the pumpkin lady’s family. Click on the button below for the link of the bundle.
Here is the materials you will need:
3.5 mm crochet hook
Red heart super saver color black
Red Heart Super saver color DK Coral
Red Heart Super saver color pumpkin
Red Heart Super Saver color Hunter Green
Big Twist Value Color Varsity Green
Impeccable color Jade
20mm safety eyes.
White thread
Stuffing
Scissors
Stitch Markers
Tapestry needle
ENG US Terms
Level: Easy
MC: magic circle
SC: single crochet
BLO: back loop only
Inc: increase
Dec: decrease
F/O: fasten off
HEAD/BODY (color black)
R1: MC 6
R2: INC x6 (12)
R3: (1sc, Inc) x6 (18)
R4: (2sc, Inc) x6 (24)
R5: (3sc, Inc) x6 (30)
R6: (4sc, Inc) x6 (36)
R7: (5sc, inc) x6 (42)
R8-R12: sc all around (42)
R13: (Inc, 1sc) x9, 24 sc (51) (add a st marker at the last sc of the inc st 26)
R14-R16: sc all around (51)
R17: (dec, 1sc) x9, 24sc (42)
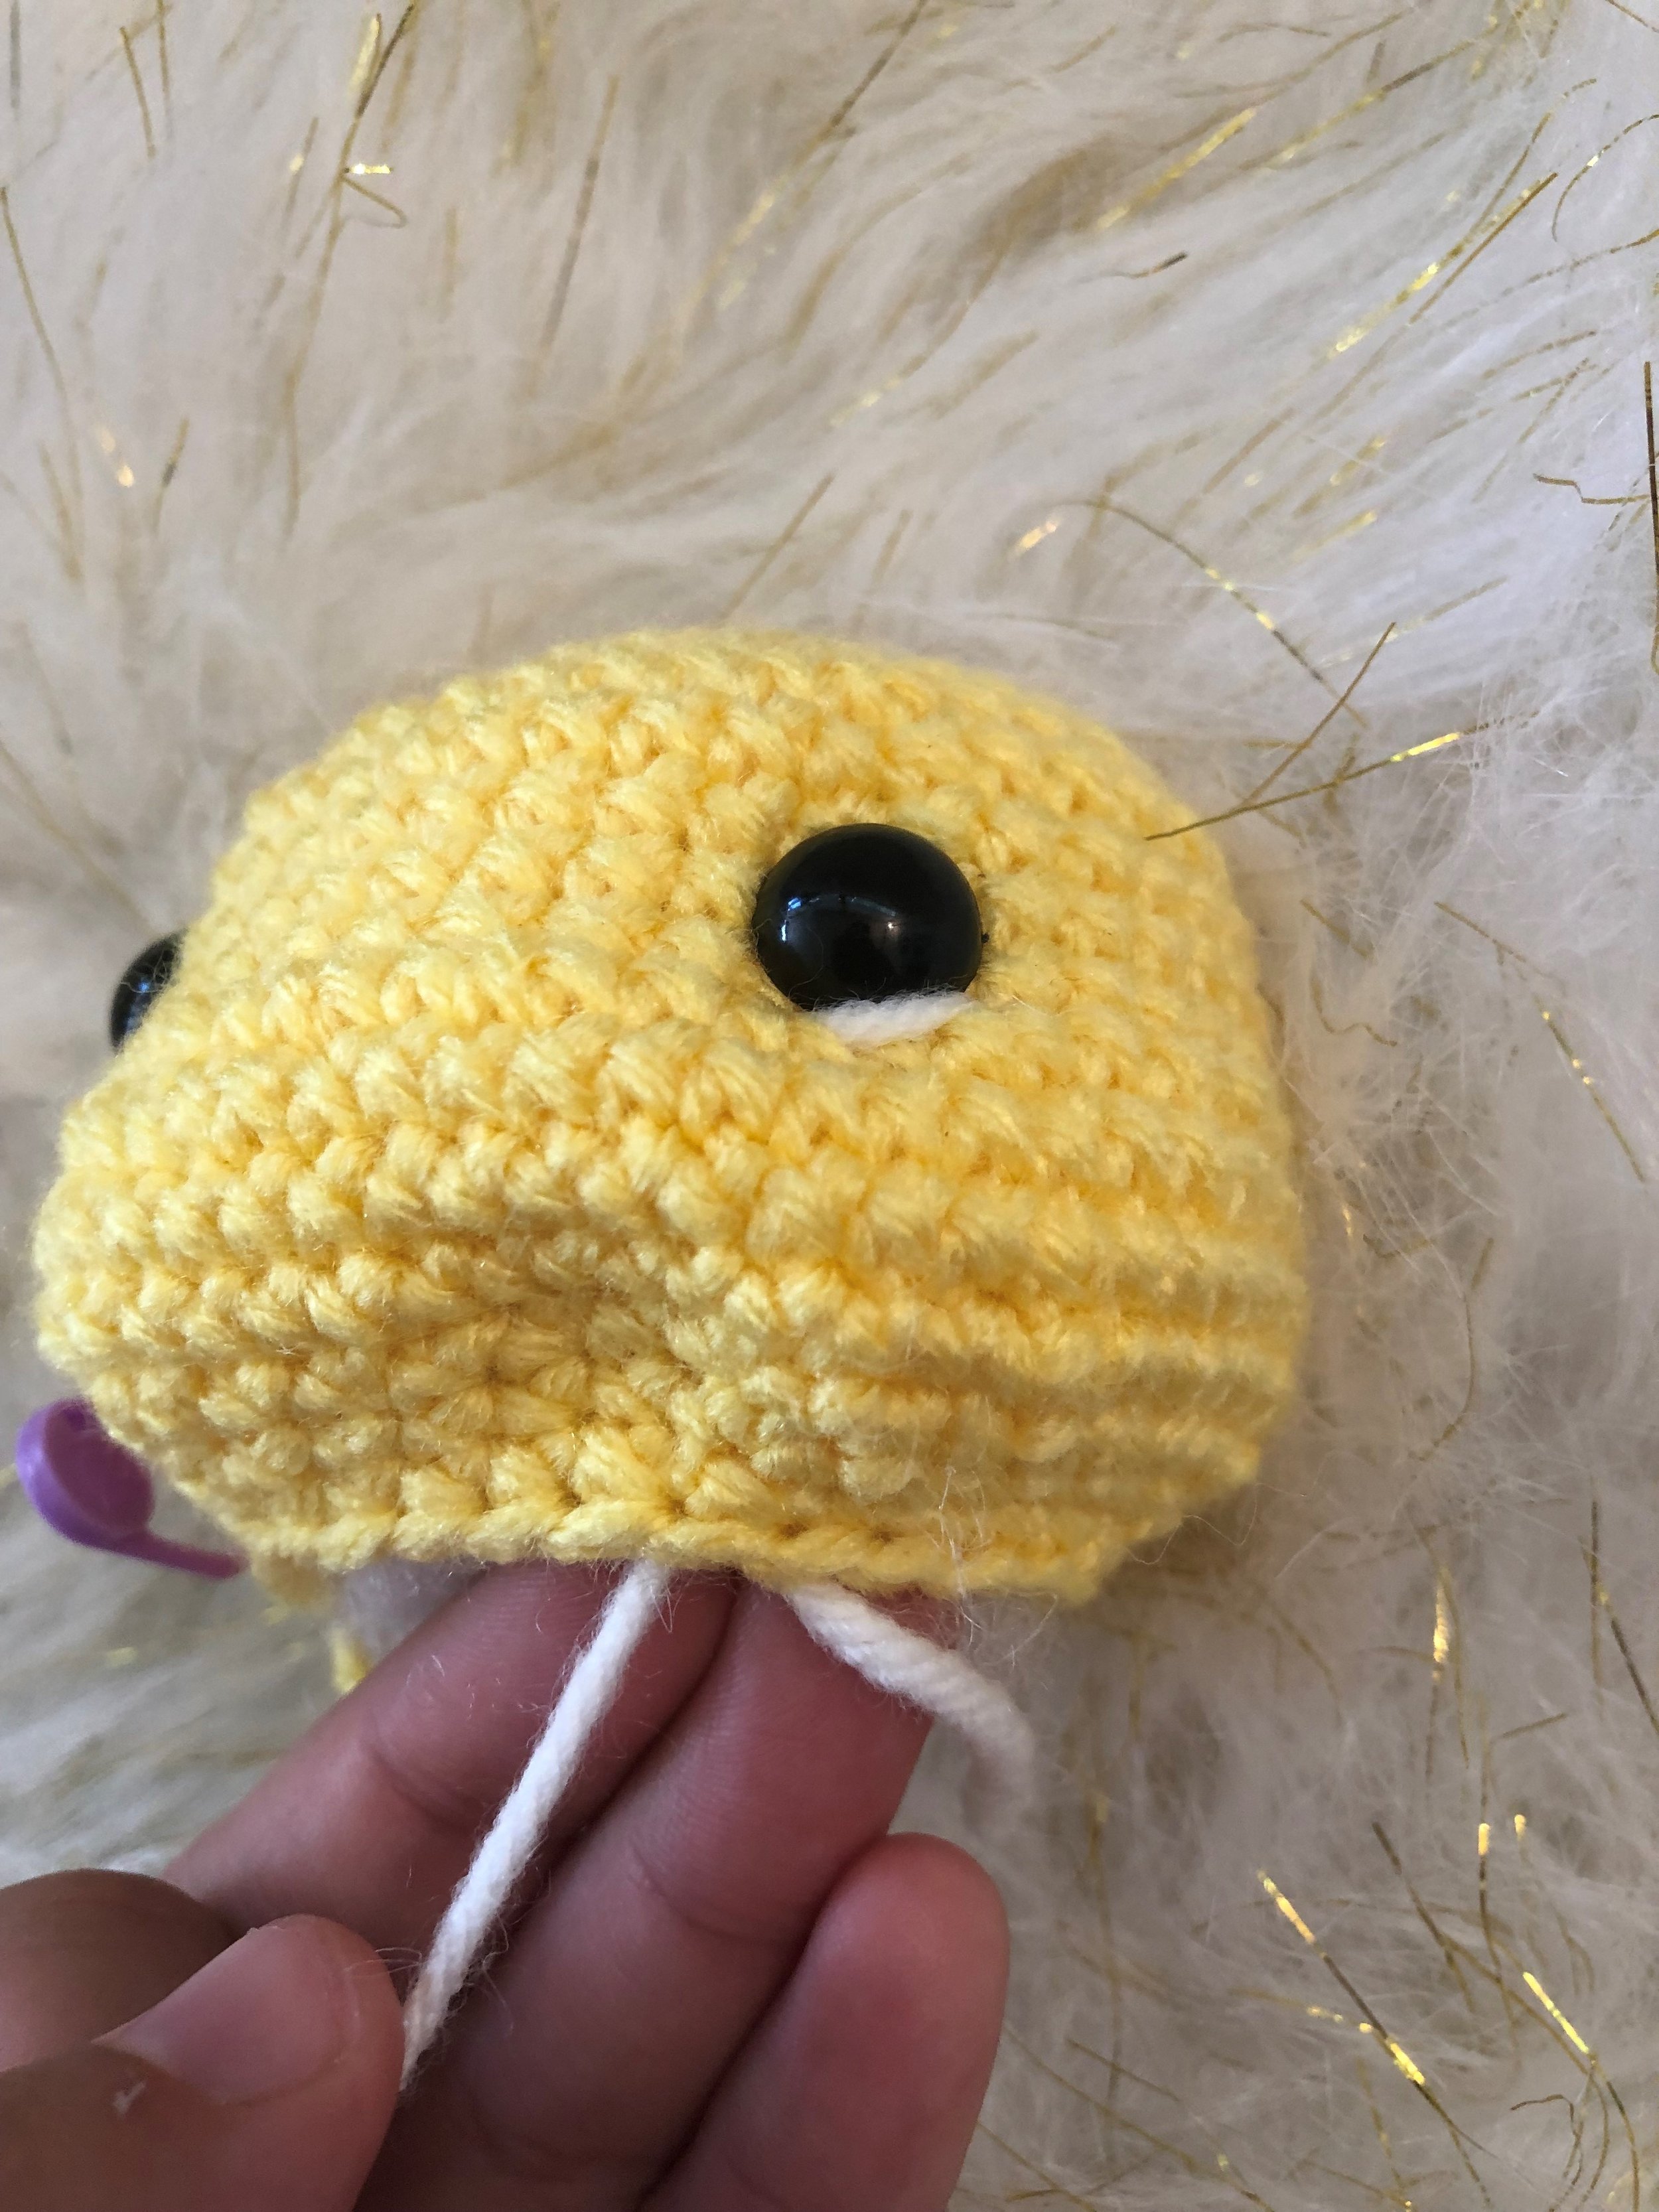
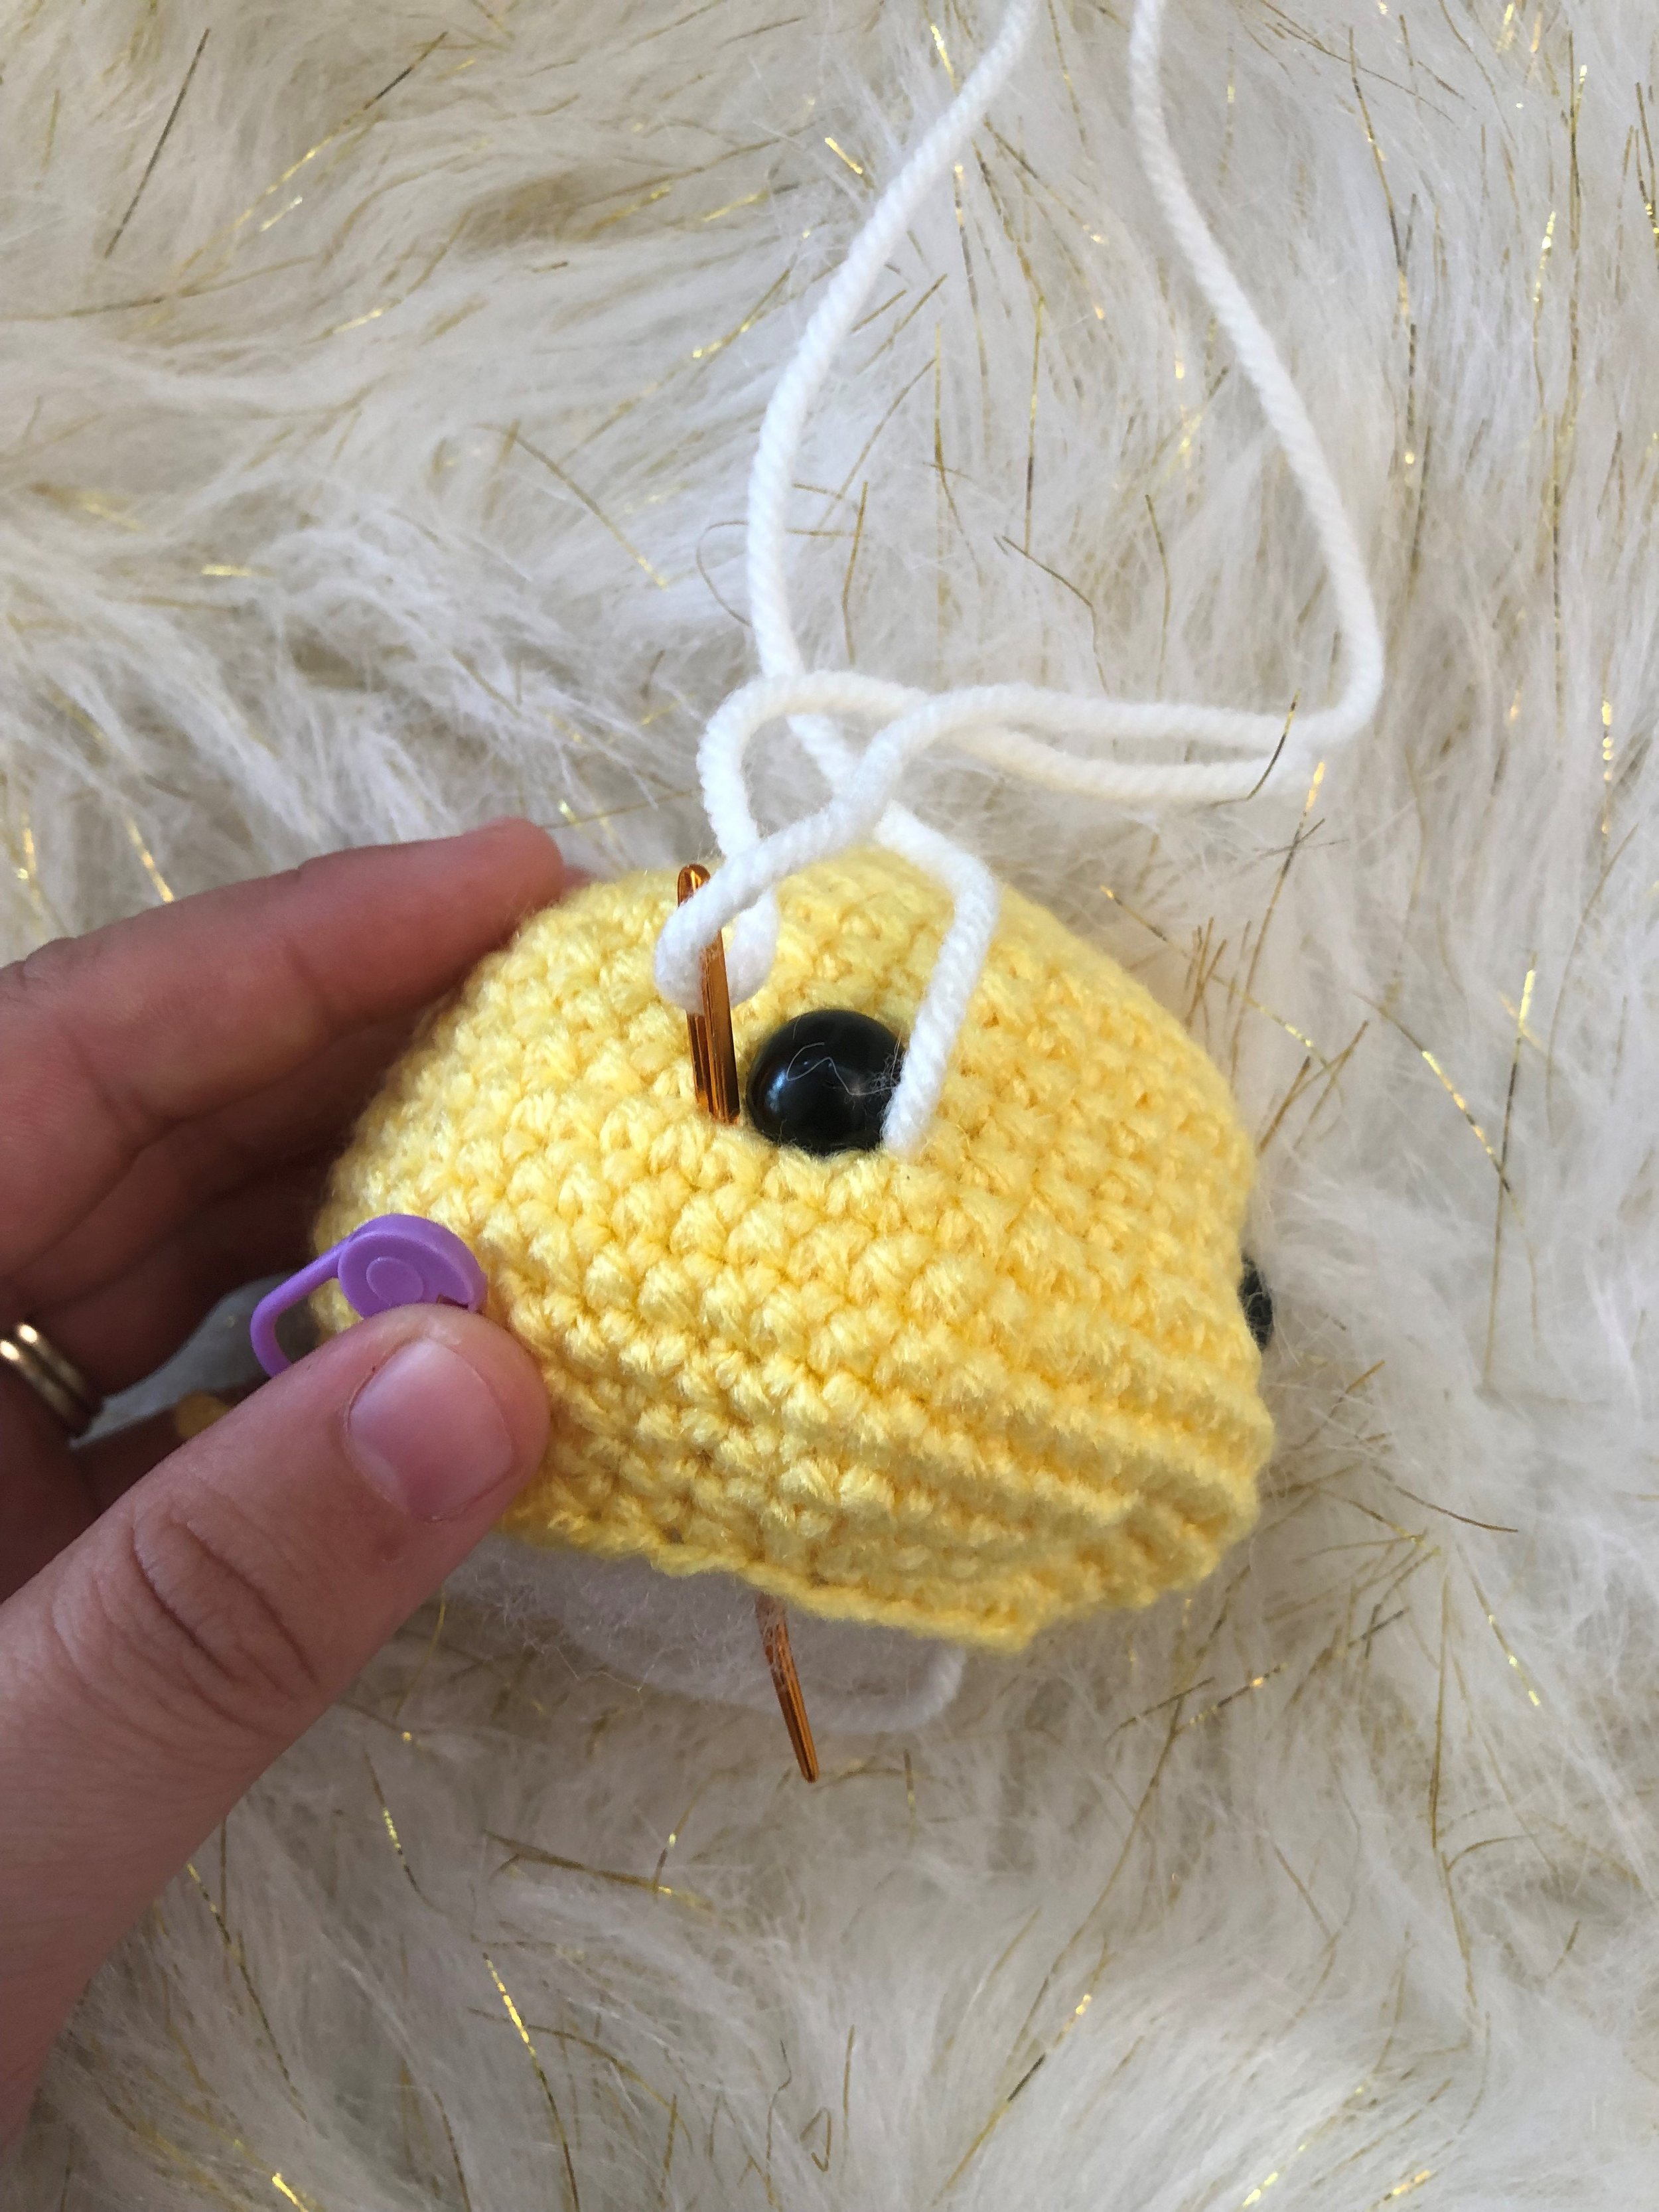
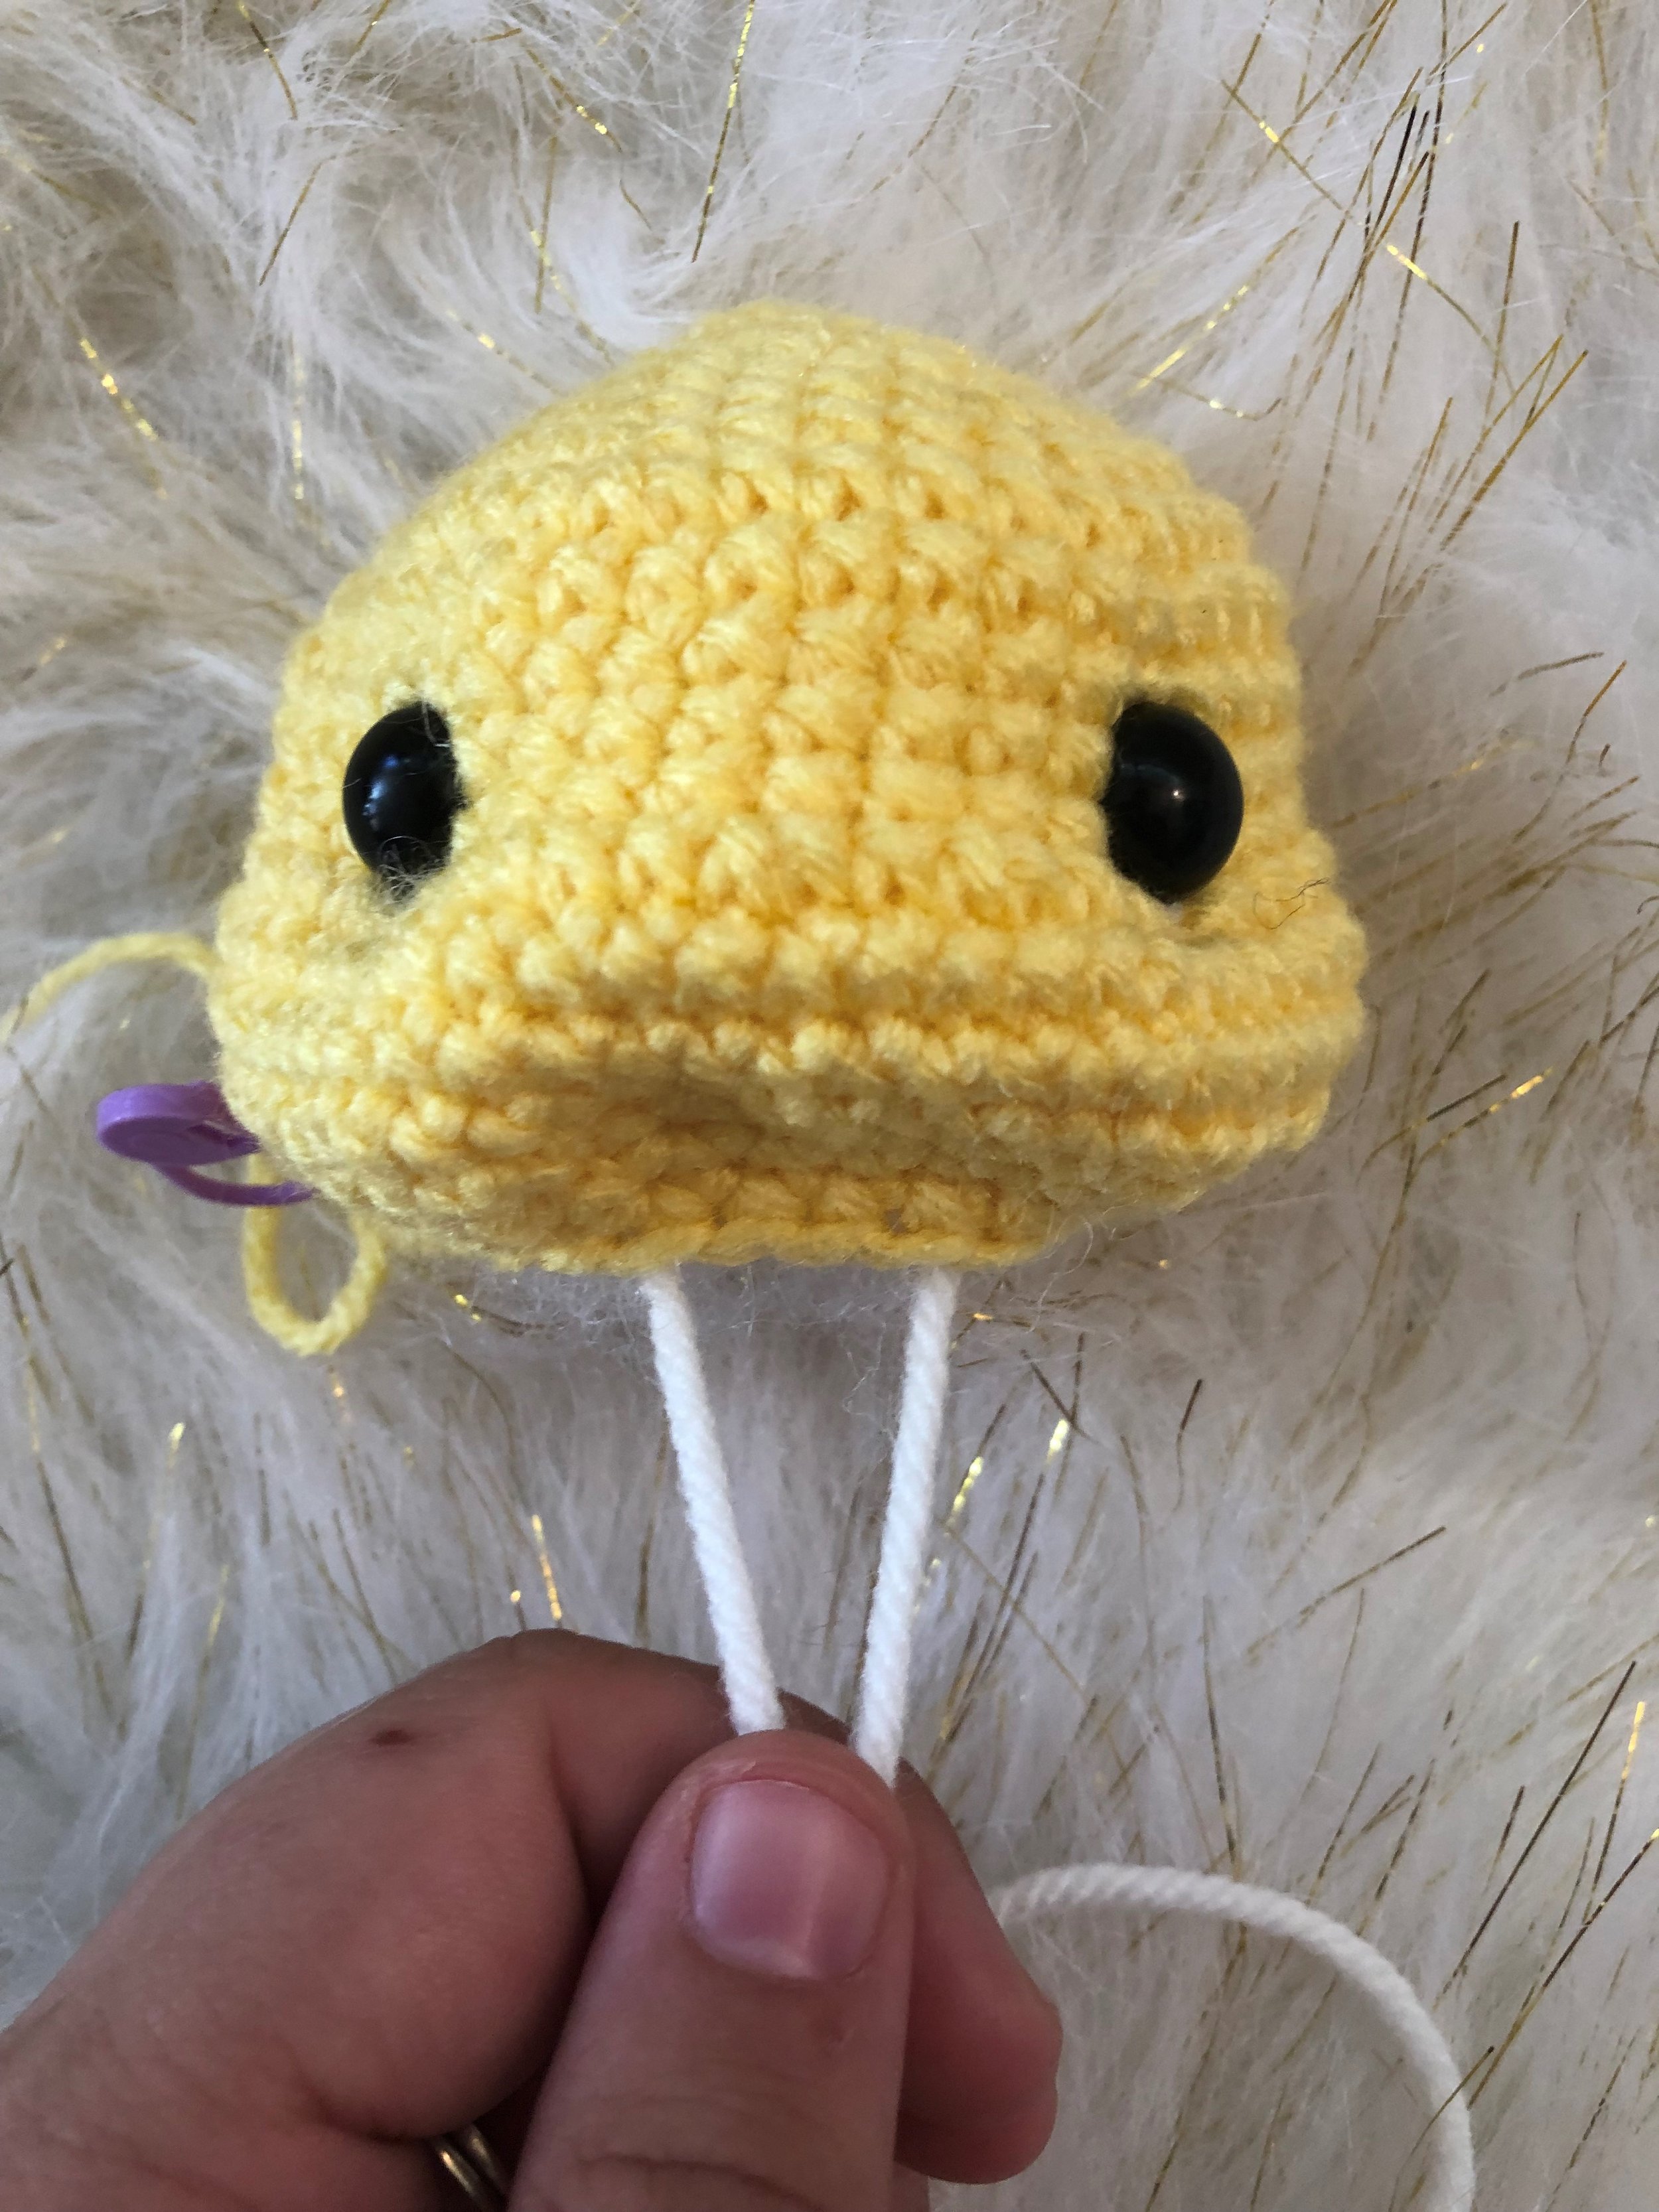
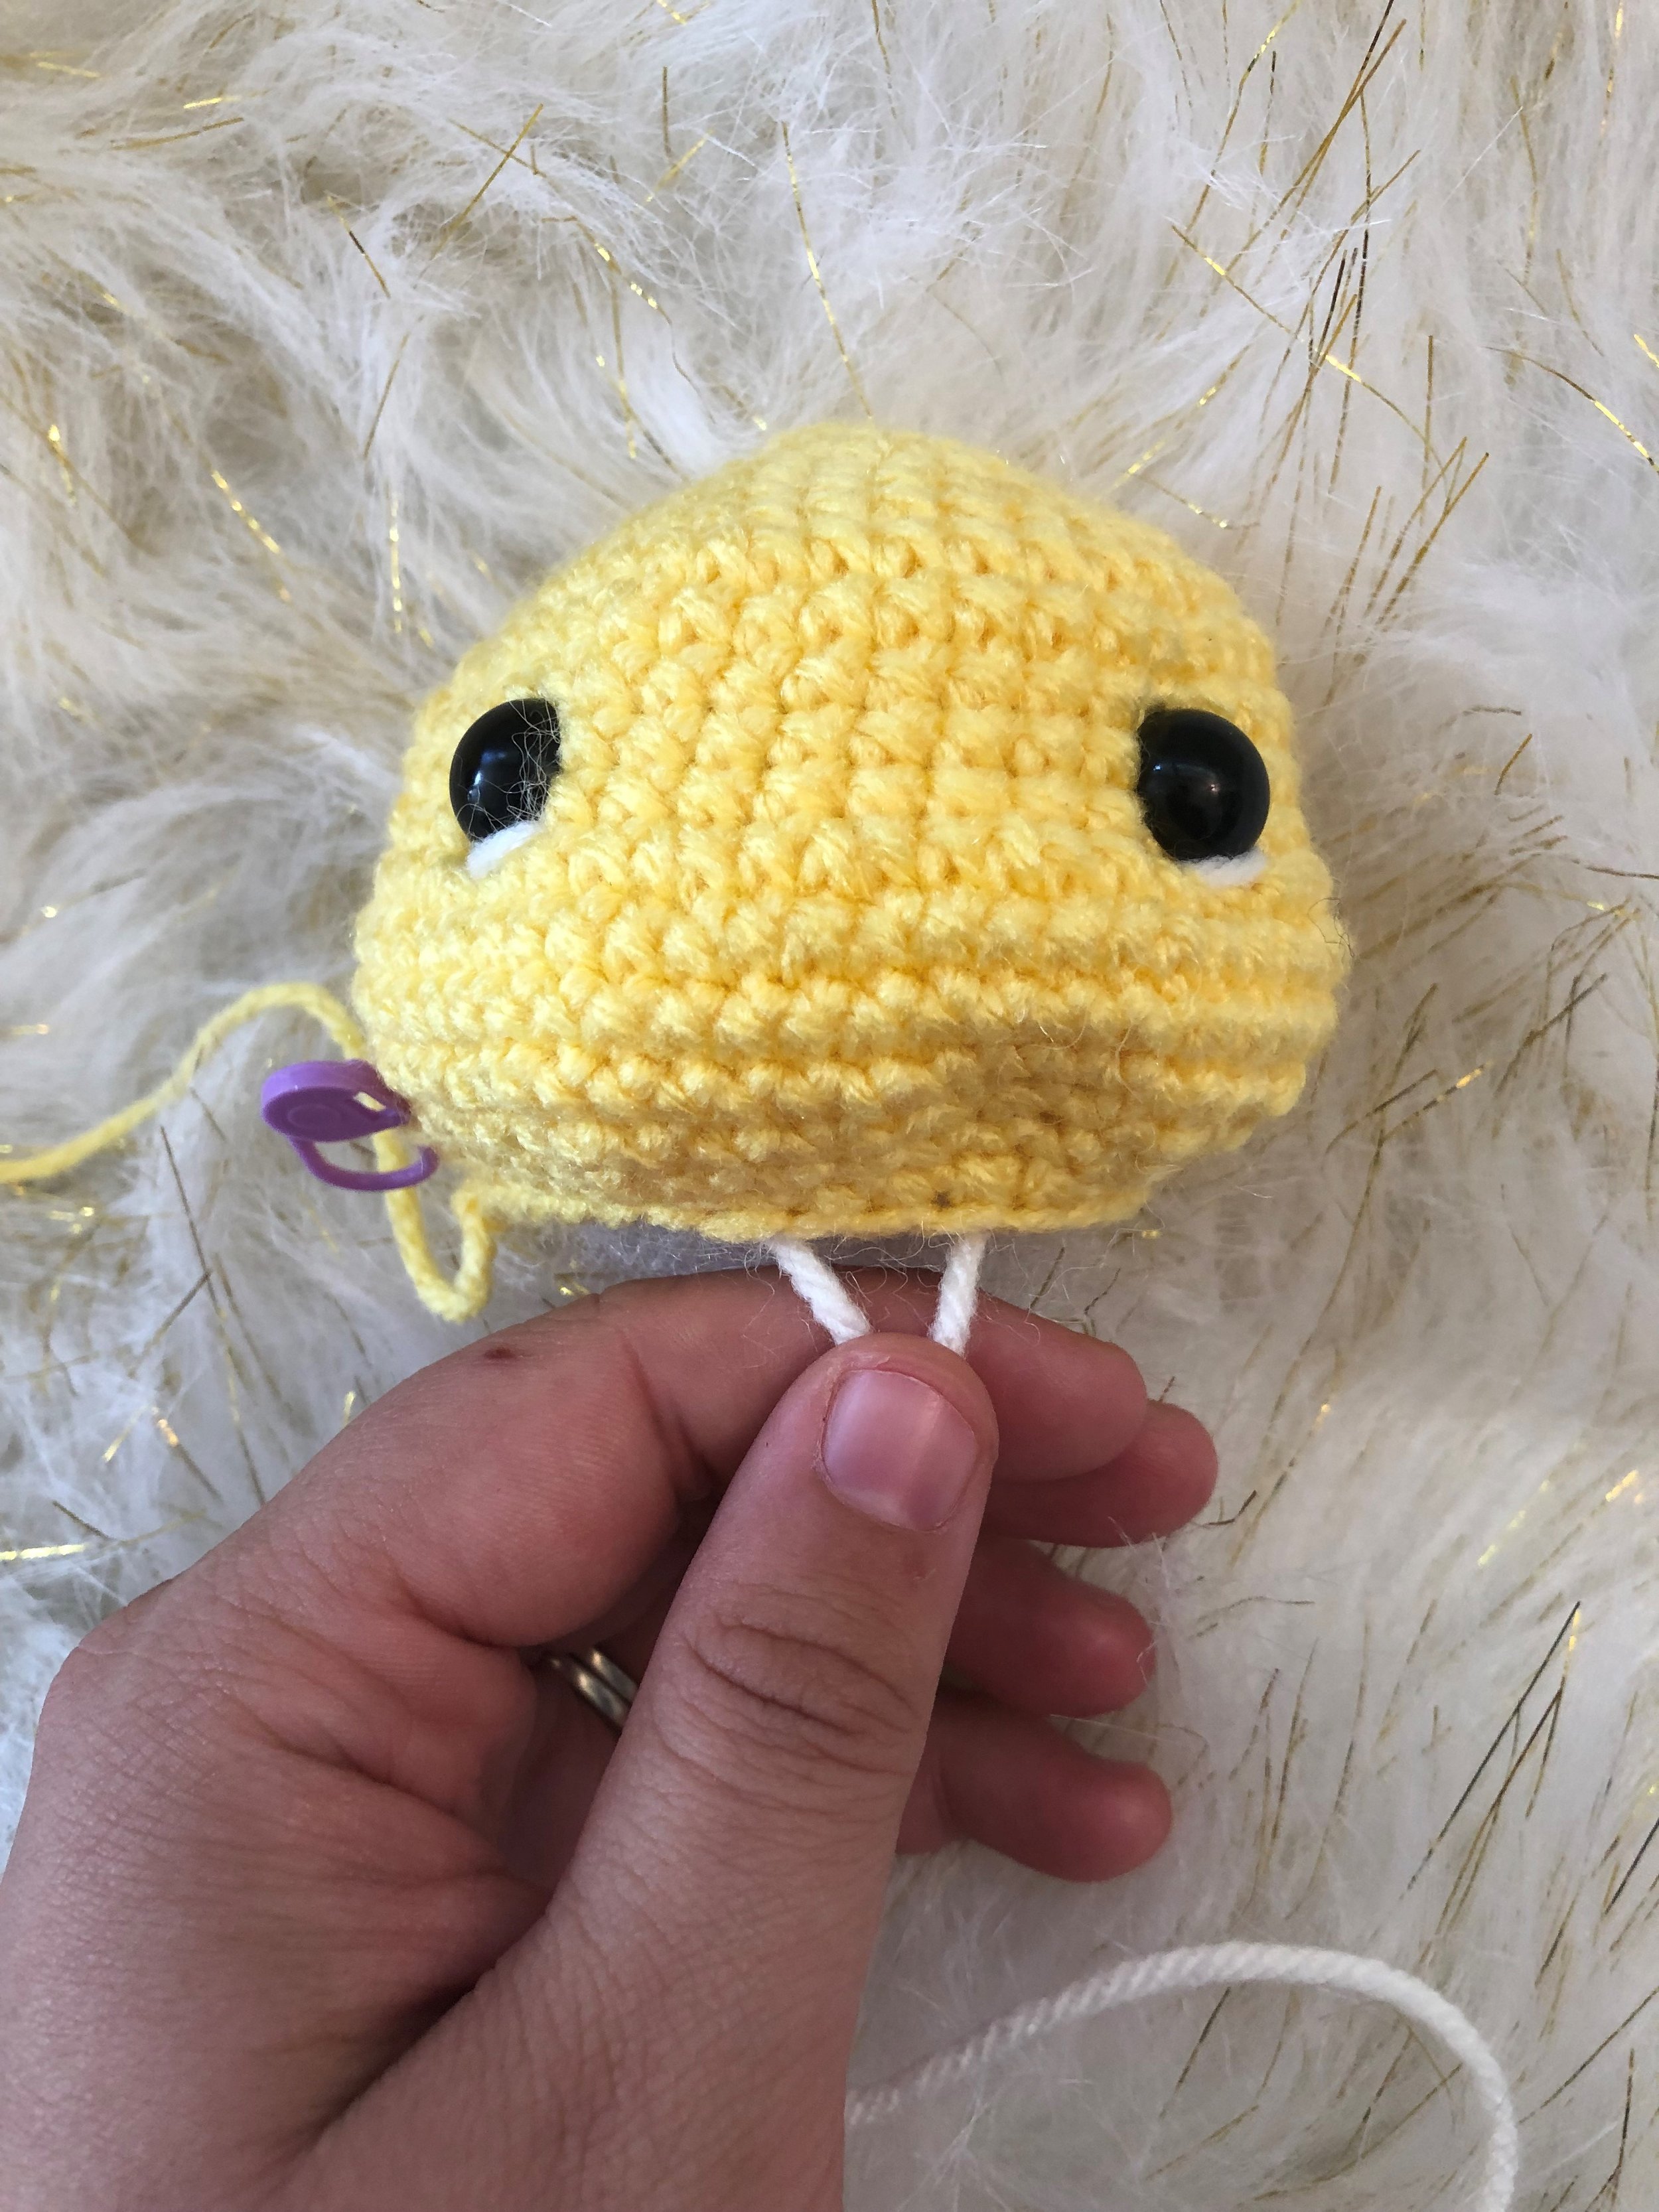
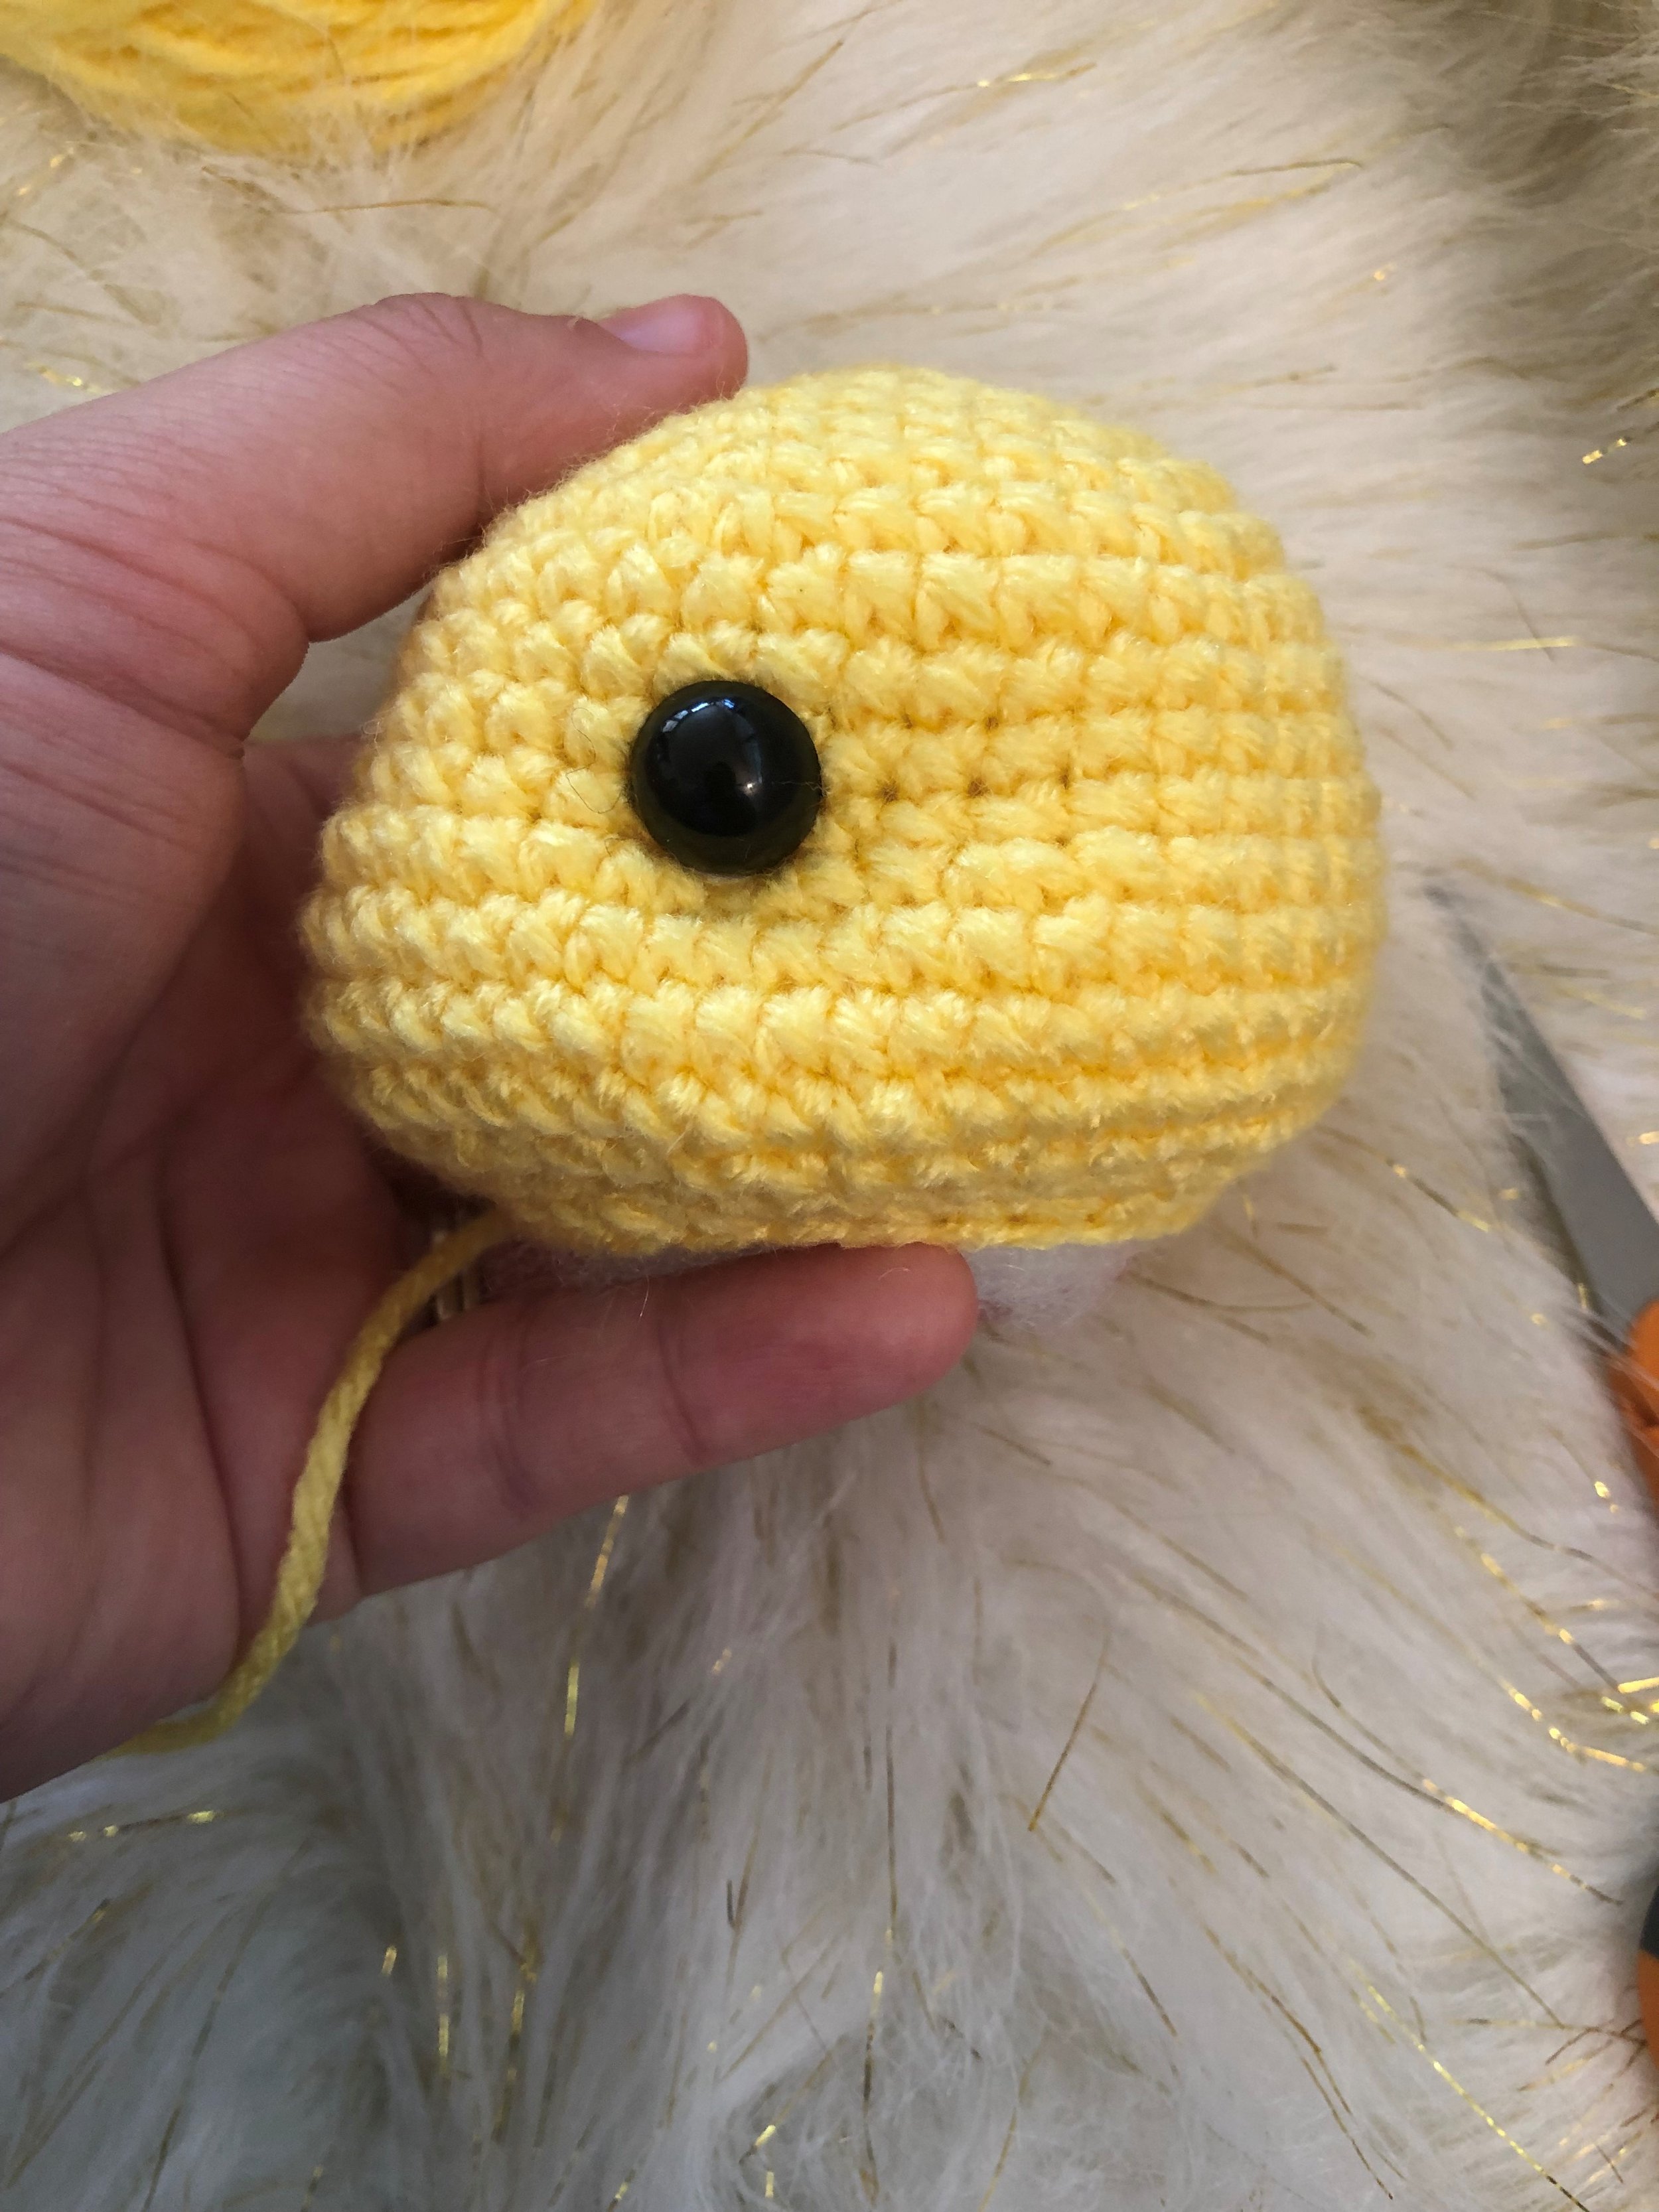
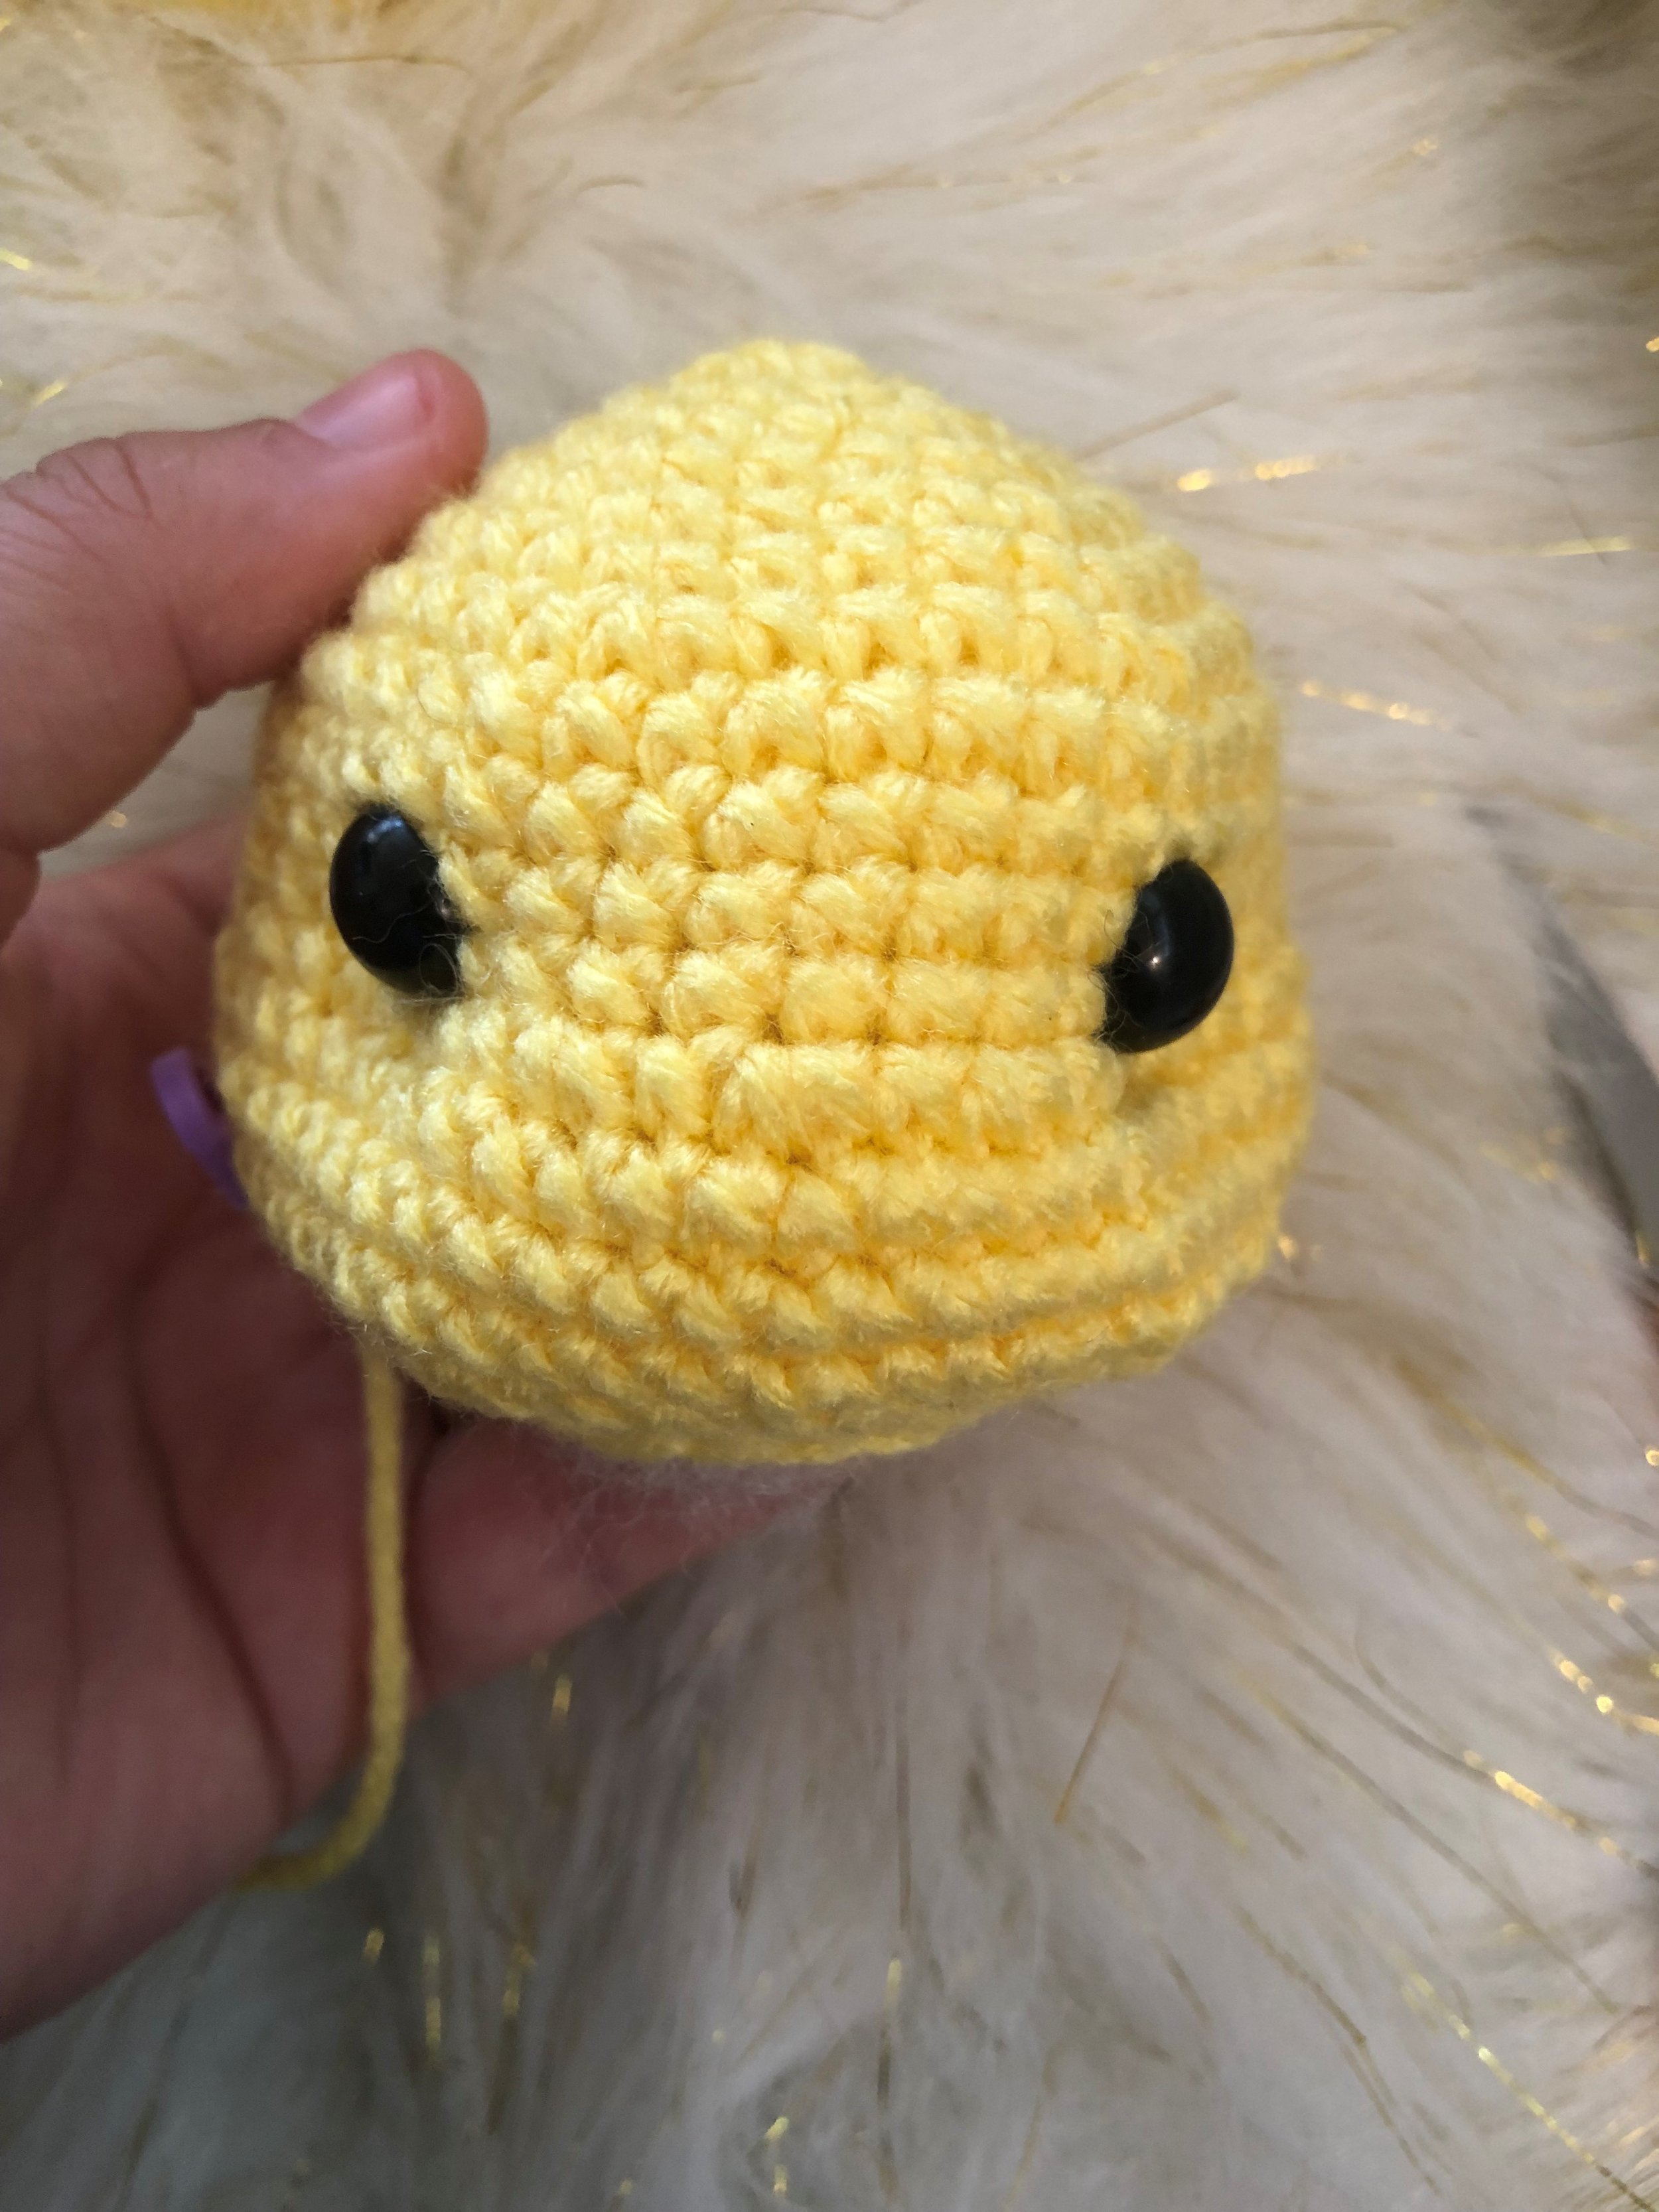
Place the eyes between row 10 and row 11 with 8 sts between the eyes. 3sts away from the first st marker and 4 sts away from the second st marker
R18: (5sc, dec) x6 (36)
R19: (4sc, Dec) x6 (30)
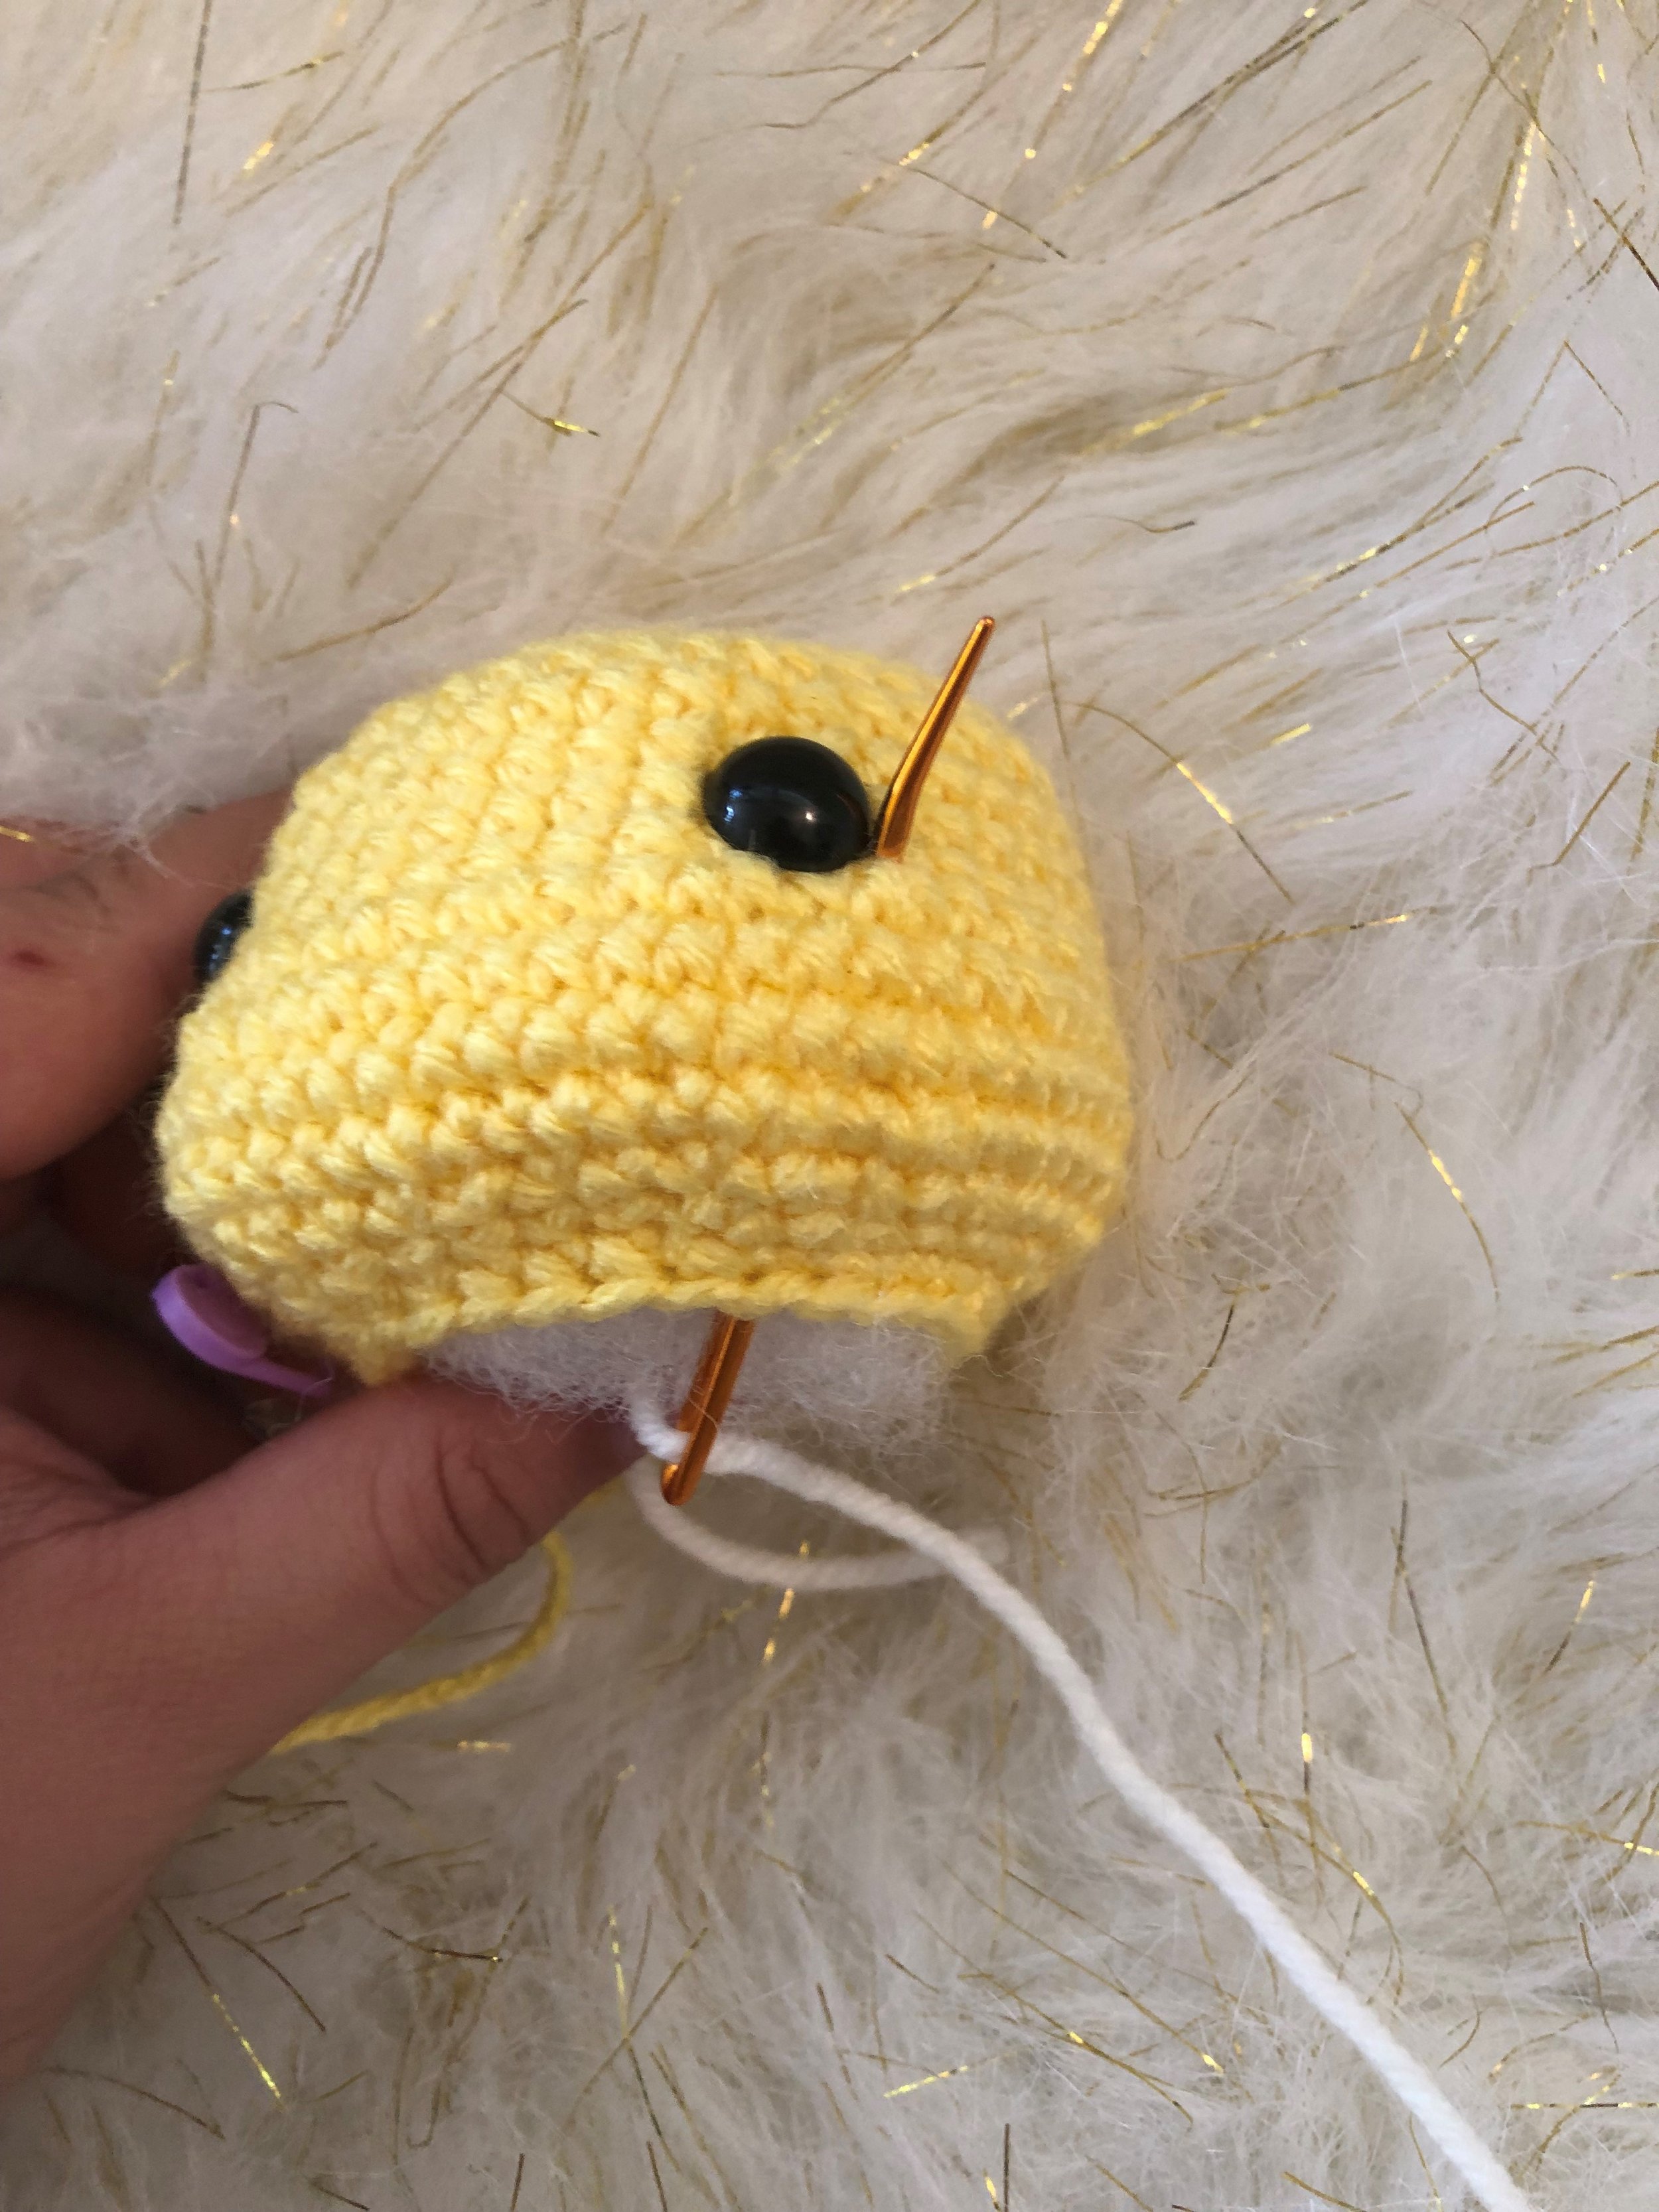
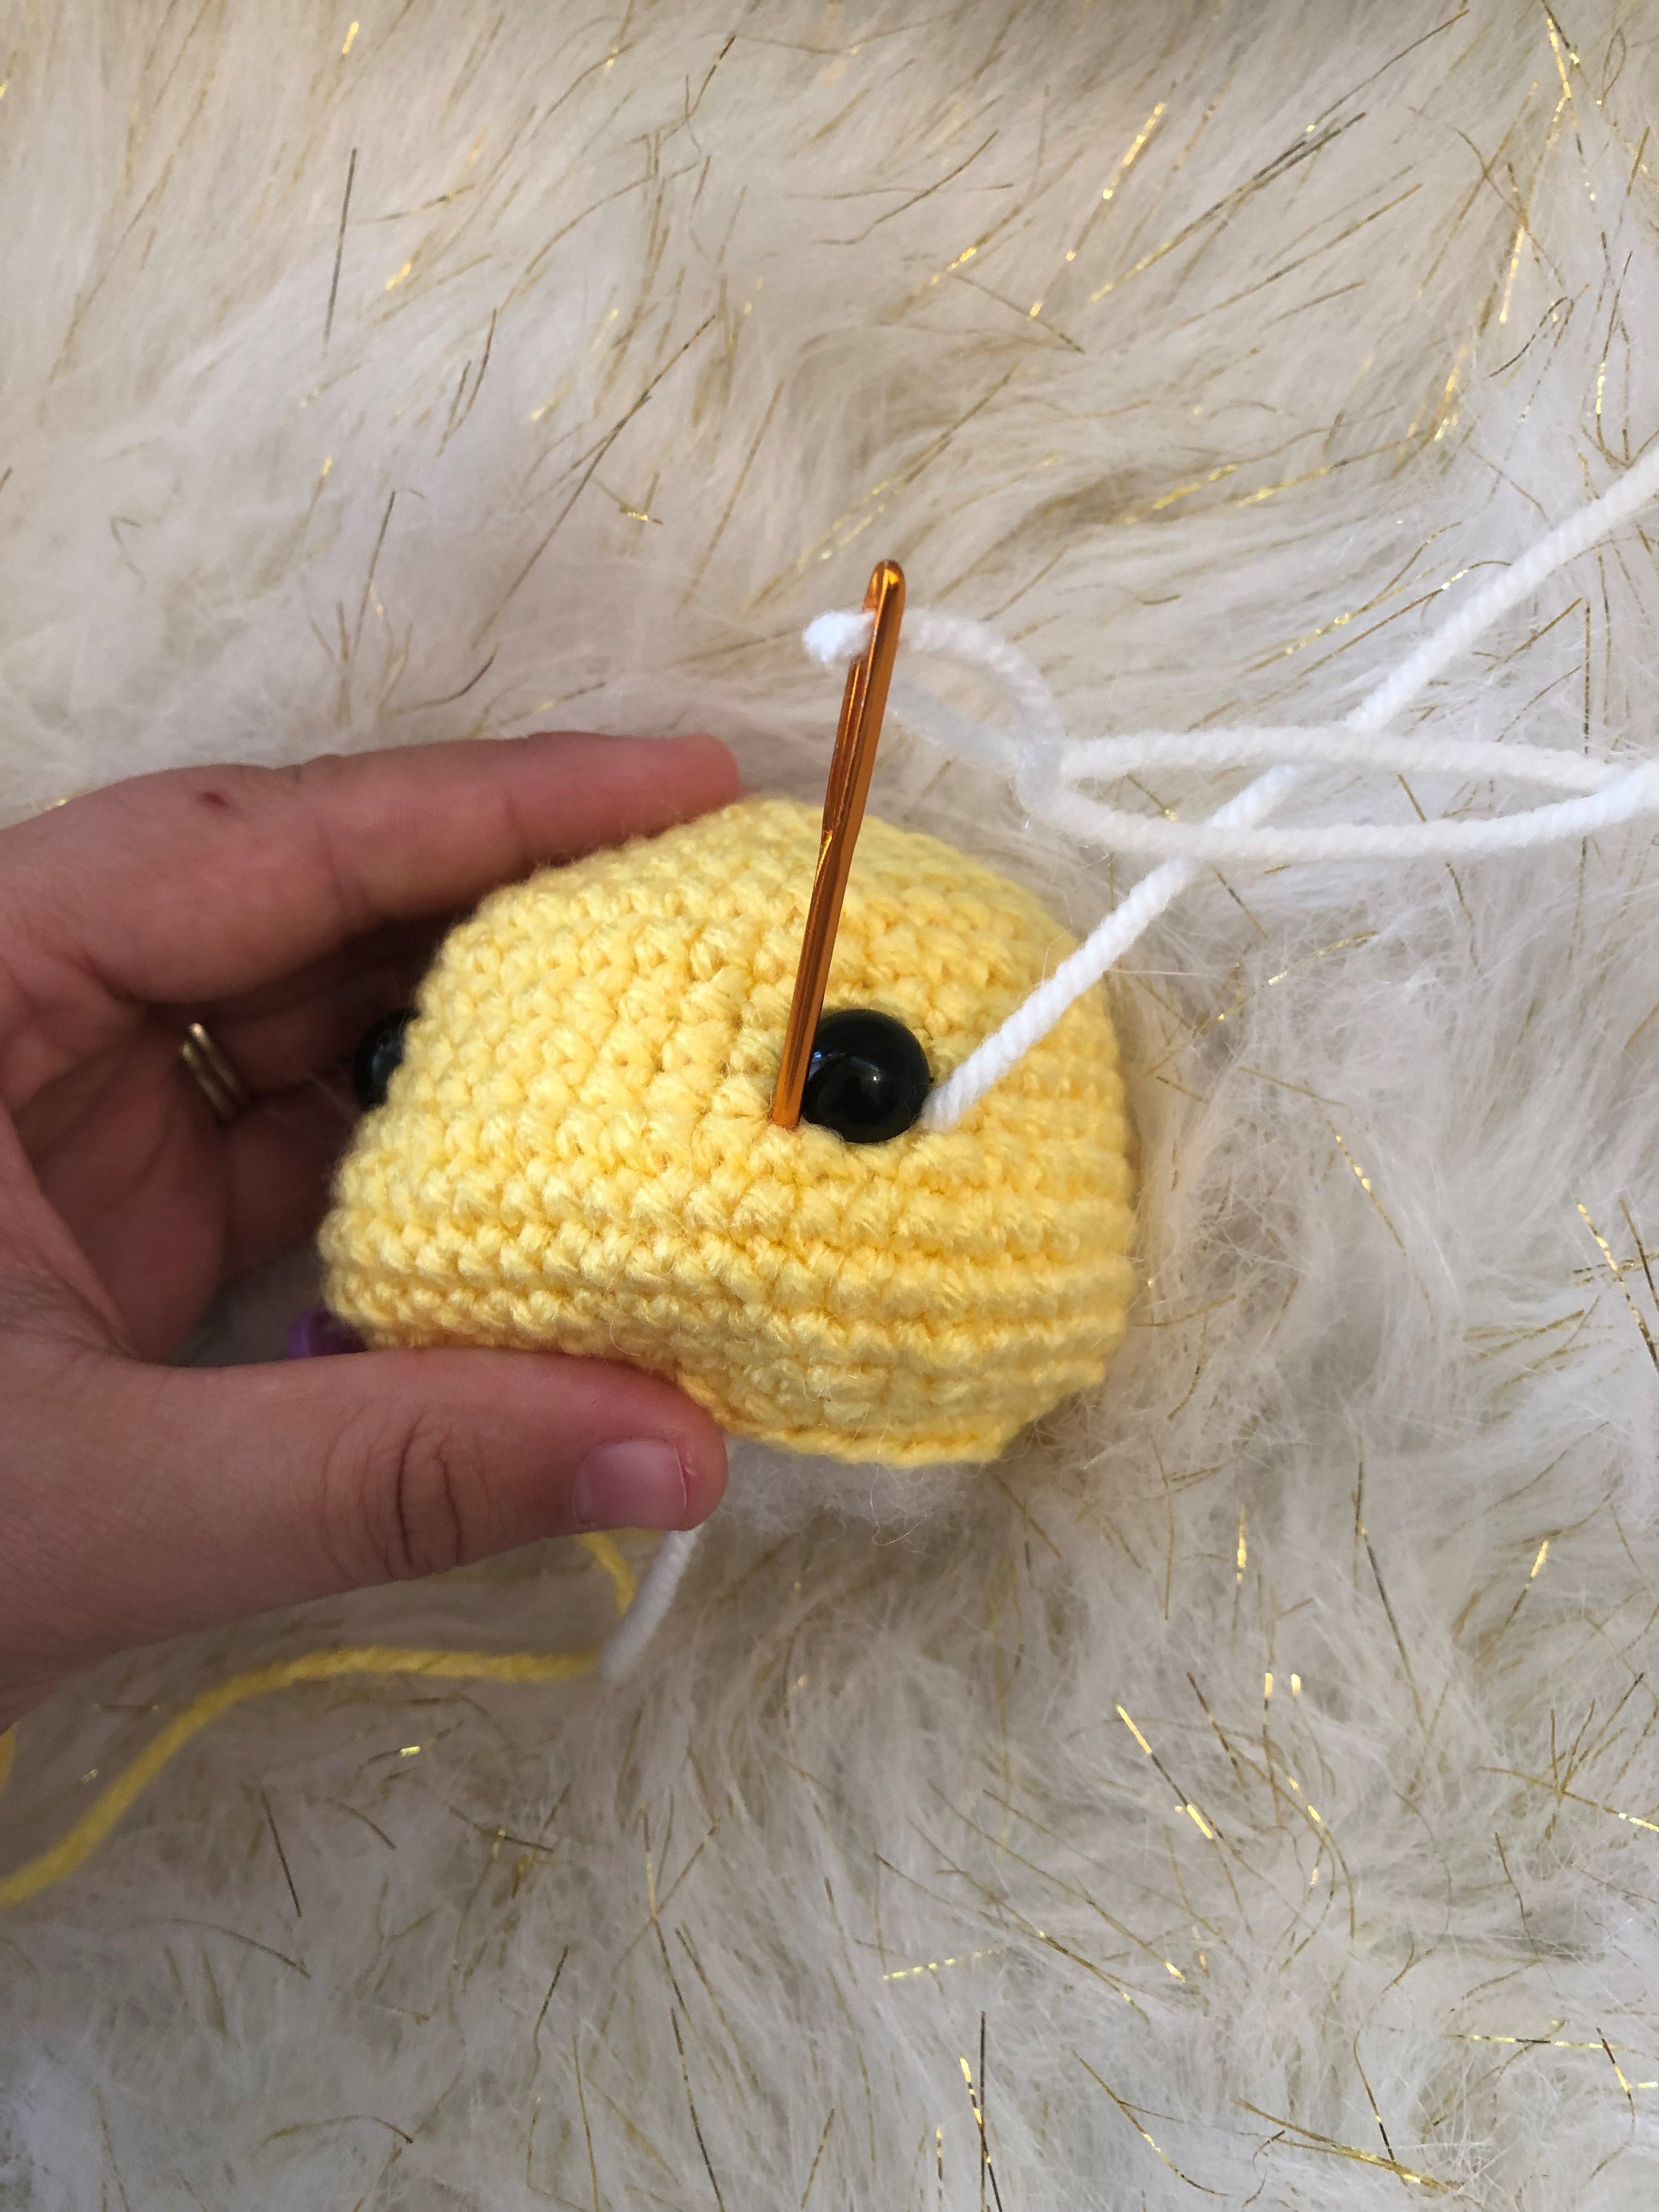
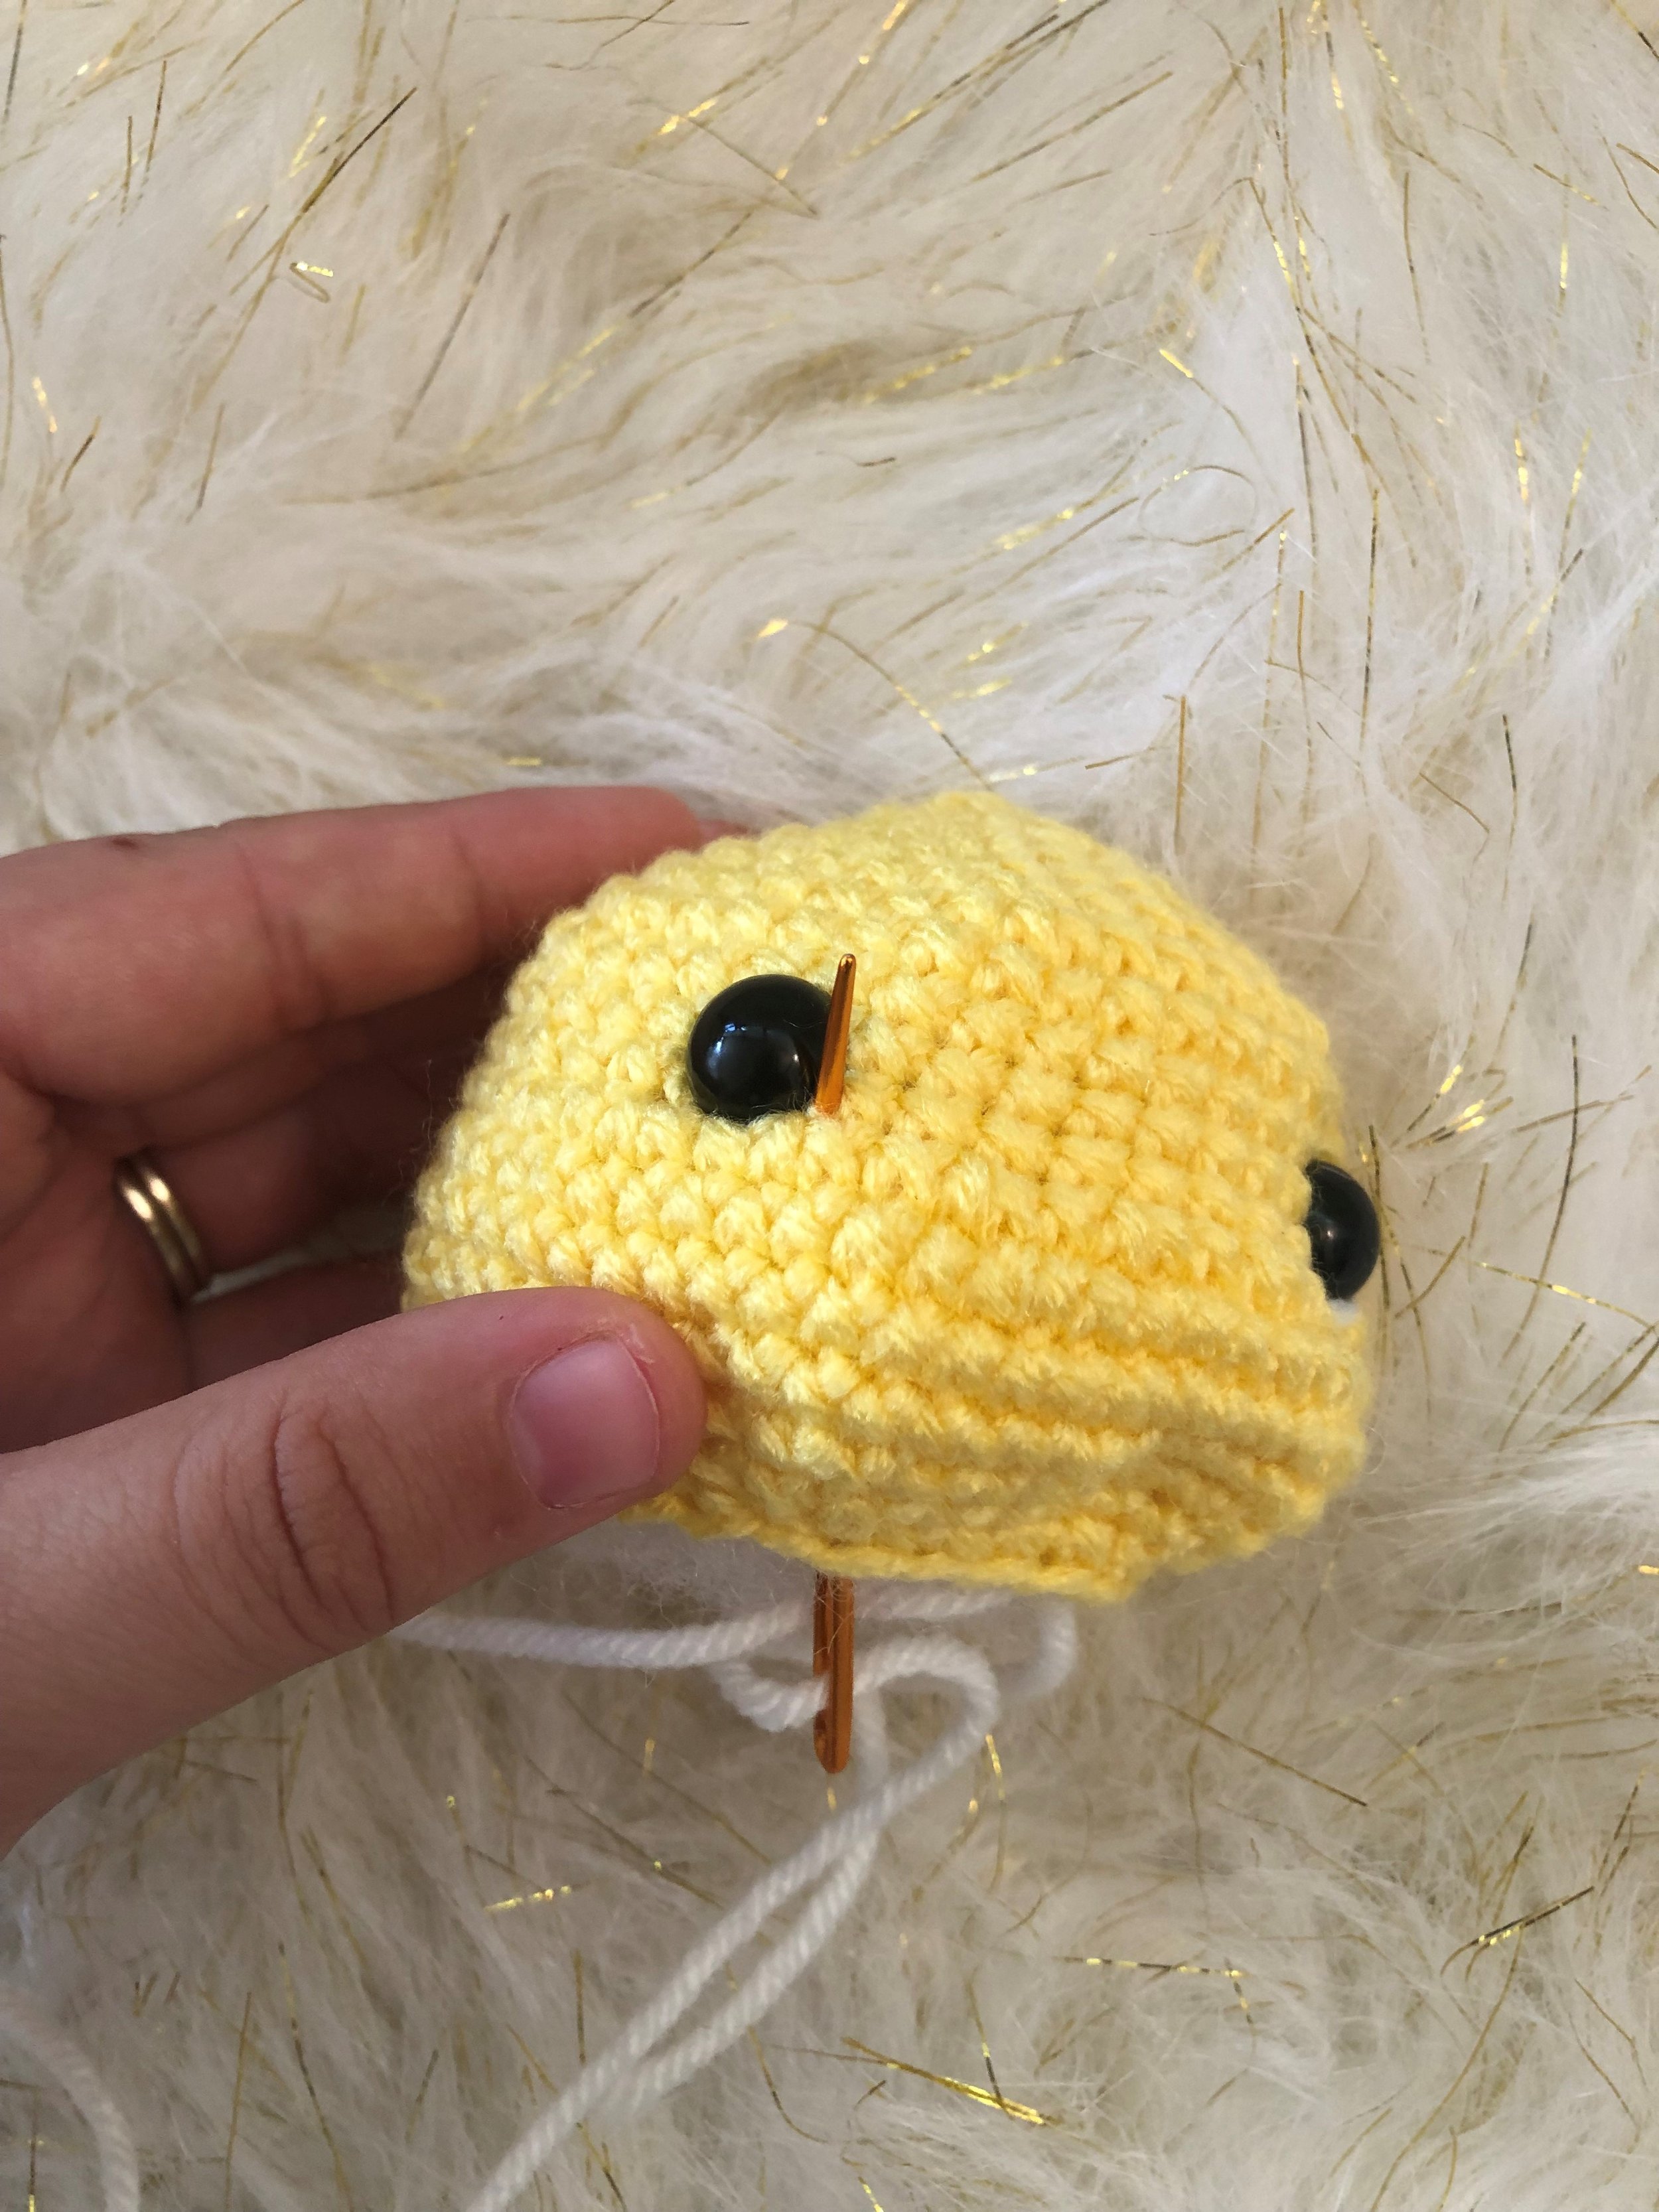
Start stuffing the head **Face sculpting below** Stuff the head firmly and stuff the cheeks firmly.
R20: (3sc, dec) x6 (24)
R21: (2sc, dec) x6 (18)
R22: (1sc, dec) x6 (12)
R23: (1sc, Inc) x6 (18)
R24: (2sc, Inc) x6 (24)
R25-R26: sc all around (24) Stuff the neck firmly to help hold the head up
R27: (3sc, inc) x6 (30)
R28: (4sc, Inc) x6 (36)
R29: (5sc, Inc) x6 (42)
R30: (6sc, inc) x6 (48)
R31-R38: sc all around (48)
R39: (6sc, dec) x6 (42)
R40: (5sc, Dec) x6, (36)
R41: (4sc, Dec) x6, (30)
R42: (3sc, Dec) x6 (24)
Stuff the body firmly
R43: (2sc, Dec) x6 (18)
R44 (1sc, Dec) x6 (12)
R45: Dec x6 (6)
F/O, sew the hole shut and hide the tail.
Twisted cowl free crochet pattern
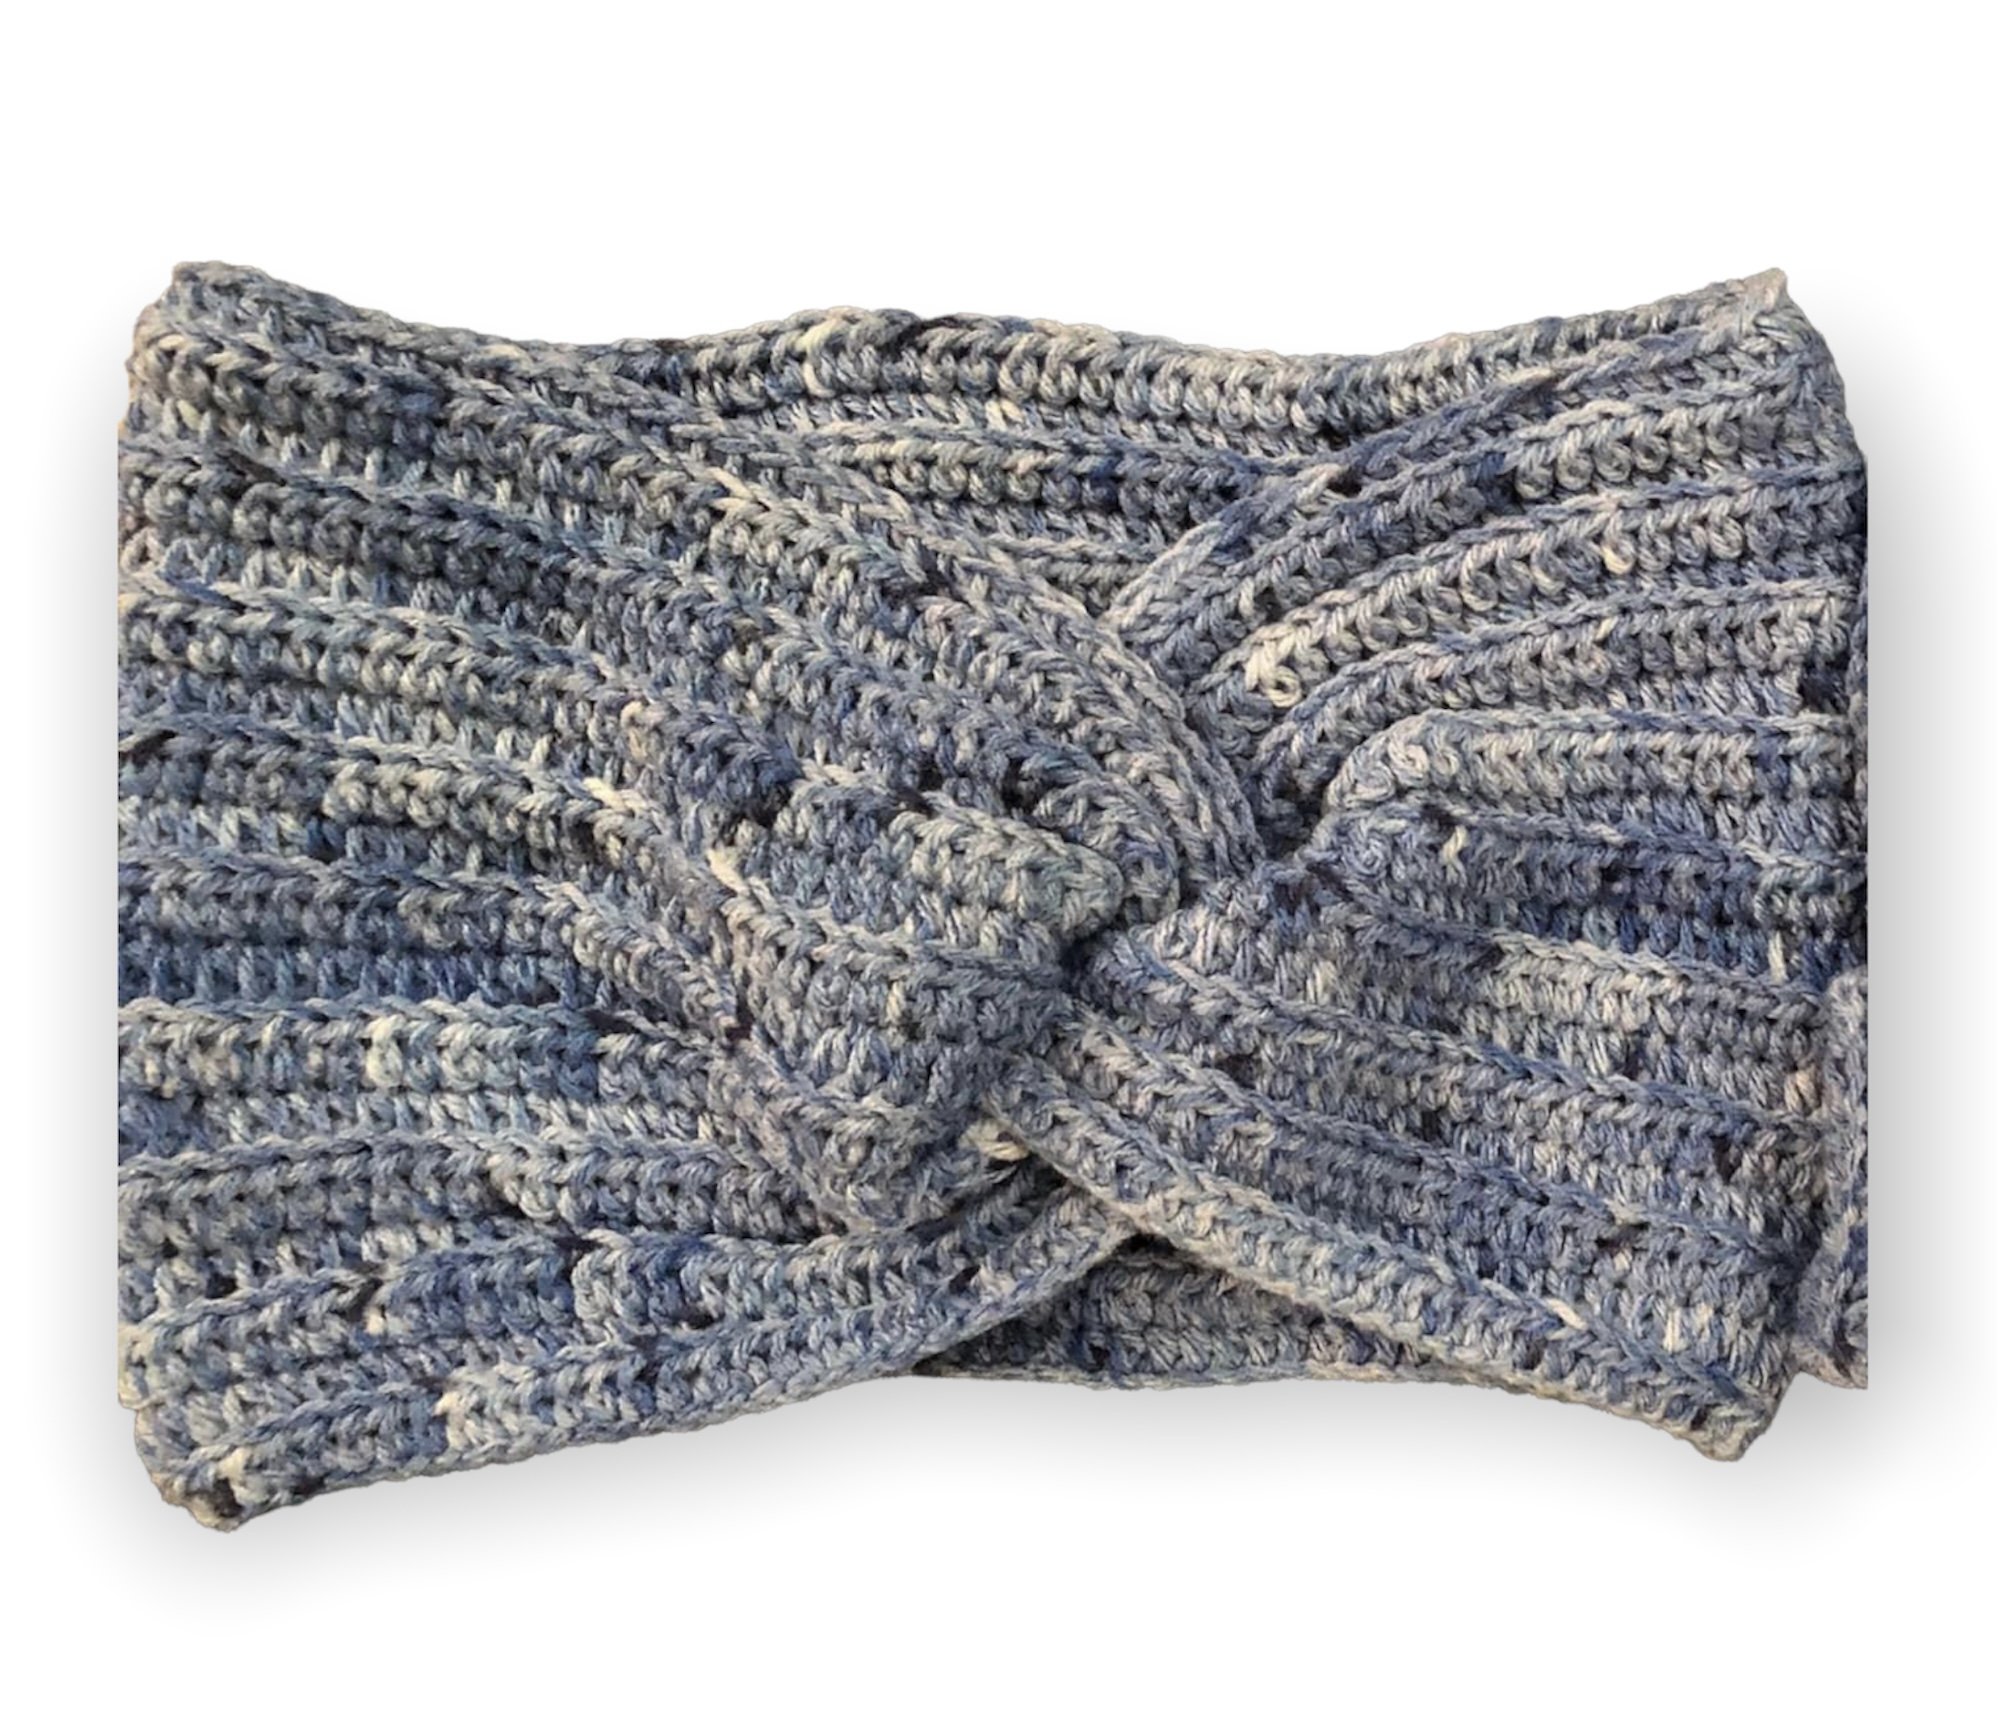
Free crochet twisted ribbed cowl pattern.
This free crochet twisted cowl is perfect for fall and winter time but also to wear is on a everyday basic as an accessory. I hope you guys enjoy the pattern.
Materials:
you will need a 4mm crochet hook
a tapestry needle
a stitch marker
scissors
I used red heart super saver for the yarn but you can use any size 4 yarn of your choice.
English US terms
Ch: Chain
HDC: Half Double Crochet
BLO: Back Loop Only
F/O: Fasten Off
Ch 111, HDC in the 3rd ch from the hook
R2-R19: BLO 109 HDC, ch1 and turn (109)
F/O leave a long tail for sewing.
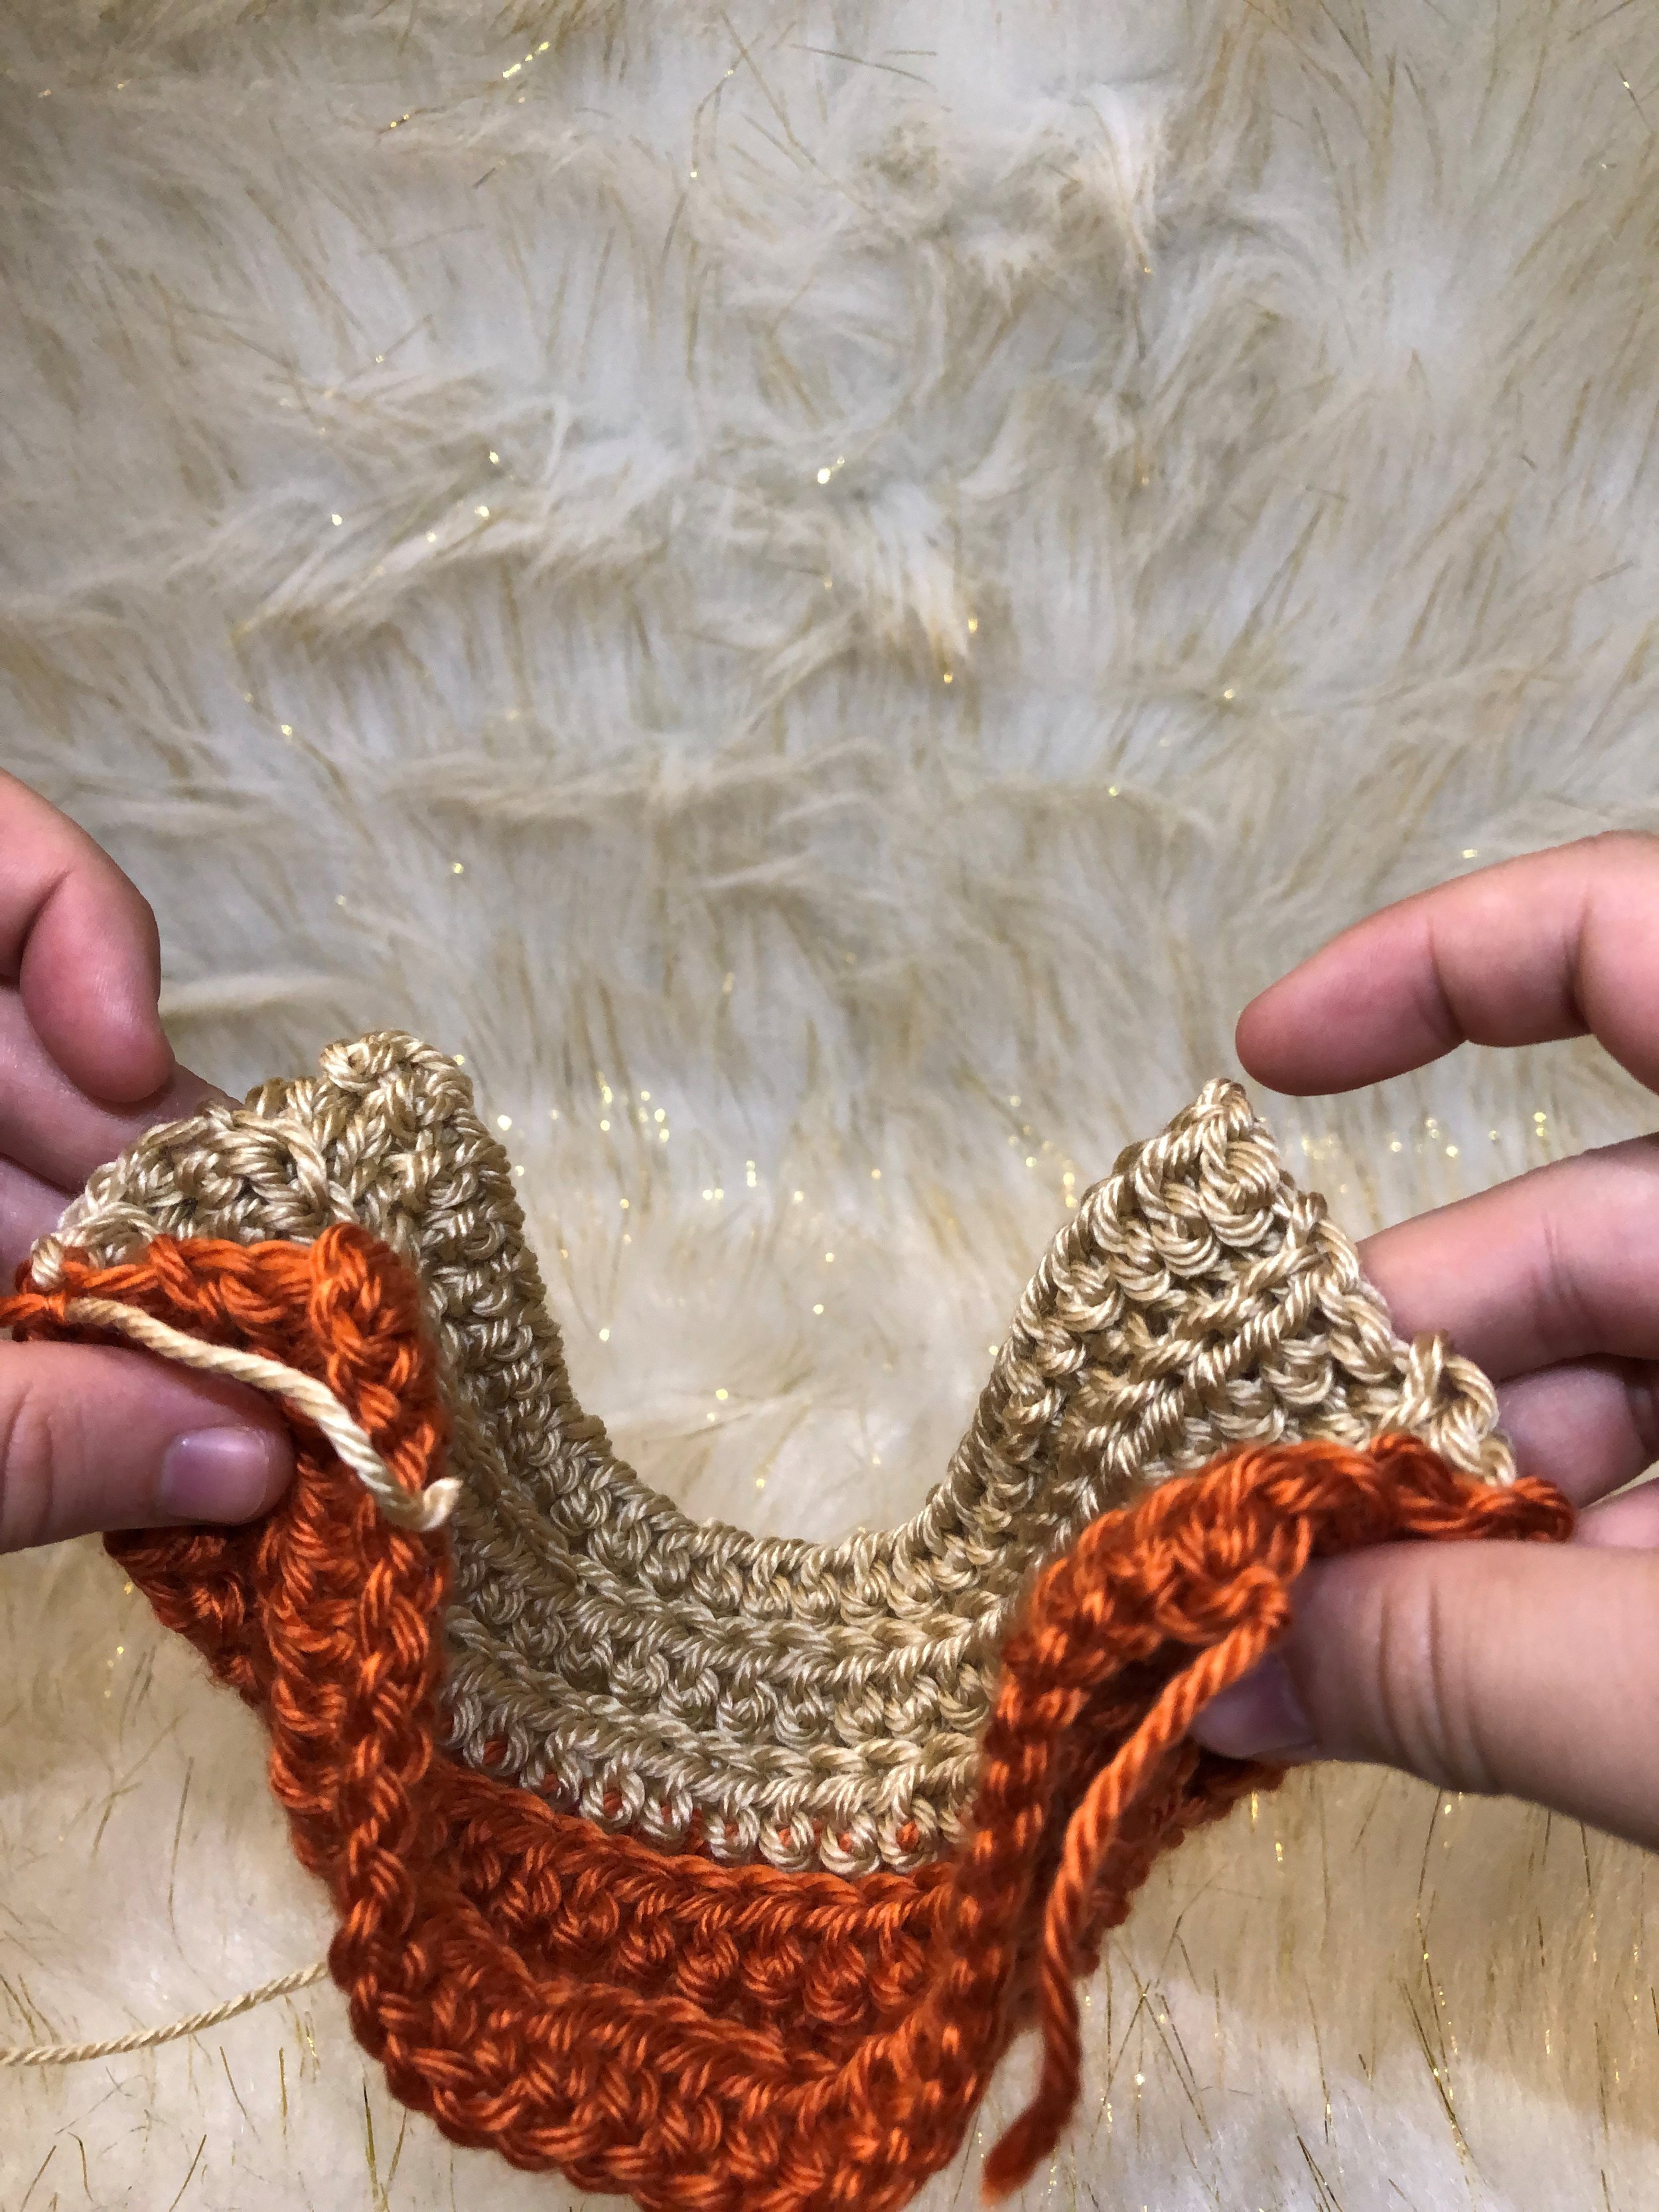
Now lets make the twist. Use the pictures as a guide.
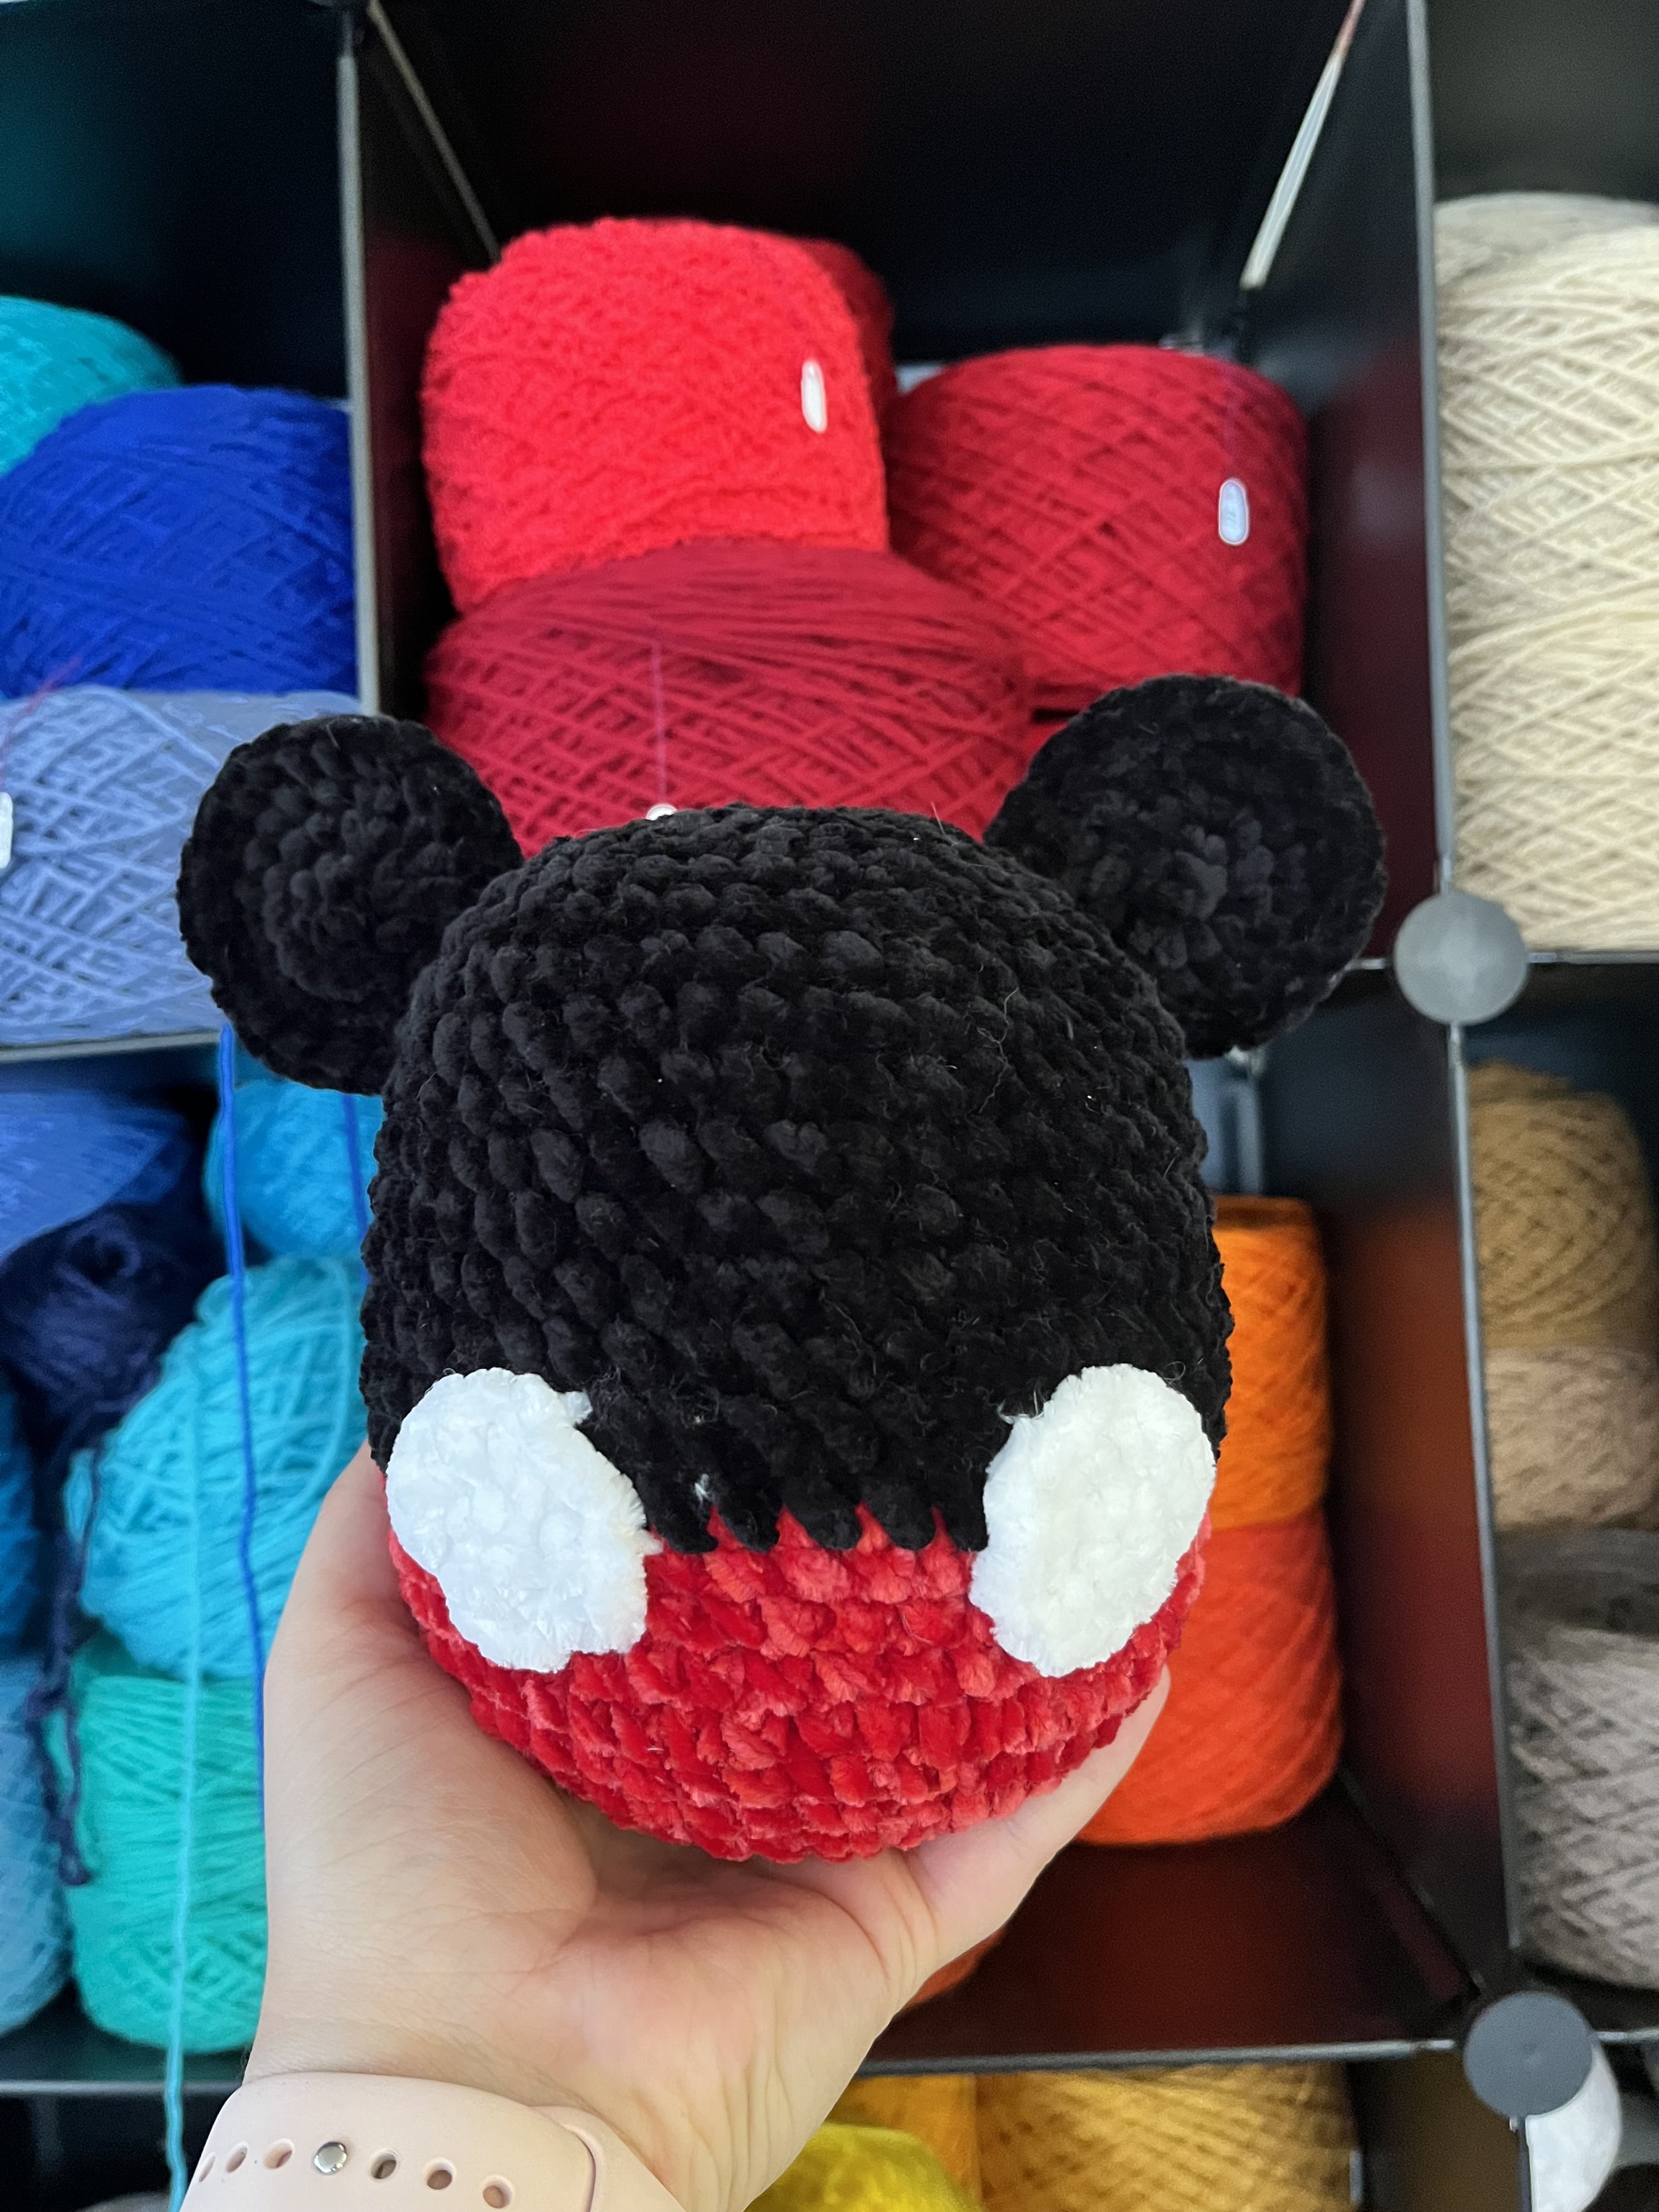
Squishy mickey crochet pattern
Squishy Mickey Crochet Pattern. Two size available.
Materials
small version
Caron simply soft in red
Caron simply soft in black
Caron simply soft in white
3mm crochet hook
stitch marker
stuffing
suction cup
scissors
Large version
Bernat velevet in black
Bernat velevet in red
Bernat velvet in white
4mm crochet hook
ENG US TERMS
MC: Magic circle
SC: Single crochet
F/O: fasten off
R: Round
INC: increase
DEC: decrease
Copyright:
This pattern is my creation, please do not share the pattern with anyone, post it as free on the internet or alternate the pattern any way. You can sell the final product made with this pattern. Please note CocoKnittedCreations as the designer. Happy Crocheting!!
*the character belongs to Disney, I do not take any right on the character*
You have the option to make the small Mickey ball to hang on your window and the big squishy one.
Website: cocoknittedcreations.com
email: cocoknittedcreations@gmail.com
social media: cocoknittedcreations
Body in red
R1: MC 6
R2: inc x6 (12)
R3: (1sc, inc) x6 (18)
R4: (2sc, inc) x6 (24)
R5: (3sc, inc) x6 (30)
R6: (4sc, inc) x6 (36)
R7: (5sc, inc) x6 (42)
R8: (6sc, inc) x6 (48)
R9-R12: 48sc (48)
change to black
R13:-R20: 48sc (48)
R21: (6sc, dec) x6 (42)
R22: (5sc, dec) x6 (36)
R23: (4sc, dec) x6 (30)
R24: (3sc, dec) x6 (24)
stuff the body firmly. stuff as you go.
R25: (2sc, dec) x6 (18)
R26: (1sc, dec) x6 (12)
R27: (2sc, dec) x3 (9)
F/O close the opening, wave in the tail
Ears x2 in black
R1: MC 6
R2: Inc x6 (12)
R3: (1sc, inc) x6 (18)
R4: (2sc, inc) x6 (24)
F/O leave a tail for sewing.
Sew the ears between row 5 and row 9 on the black end, 10 sts apart.
Button x2 in white
R1: MC 6
R2: Inc x6 (12)
F/O leave a tail for sewing.
Sew the button on row 12 of the body where the color change has been made. 4 sts apart.
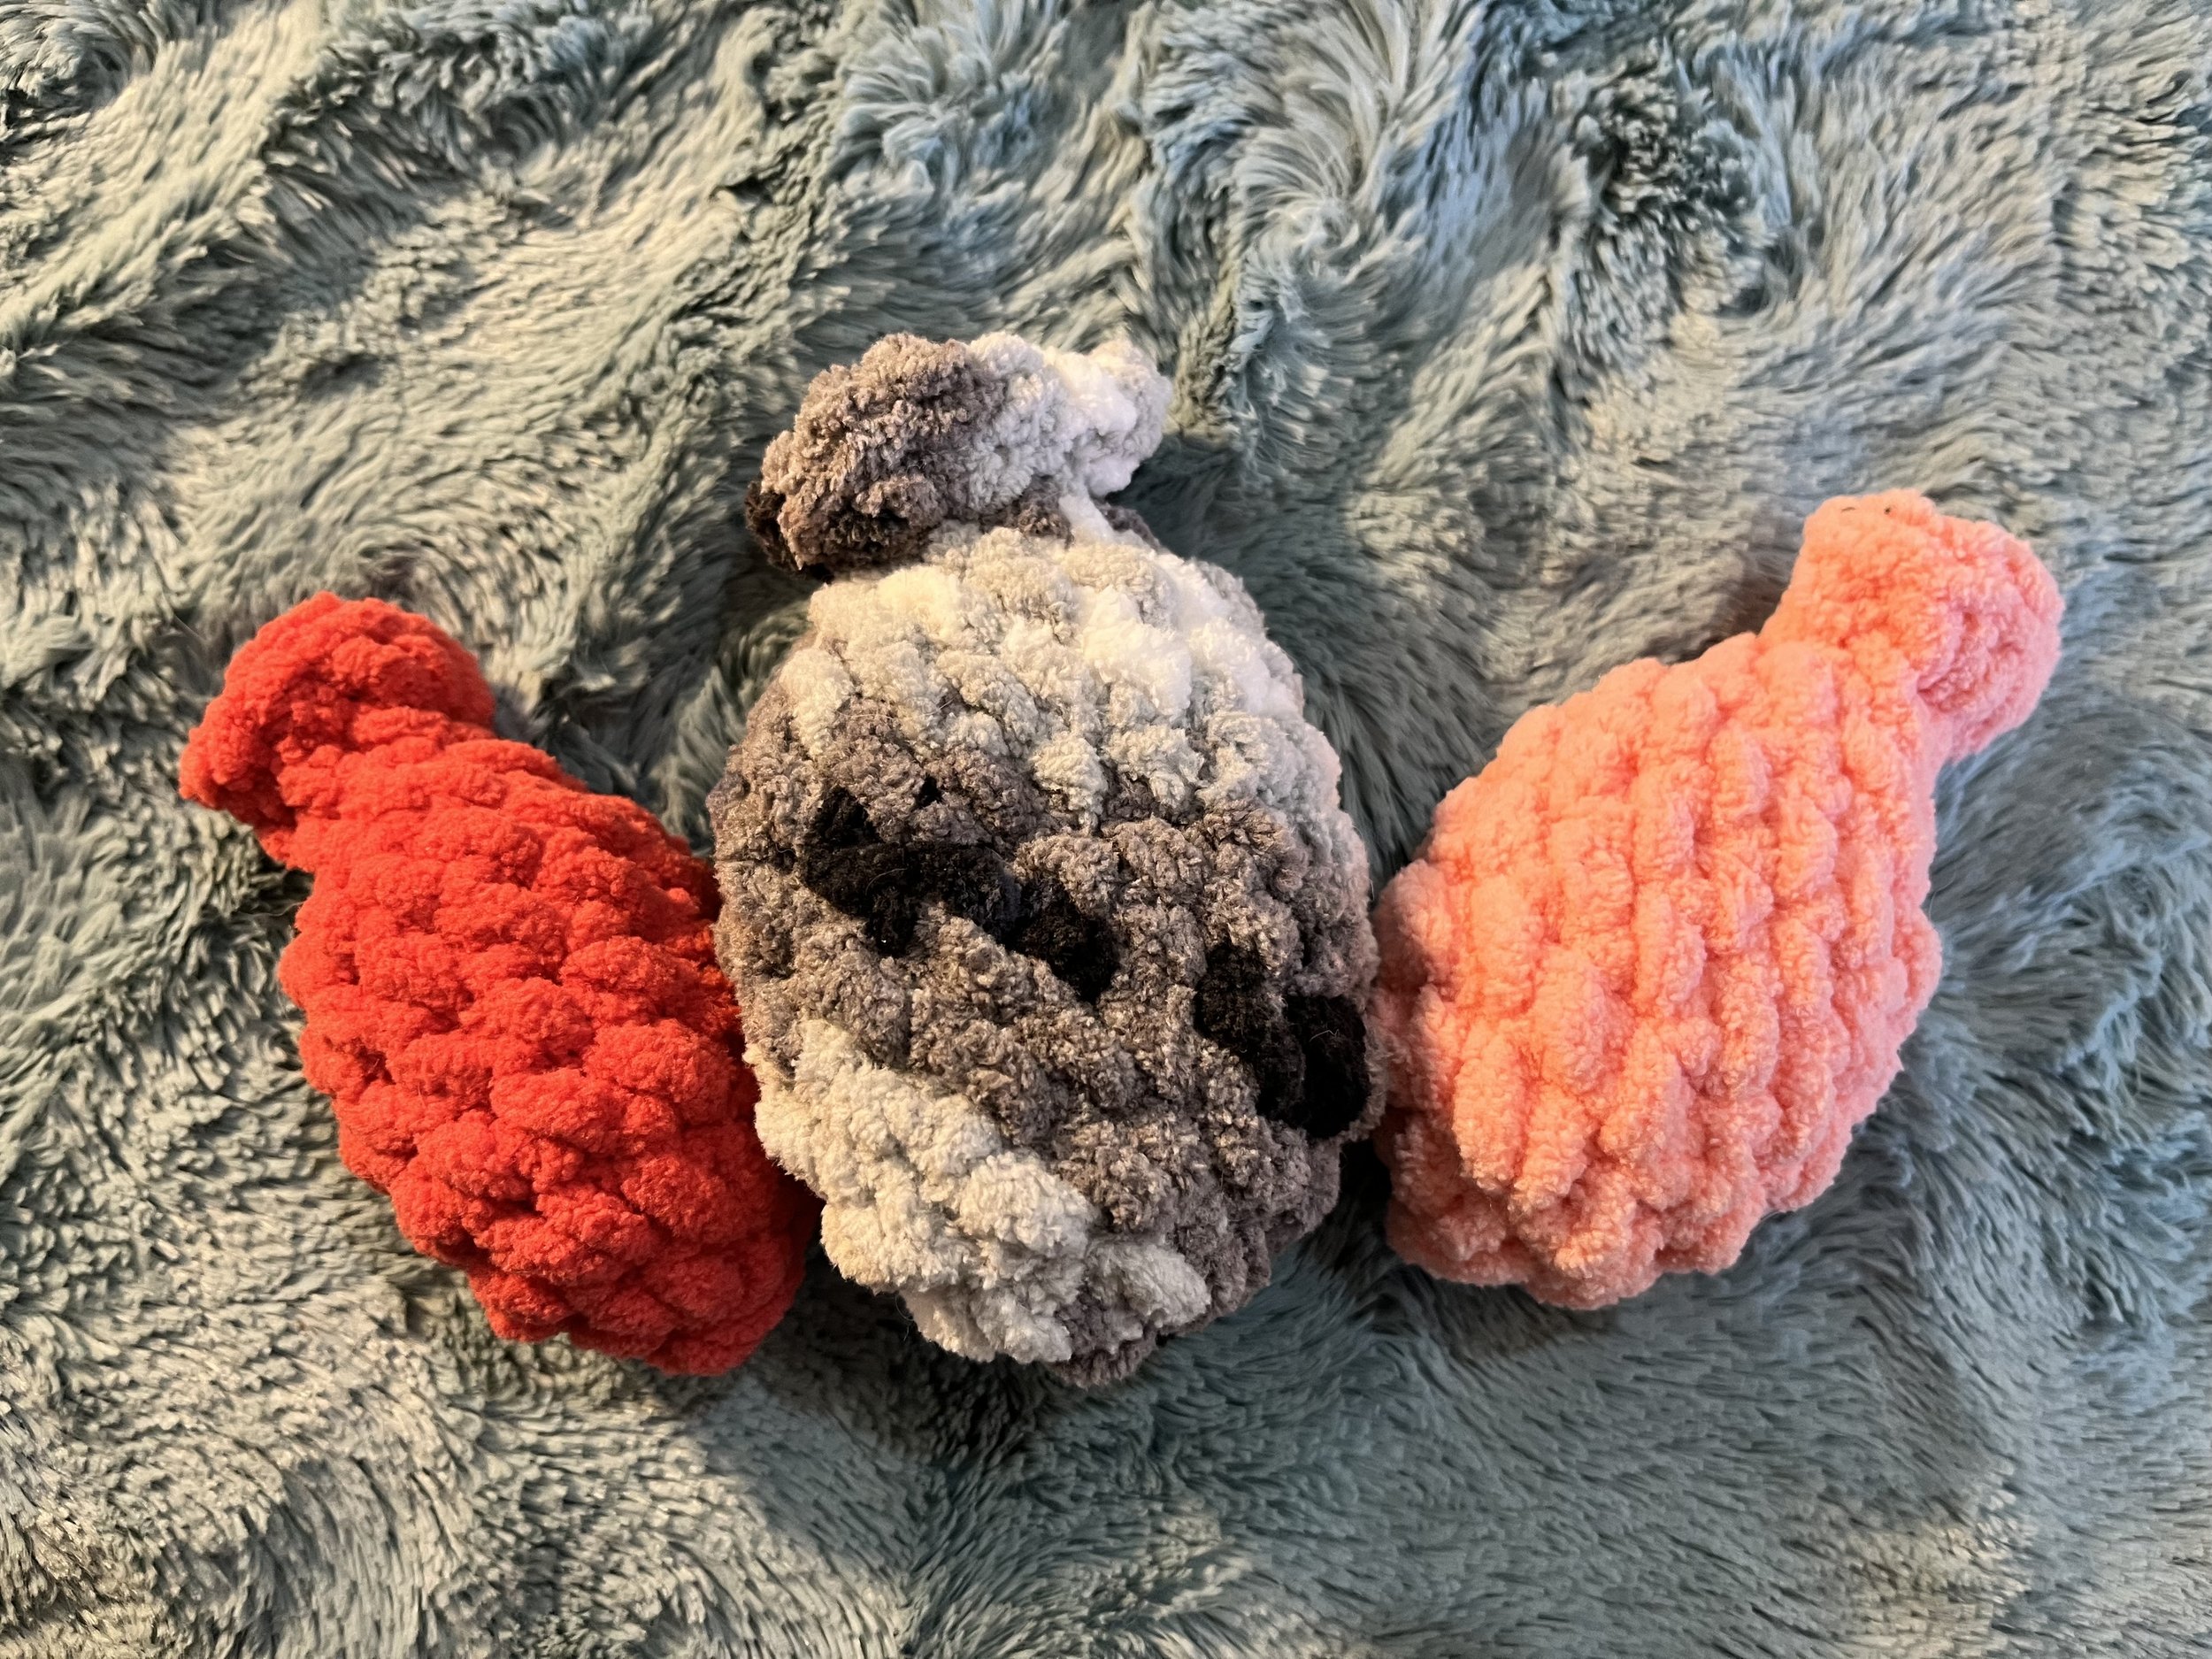
Crochet reusable water balloons pattern
Reusable water balloon free crochet pattern
As summer is approaching and the temperature rises, we go outside to enjoy the sun and what is better than refreshing ourselves? Make yourself some reusable water balloons!!
These balloons do not hurt when they are gorge with water. Throw them in a bucket and start throwing. They do not hurt when it hits your body and it is very easy to clean up wen you’re done. No more hours of picking up small rubber piece from all the balloons. You can play for hours with these reusable water balloons. When you are done, pick them up and throw them in the washing machine and the dryer and they are ready for an other fun day in the sun!! These are great for people of all ages! Enjoy your summer with your family and great water balloons fight.
Materials:
6mm hook
Tapestry needle
Stich mark
Scissors
Bernat Blanket yarn
ENG US Terms
MC: magic circle
SC: single crochet
Inc: increase
Dec: decrease
Small water balloon
6mm hook
blanket yarn
R1: MC 6
R2: inc x6 (12)
R3-R6: sc all around (12)
R7: dec x6 (6)
R8: (dec, 1sc) x2 (4)
R9: (3sc, 1sc) x2 (8)
F/O weave in the tail
Medium water balloon
6mm hook
blanket yarn
R1: MC 8
R2: inc x8(16)
R3-R8: sc all around (16)
R8: dec x8 (8)
R9: (dec, 1sc) x3 (5)
R10: (3sc, 1sc) x3 (8)
F/O weave in the tail
Large water balloons
6mm hook
blanket yarn
R1: MC 8 hdc
R2: inc x8 (16)
R3: (1hdc, inc) x8 (24)
R4-R6: hdc all around (24)
R7: (1hdc, dec) x8 (16)
R8: dec x 8 (8)
R9: (3 hdc, 1 hdc) x4 (16)
F/O weave in the tail
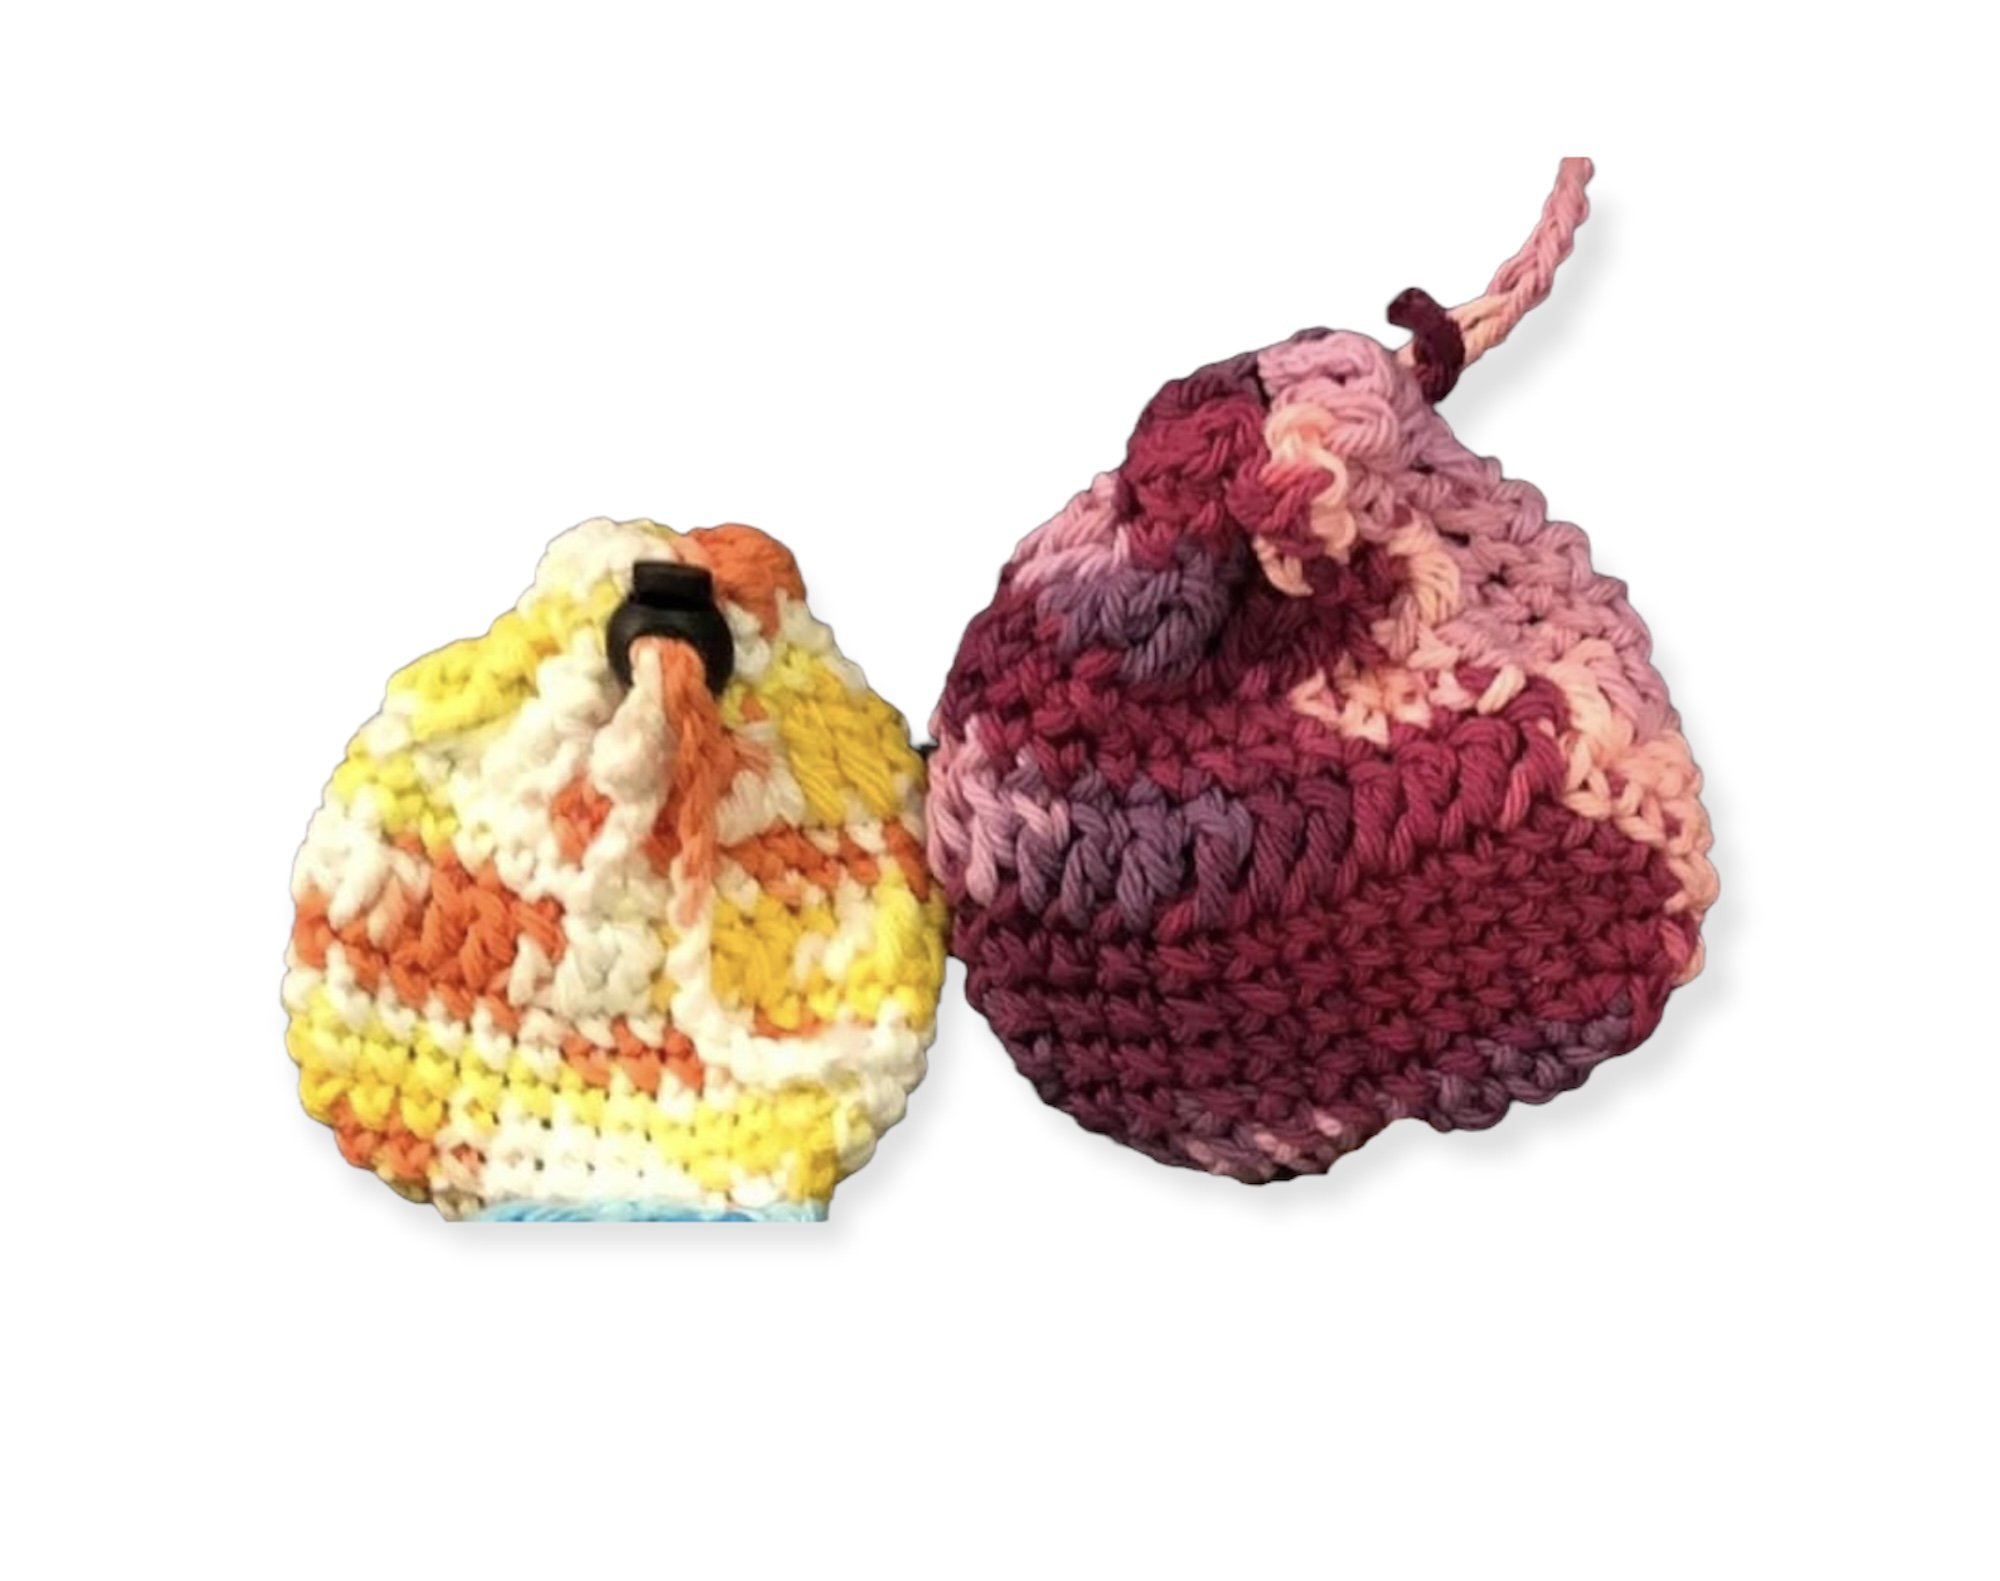
Soap saver pattern
Saving money and the environment with this soap saver.
This soap saver pattern is perfect for beginners. You will lean how to chain, increase, double crochet and single crochet.
Soap savers are wonderful to save on your bar of soaps. When your soap becomes too small and it is melting away under the water, place it in your soap saver to save every bit of it. The soap saver is made with cotton yarn, perfect for your skin. You can wash yourself with the soap in the cotton soap save. The soap saver is used as a washcloth.
After each use make sure to leave it in a dry area in your shower. Once the soap all use you can wash it with your towels.
Level: Beginner
Materials:
100% Cotton Yarn
5.5 mm hook
Stitch Marker
Tapestry needle
optional: scrubby yarn ( crochet the scrubby yarn with the cotton yarn if you want your soap saver to exfoliate)
ENG US Terms
Abbreviations:
ch: chain
sc: single crochet
dc: double crochet
inc: increase
x2: do it twice or what number is stated after the x
R: Row
F/O: fasten off
ST: stitch
R1: ch 10, sc in the second ch from the hook, 8sc, inc in the last st.
Working on the other side of the chain, 7sc, 3inc (3 sc in the same st) (20)
R2: Inc, 7sc, inc x2, 9sc, inc (24)
R3: Inc, 9sc, inc x2, 11sc, inc (28)
R4-R6: sc all around (28)
R7: dc all around (28)
R8-R9: sc all around (28)
R10: dc all around (28)
R11-R13: sc all around (28)
F/O
We will make the cord to be able to close the soap saver.
Ch 30
F/O
Pot holder pattern
Pot Holder Crochet Pattern.
Here is one of my favorite pot holder to use. This pot holder is double thickness and very easy to wash.
This pot holder is made of cotton yarn, do not use acrylic as acrylic yarn is made of plastic and will melt. Make sure to use 100% cotton.
Level easy
Materials:
100% cotton yarn, I used peaches and cream
4mm crochet hook
stitch marker
tapestry needle
ENG US Terms
Abbreviations:
R: row
Ch: chain
SC: single crochet
ST: stitch
Finished Dimensions:
R1: ch 33, sc in the second ch from the hook, sc in the remaining ch, 3 sc in the last ch. Sc on the other side of the chain. Sc in all the remaining ch. Place a st marker on the last st. This will be the beginning of the round. (65)
R2-R31: sc in continuous round (65)
R32: sc through the front and the back of the pot holder. It will sc the pot holder shut.
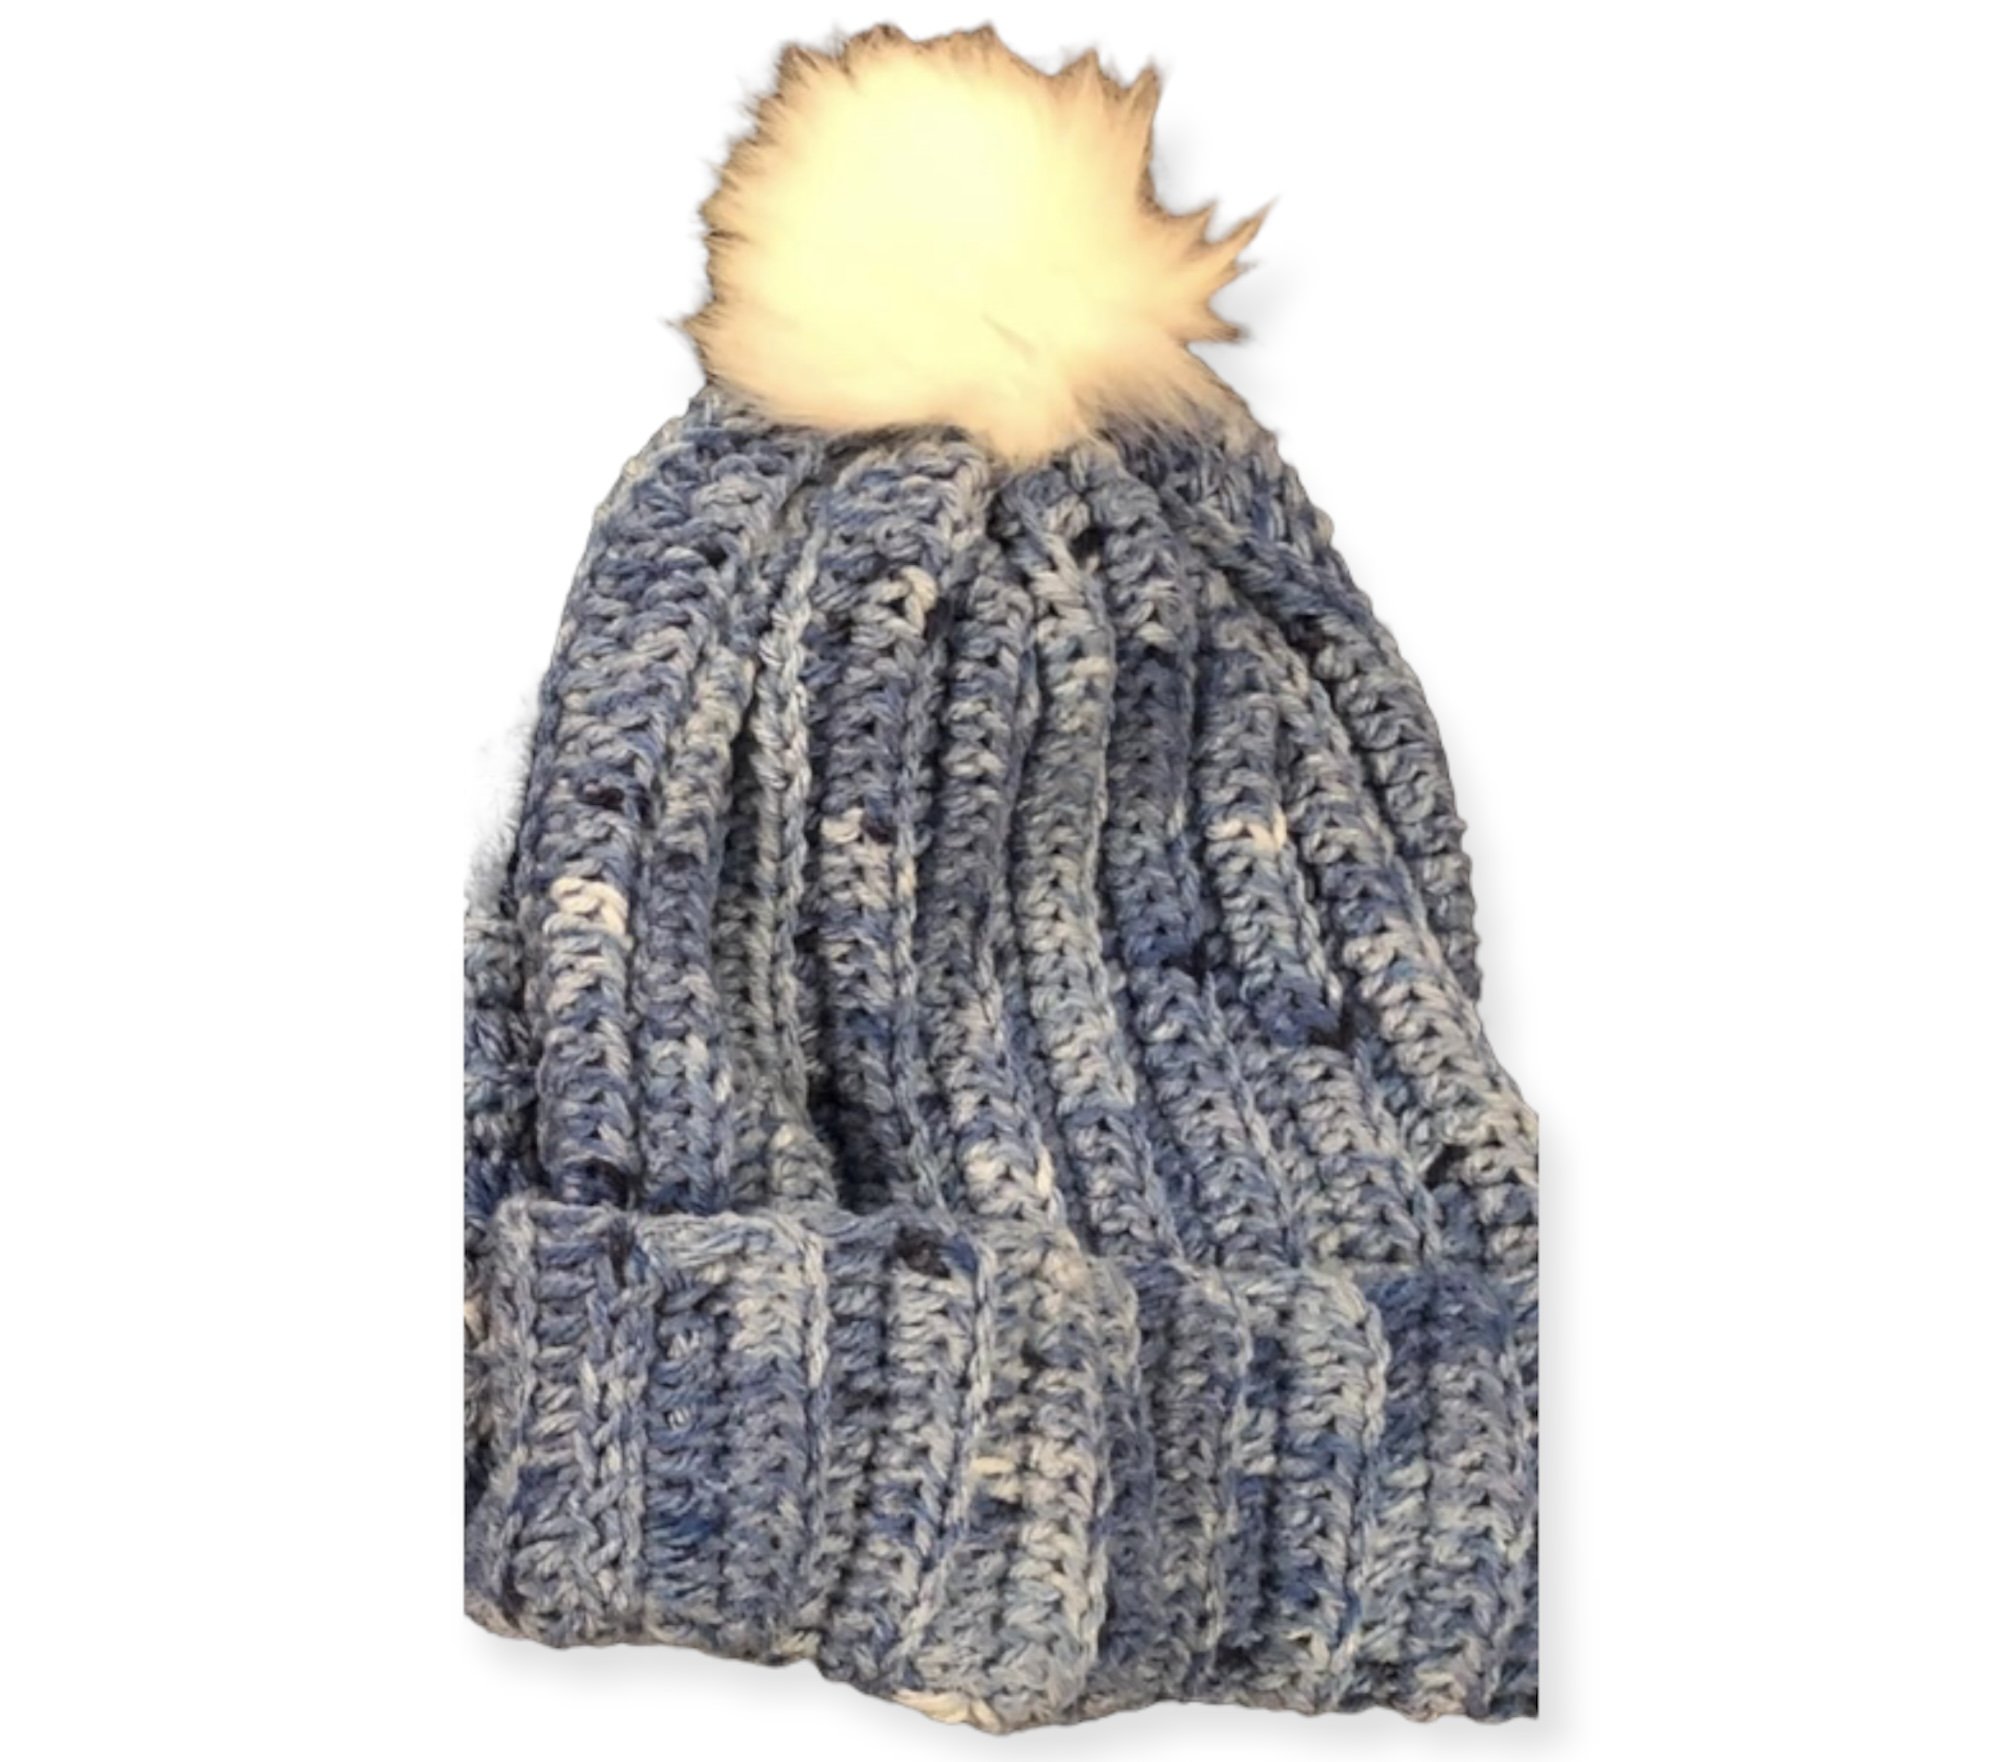
Crochet ribbed hat
Here is a crochet ribbed hat pattern.
Free ribbed hat pattern now available. This is my personal favorite. It only take 1hour to make and it’s beginner friendly. Who doesn’t like something simple, easy and fast to make?
Materials:
You can use any yarn that you like, i used a 4ply acrylic yarn
tapestry needle
scissors
4mm crochet hook
white pompom (optional)
ENG US Terms
Lever: easy
Abbreviations:
R: row
CH: chain
HDC: half double crochet
BLO: back loop only
F/O: fasten off
R1: ch 50, hdc in the third ch from the hook, hdc in the remaining ch. (48)
R2-R37: 48 hdc through blo (48)
F/O, leave a long tail for sewing
Flip the hat to have the wrong side facing you, fold the hat in half and sew from the bottom up to close the hat. When you get to the top of the hat you will wave in and out of the stitches all around. When you get back to the beginning you will pull the yarn tight and you will see the opening close. Secure the yarn with a few knots and weave the end in,
In the middle of the hat, still on the wrong side, sew a button about 1/4-1/2 an inch, through the the middle of the top of the hat, put your crochet hook through it will come out on the right side. Place the elastic from the pompom on your hook and pull it through the stitch and wrap it around the button. It will stay in place and give you the option to take the pompom off to wash your hat.
Your ribbed hat is now all done and ready to be showed off to the world!!
Squishy Minion crochet pattern
Squishy Minion crochet pattern
Materials
small version
Varsity Yellow, Big Twist Value
crafter’s secret big idea, colbat blue
Red heart super saver, black
Red heart super saver white
Red heart super saver light grey/silver
3mm crochet hook
stitch marker
stuffing
suction cup
scissors
Large version
Bernat velevet in yellow
Bernat velevet in blue
4mm crochet hook
ENG US TERMS
MC: Magic circle
SC: Single crochet
F/O: fasten off
R: Round
INC: increase
DEC: decrease
Copyright:
This pattern is my creation, please do not share the pattern with anyone, post it as free on the internet or alternate the pattern any way. You can sell the final product made with this pattern. Please note CocoKnittedCreations as the designer. Happy Crocheting!!
*the character belongs to Disney, I do not take any right on the character*
You have the option to make the small minion ball to hang on your window and the big squishy one.
Website: cocoknittedcreations.com
email: cocoknittedcreations@gmail.com
social media: cocoknittedcreations
Body in blue
R1: MC 6
R2: Inc x6 (12)
R3: (1sc, inc) x6 (18)
R4: (2sc, inc) x6 (24)
R5: (3sc, inc) x6 (30)
R6: (4sc, inc) x6 (36)
R7: (5sc, inc) x6 (42)
R8: (6sc, inc) x6 (48)
R9-R12: 48sc (48)
R13: Blue 3sc, Yellow 10sc, Blue 3sc, Yellow 32sc (48)
R14-R16:Blue 3sc, Yellow 10sc, Blue 3sc, Yellow 32sc (48)
R17-R20: Yellow 48sc (48)
R21: (6sc, dec) x6 (42)
R22: (5sc, dec) x6 (36)
R23: (4sc, dec) x6 (30)
R24: (3sc, dec) x6 (24)
stuff the body firmly. stuff as you go.
R25: (2sc, dec) x6 (18)
R26: (1sc, dec) x6 (12)
R27: (2sc, dec) x3 (9)
F/O close the opening, wave in the tail
Eye
In black
R1: MC 6
in brown
R2: inc x6 (12)
in white
R3: (1sc, inc) x6 (18)
in silver
R4: (2sc, inc) x6 (24)
F/O leave a tail for sewing.
Sew the eye between row 17 and row 24, between the two straps of the overalls.

